Showing posts with label foam. Show all posts

Wednesday, 29 August 2012

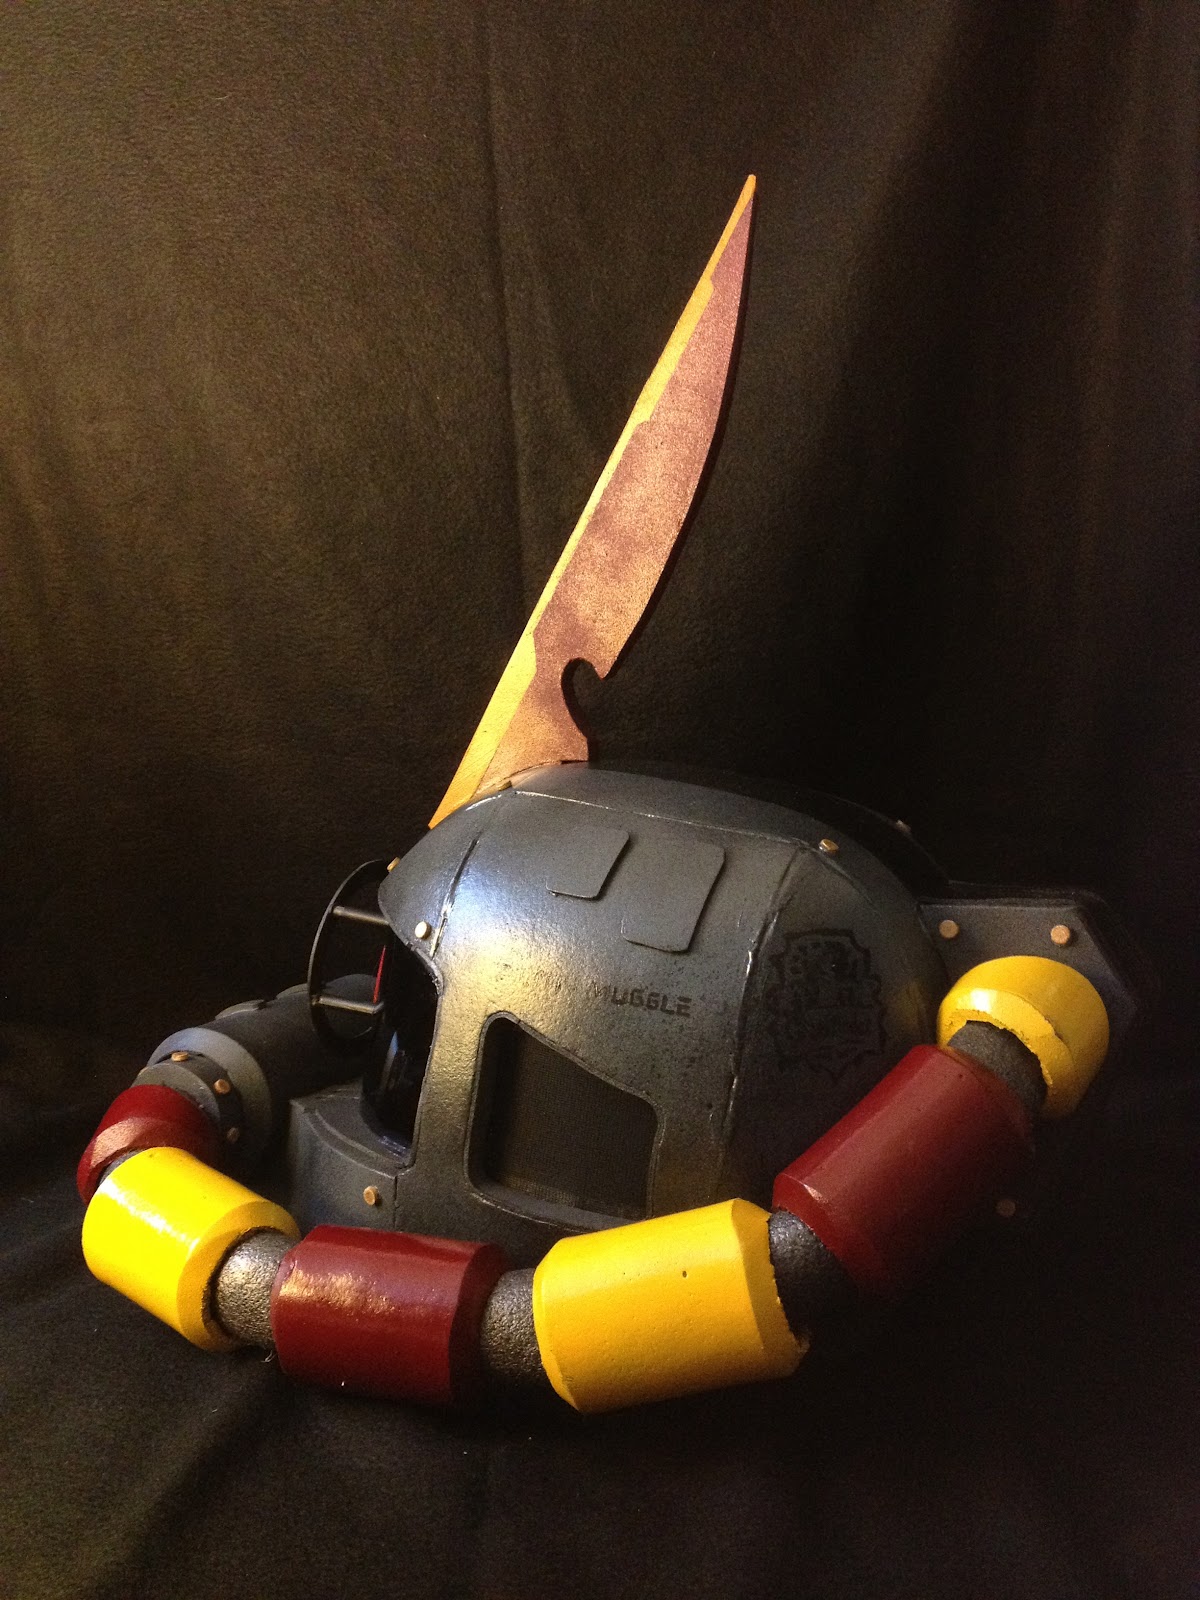
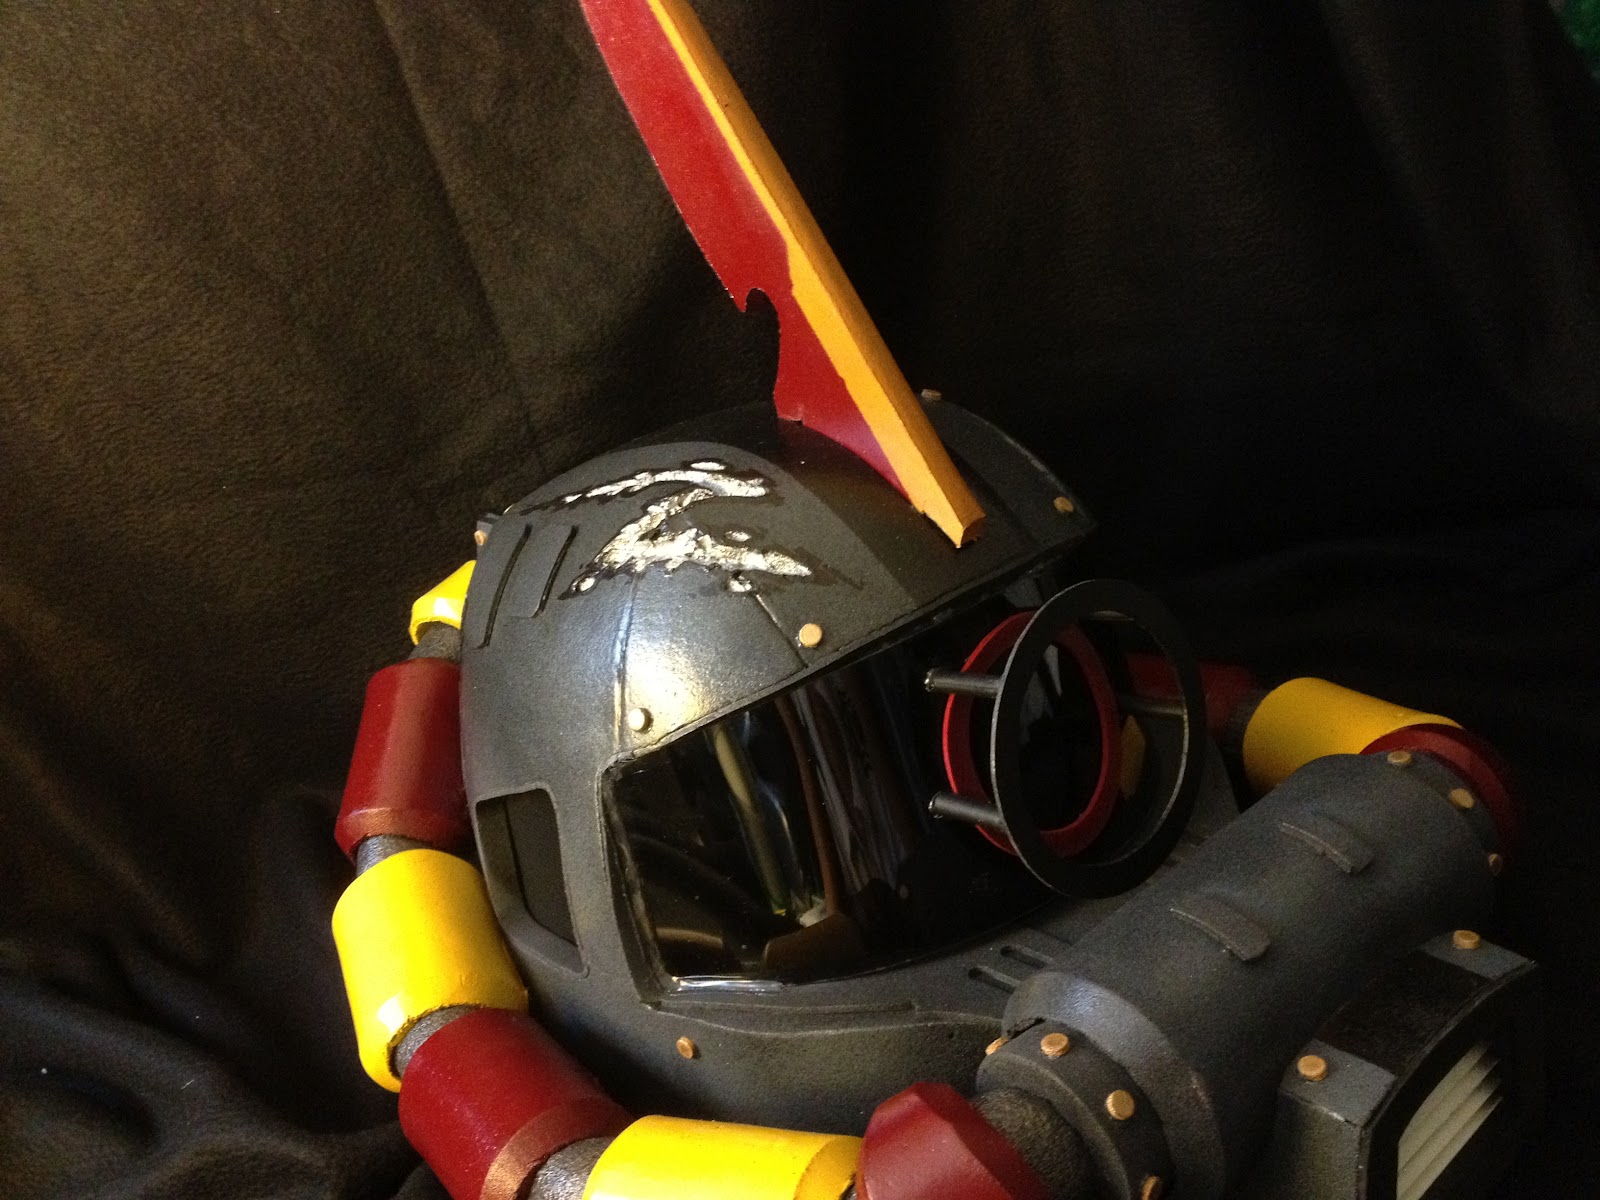
Project Zaku: Harry Potter


Wow.. I've been busy. I did get to finish off another Zaku for a friend. He wanted a themed one. It was a special request.. as I've known him for 30 years now... maybe more.

This one was fun!


Wednesday, 18 April 2012

Zaku: Monoeye lens

Time is running out. I needed to make a decision on the mono-eye fabrication. Many options had gone through but none would look good or had too many safety compromises.

This one is the least that looked the best. Still kind of dangerous though. O well, I'll have to keep an eye on her then. (uh.. sorry)

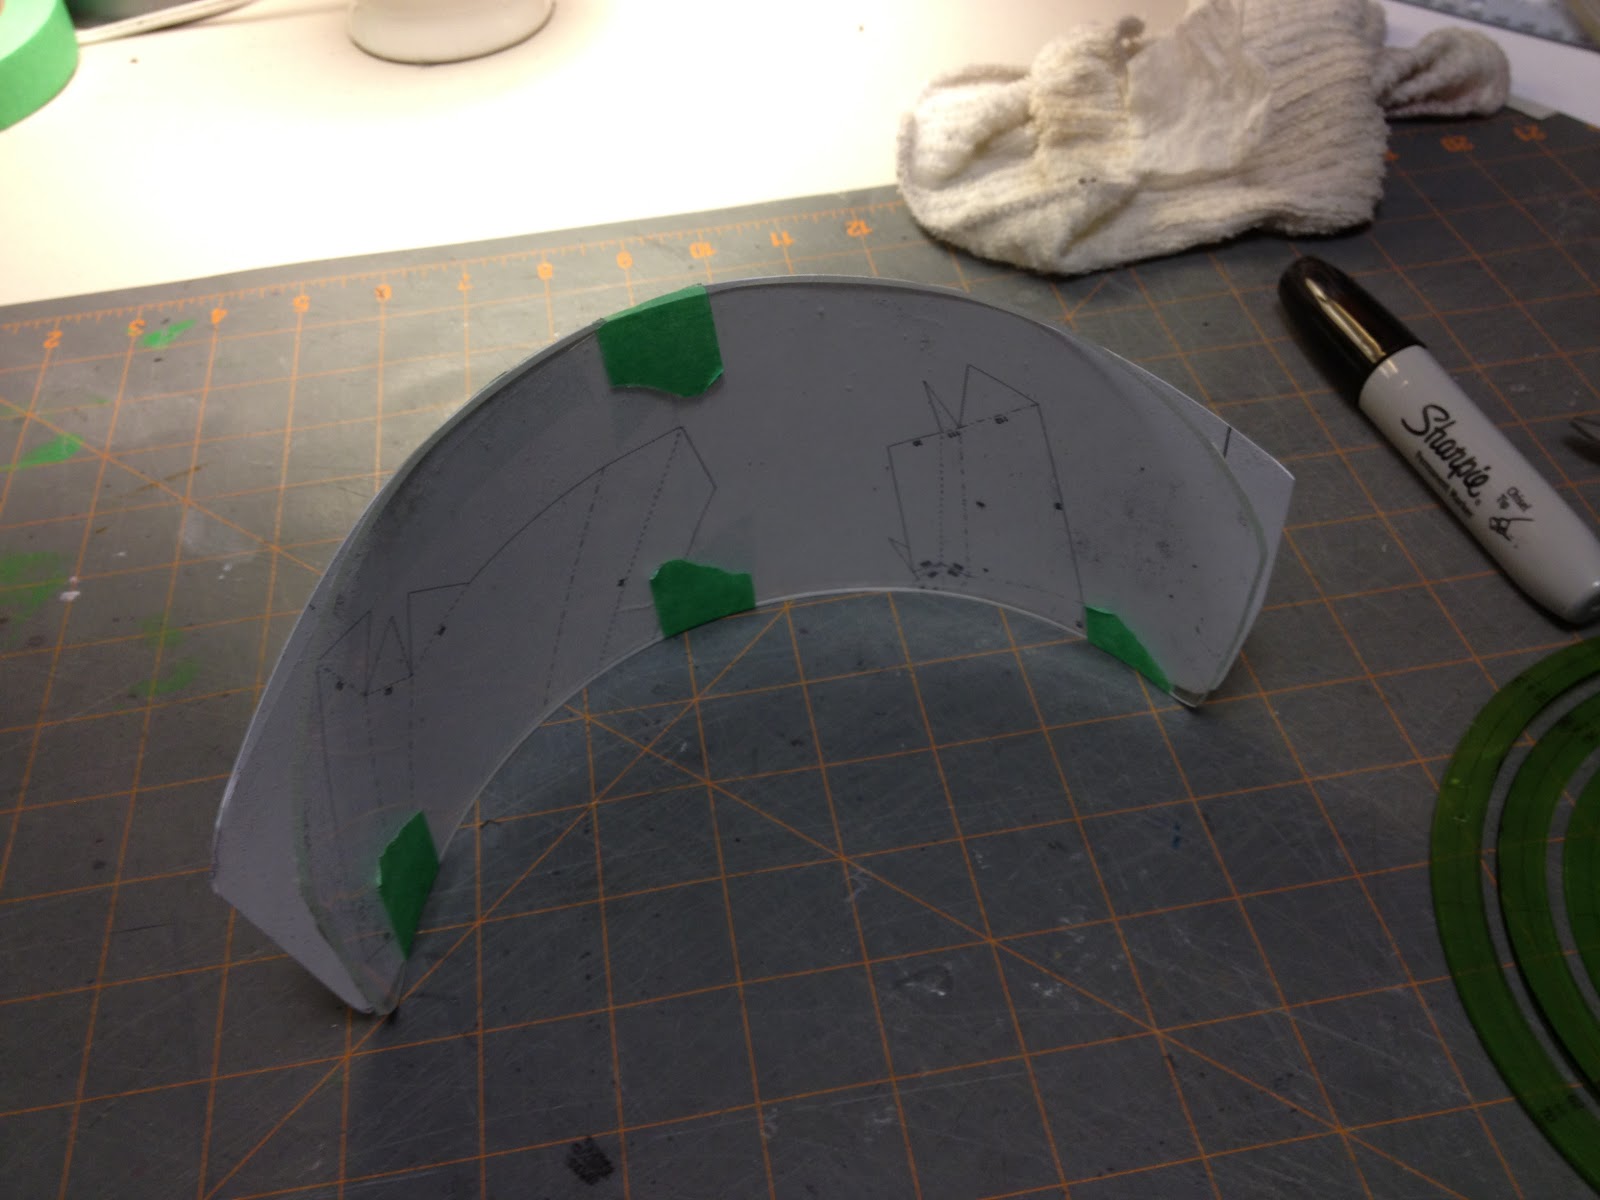
Lexan plastic. Heating it up in my toaster oven. When it starts to droop in the window, I pull it out right away.


The best form I had around the house was this paint can. Whatever works!


Perfect diameter

To shape it further, I just took it to my belt sander. 


For the tint, I used some leftover auto tint.


Made a small accent ring out of craft foam. Hotglued it on. And voila!


Now, all i have left to do is:
- screens in the side windows
- hot glue the lens in
- custom cut some foam to fit my daughter's head
- maybe another final coat of top coat to seal things off a bit more for durability

Tuesday, 17 April 2012

Sunday, 15 April 2012

Gundam: CHEST

After putting the helmet on, I'm not satisfied with the weight balancing on it. It's just too front heavy. Since the comic convention/cosplay is happening this weekend, I don't really have time to rebuild the head. But, I can build a chest (and maybe shoulders). This way, I can anchor the helmet to the shoulders.

The chest would be made from the same foam I used on the Zaku project. So, it'll be fast.

The design is mostly from the original Strike Freedom again. And, again, I'll be modifying to make it SD(super deformed) so it'll look proportionally smaller than the head. Still going for that goofy look. I'll use my sketch as a base.


Saturday, 7 April 2012

Tuesday, 3 April 2012

How to make Sausage Links

Pipe Links:

Back with my trusty Dremel tool. Love my Dremel. It came with a mini-router attachment. How cool is that!?! What this allows me to do here is 'router' a channel at a perfect 90 degree. It would be impossible to do this by hand. I could, but it'll take forever and it won't be as accurate. Here I have a  rig with a board and a couple clamps.

The steps:
- I make one channel across.
- Stop. 
- Move the board ~3/8" up. 
- Make another channel. 
- Repeat.


Reason I'm making all these channels is so that one side of the foam has less material. This is so I can roll the foam into tubes. I could use the heat gun again. But, it won't be heated up evenly and it'll bend unevenly. It would just be a mess. I think this was the best approach.  Hot glue the ends together.


Made a bunch. Not really sure how many was needed.


Like the 'nostril canister', I beveled the ends on the belt sander.


The placement mockup. I think it'll work. Next, I have to figure out what to use for the inner pipe.


Rear Box

Again, I have no idea what this box is for. All I know is that it connects both of the pipes on either side. Anyways..it's all decorations as far as I'm concerned.


I hollowed it out as much as I could. To keep the weight down as much as possible. (Learning from my own helmet) This is especially more important as this is for a 4 year old's head/neck.

Hmm.... I could put my battery in there if I choose to make electrical work on this.


Again, gotta hide those fugly jaggies...


Nostril Canisters

Nostrils:

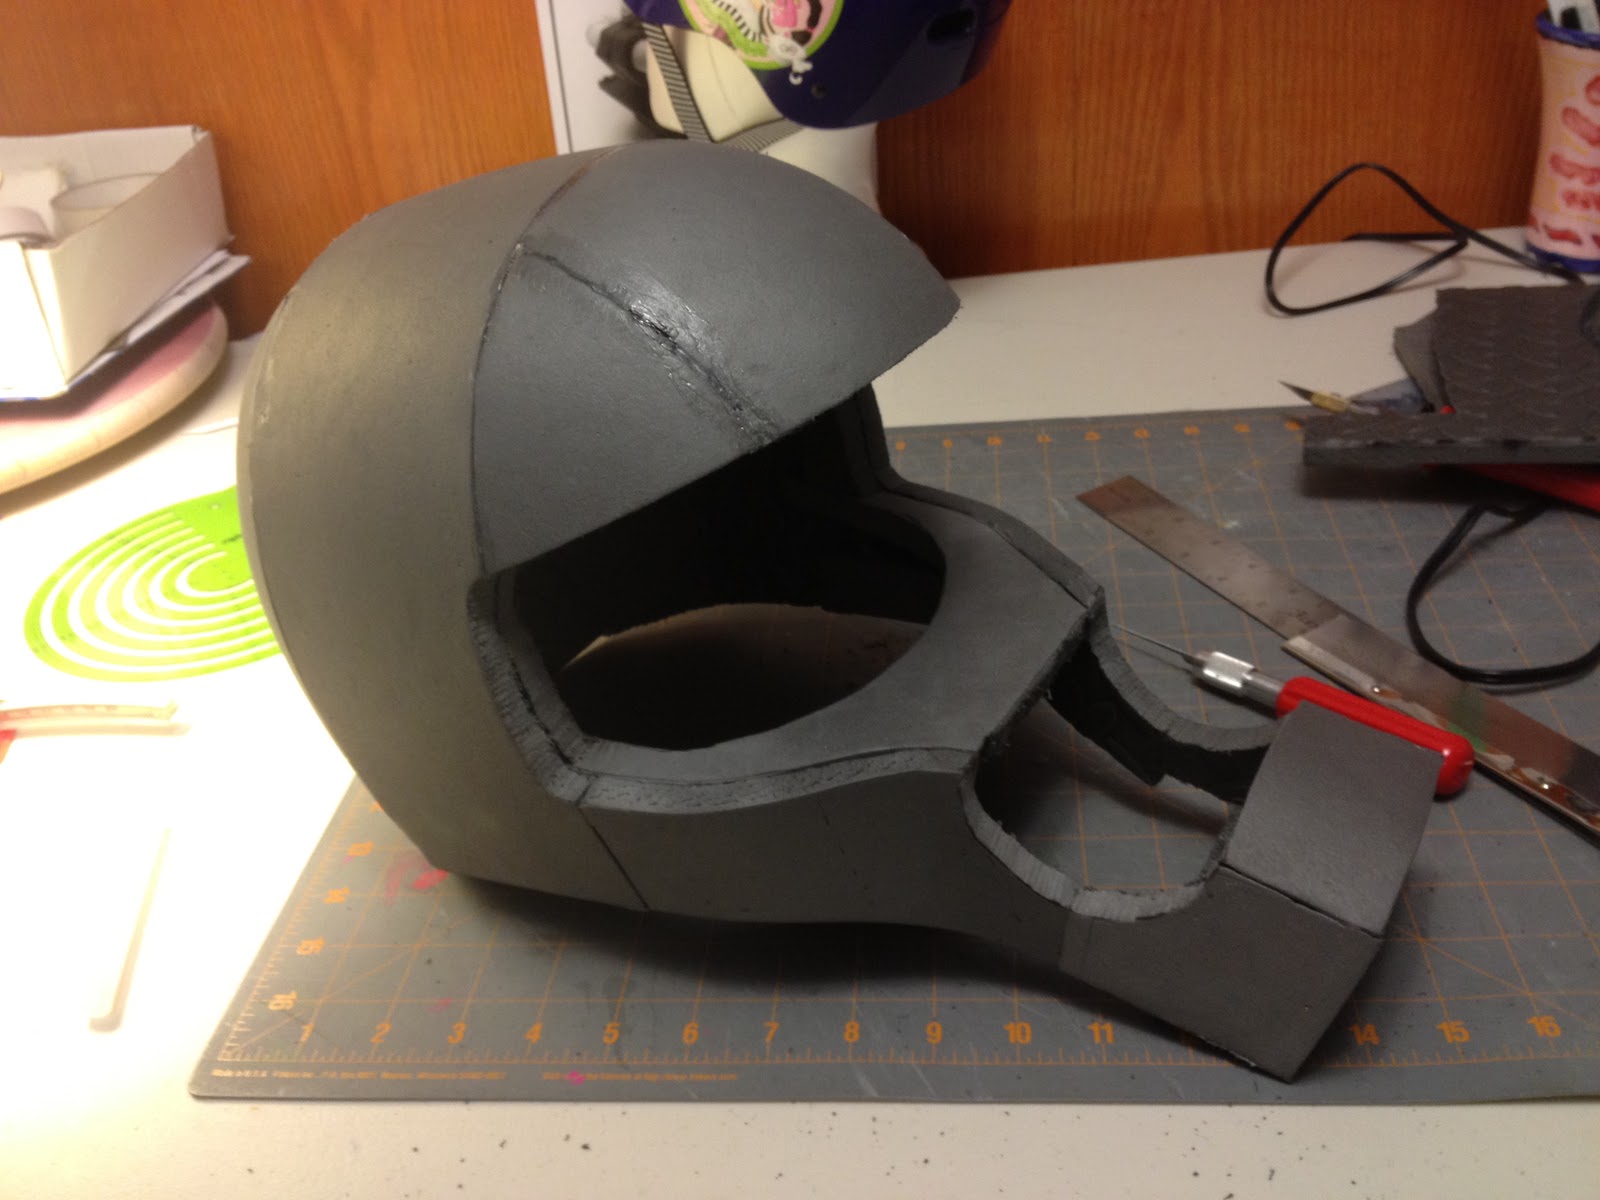
Using a PVC pipe as my form. I heated and wrapped some mat around it. Then hot-gluing it closed.

 Notching out a space for the nostril canisters (I really have no idea what that thing is called or what it's for)

Hmmmmm.. that canister looks suspiciously like a can of beer. (ideas?!?)


To bevel the ends, I used a belt sander.