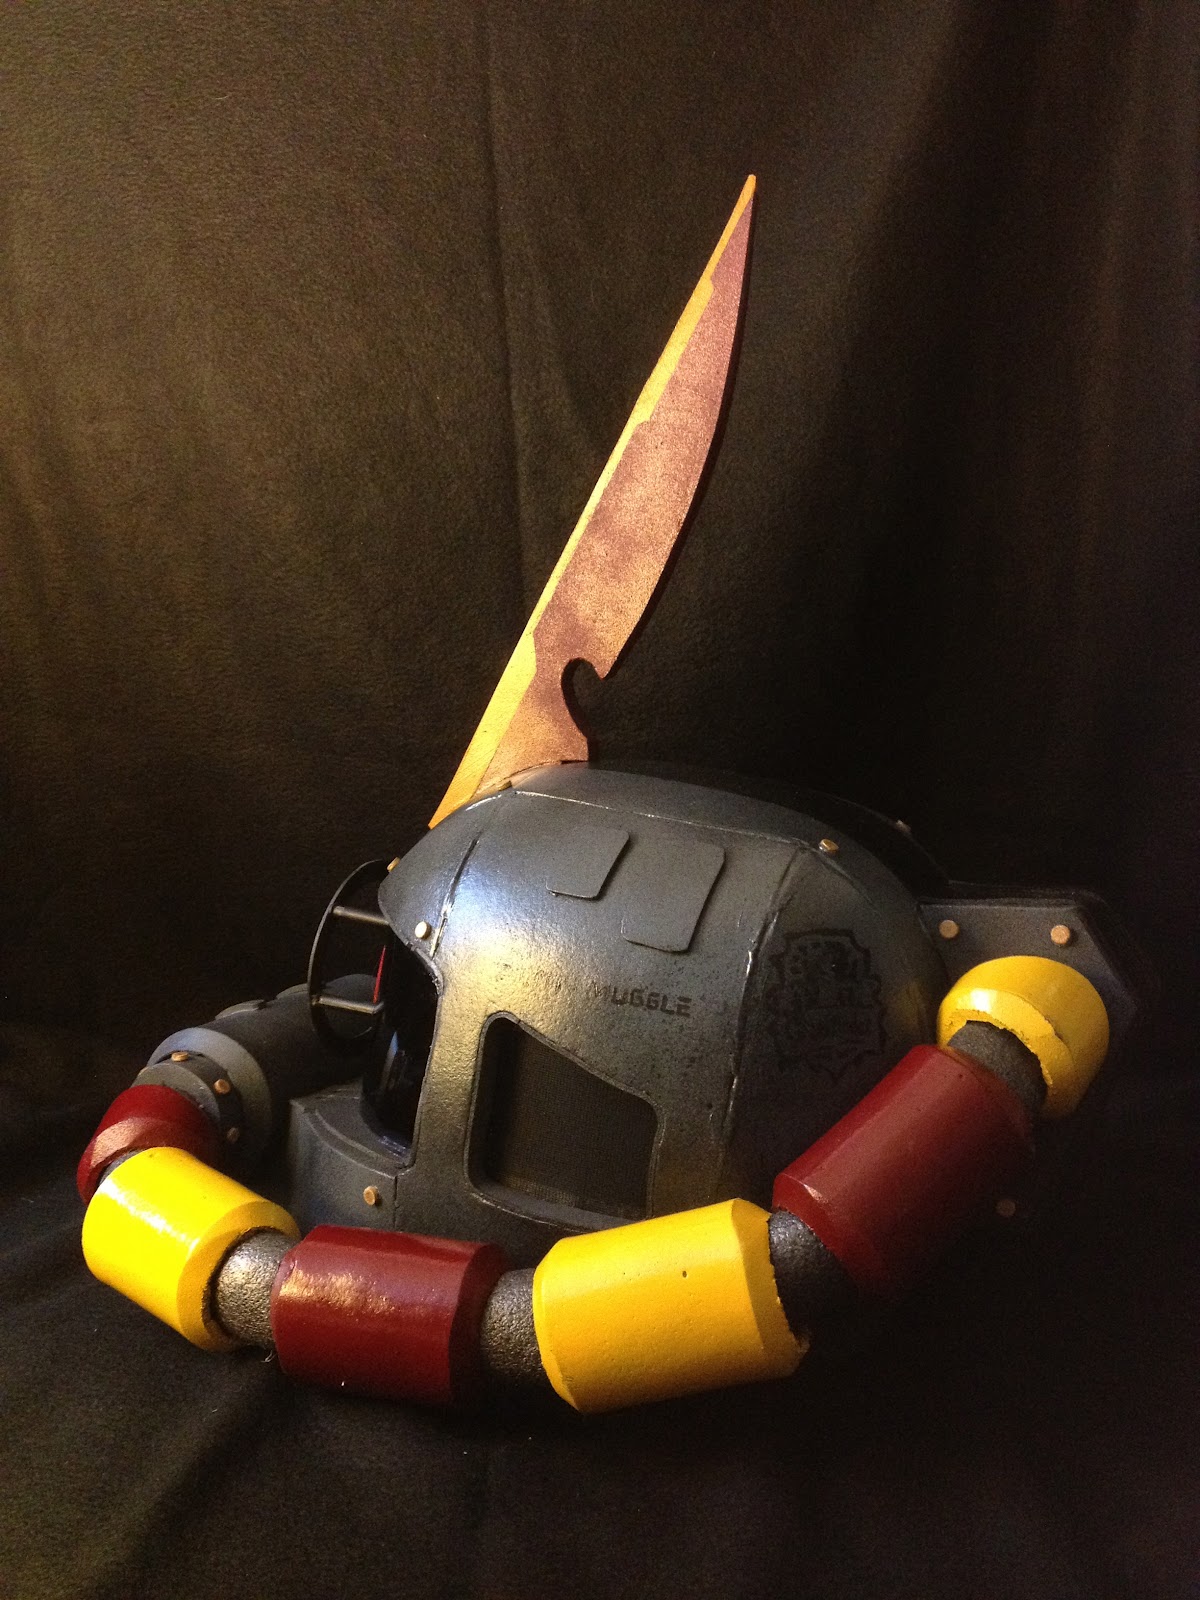
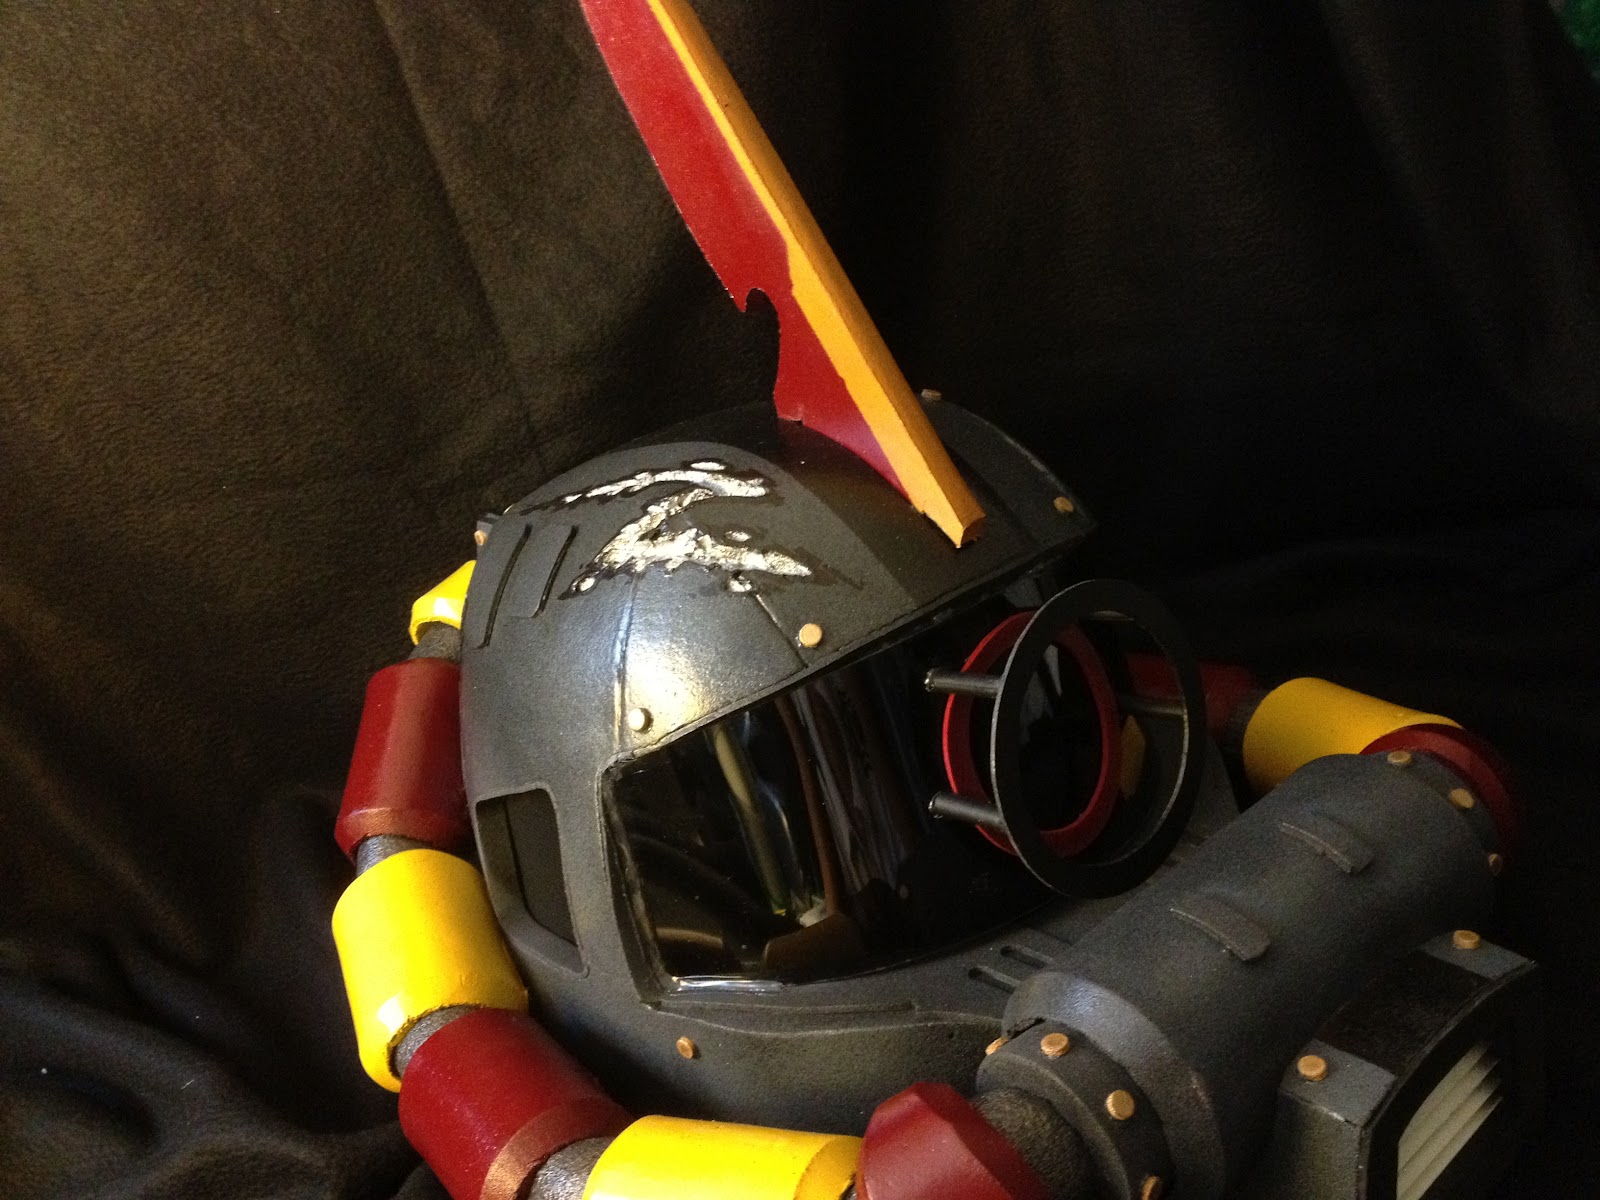
Going through the million iterations of Gundam, I've realized I just want a simple, recognizable Gundam. Not looking for anything fancy. Not too simple like the 70's classic version:
Not too complex like the ones that you can't even tell what you're looking at:
Seriously, where does the body stop and the head begin?!?
Looking for the Goldilocks of the Gundams...
Pretty much the basic model with a few extra touches to spice things up. Think we have a winner! Strike has the simplicity I want and Freedom has the detail touches. (Minus those crazy wings. Not a fan of those either). Guess, I'll have to customize my own Gundam for this project. That's ok.. part of the fun.
I'm treating this project as a big .. like really BIG, Gundam model build. With the exception of buying the kit, I would have to scratch build the head first. Going to custom build the parts/details I want later, then paint it... just like a model build... but on a bigger scale! It's going to draw upon every ounce of skill I have. From scratch build fabrication with any material, to wiring and electronics, to rigging, to the finishing process/painting. Keeping in mind this is a wearable costume. So comfort will have to be a primary concern.
Right out of the starting blocks, I hit my first roadblock. Scale would be a problem with this project. Gundam scales are off-wack! There is no human being on this earth with those proportions. For a visual reference, here's a proper human proportion:
REAL humans are usually 7.5 to 8 heads tall. Meaning if you cut your head off, duplicate it 8 times, then stack them on top of one another... that's how tall you would be. Or cut that last head in half to make it 7.5 heads, that would be ok too.
But, in the world of Gundam, it's a bit different. Actually, in the world of anime, it's different.
This Gundam is roughly 9 3/4 heads tall! Thems crazy proportions. The cute model next to him looks like she has freakishly big head now. What also doesn't help is the short torso and lengthy legs that any supermodel would be jealous of. The feet.. you kidding me? Compensate much?
So, what does this observation mean? I means I won't be building a standardly proportionate Gundam costume to fit me. If I did, I would be wearing stilts and be 10 feet tall. Nope, not doing that.
My solution would be to throw proportions out the door and go for a chibi look. *
*From Wiki:
Chibi (ちび or チビ?) is a Japanese slang word meaning "short person" or "small child". The word has gained currency amongst fans of manga and anime. Its meaning is of someone or some animal that is small. It can be translated as "little", but is not used the same way as chiisana [小さな] (tiny, small, little in Japanese) but rather cute. A prototypical example of the former usage in the original Japanese which brought the term to the attention of Western fans is Chibiusa, a pet name for the diminutivedaughter of Sailor Moon formed from Chibi Usagi ("Little Rabbit").[1]
In English-speaking anime and manga fandom (otaku), the term chibi has mostly been conflated with the 'super deformed' style of drawing characters with oversized heads or it can be used to describe child versions of characters.
Chibi style is usually used in depicting scenes which are cute and/or humorous, and it is extremely rare for it to be used for an entire anime series. It is quite popular in manga, however.
Something along these lines. I can see myself inside this. Without much compromise in range of motion.
This means I can do whatever I want. Might as well make it look funny. I'll try for the "funny but cool" look. It's gonna be a fun challenge! I love challenges.
Here's my mockup:
Tee hee. Love it. Gonna start!
*TIP: Use a LOT of photo reference. Use the internet! It's fun! I had downloaded HUNDREDS of random pics from a gazillion websites. I'd even take a pic that had an uninteresting gundam.. but had one tiny cool feature that I'd think I may use.. i'd download it. Store it in the reference library. It might be an inspiration for something else later. You'll never know.