Showing posts with label lights. Show all posts

Sunday, 25 March 2012

FINALE!


Finally finished! Pretty happy with the results. 

- Roughly 2.5 months in the making (I really did take my time with it)
- It's running on 2x 9v batteries. 
- 4 switches: 
          1) 2 fans 
          2) 17 LEDs in V-fins, Mohawk lens, exhaust, and a couple in the ears 
          3) machine guns 
          4) 6x LEDs in the eyes
- Retractable faceplate. For extra vision, talking, eating, etc.

I'll post details in the next post.


Saturday, 24 March 2012

Lighting up the Eyes

Was pretty busy with life the past couple weeks. Had very little time to get on this project. But, things are starting to settle again... so, it's back on target:

Lit Eyes:

The wiring for the eye LEDs are in place. All that's left to do here is paint the wires matte black and find a way to shield the bulbs so when they're lit, they won't cause a glare back at my eyes.


Had some leftover "turn signal amber" paint from my car models of the past that was the perfect shade I was looking for. Now, I had both yellow and amber paint. Tried them both, but found out the bluish tint of the LEDs made the yellow shine green. Whereas the amber paint plus the LEDs resulted in the standard Gundam yellow eyes. 
Good, the LEDs lit up the details just as I hoped.


Monday, 19 March 2012

Lighting... teaser


Don't have time to work on the project today.

Only can give you a teaser of the lights so far. The lights for the eyes aren't in yet. The blue camera (mohawk) lens isn't in yet either.

This thing can light up a room!

EDIT: Just found out one of the LEDs in the yellow fin is busted!!!! The one that was permanently cemented in!!!!! ARRRGH. There's no easy fix for this. Only start scratch build another one!!!! sigh.

Friday, 16 March 2012

Eye Lens Redux

Eye Lens:

Here we go again! My second (and hopefully FINAL) attempt at making the eye lens for the build. 

To recap my requirements on this sub-project:
- Must not limit my vision, much
- Should have detail
- Tinted yellow
- Must be lit up.
- Lights must not be seen from the outside
- Lights must not be glaring back at MY eyes.

Had put a lot of thought back into this one. Going to start off with a piece of clear lexan plastic. I think this is good approach.
Since I already have the shape of the eye lens from the previous build attempt. I'm going to use it as a template for the curvature. Here I'm laying it down on a piece of 2x4 wood. I needed a shape to put the melting plastic onto. And the wood can handle the heat.

Cutting the shape out with a jigsaw.


I stole this toaster oven from my wife years ago. Started out when I was secretly baking my sculptures in it before. Got caught by the wife.. and said something, something.. and she just gave me the oven! Woohoo!! Score! Anyways, inside the oven is a couple strips of lexan plastic. Warming it up for 5-10 minutes. The moment I can see them droop, I pull them out and put it on my wooden form....

Almost lost this piece. You can see some bubbling at the corners! Luckily, the bubbles are outside and would be cut off.


Cutting them out with my dremel.

Quick test fit. PERFECT!

Now, for the details. I'm thinking of frosting them in. To achieve that, I just mask out a simple design. With my dremel again, I used a steel brush attachment, and just went over the exposed areas.

I could use some fancy window etching solution to frost the details. But, that would mean money. And I rather not spend money if I didn't have to. The return wasn't worth it. Simple economics. hehe

TEST: Can I see out of the new lens? 
Yes! Yes, I can. Even in the frosted areas, I can see vague shapes. So, this is successful.


TEST: Does the detail light up? 
Yes, perfectly!! Success, again!

TEST: Are the lights visible from the outside? 
Nope. Since the lights would be mounted just out of sight. It's perfect again. Another Score!

TEST: Would the lights be glaring back into my eyes/face?
Nope, eventually, I will be mounting the LEDs with hot glue. Then I'll be painting the globs with dark matte paint. The light would only be directed at the lens itself.

PERFECT SCORE!!

Random Progress


Polish:

The "camera lens" in the mohawk is a bit dull. So, I grabbed my bottle of 'fine scratch remover'. It was for polishing up tiny scratches on my rear plastic window on my convertible. Grabbed a towel and rubbed the face up with lots of elbow grease.

LED test:
While I was wiring some of the LEDs, I noticed one of them had a bad flicker. So, I cut it out of the system. As decided to use it for experimenting. I wanted to see if I could diffuse the LED bulbs a bit. And I know hot glue dries cloudy. So, I put the two together....

I globbed some hot glue right ON the LED bulb. And let it dry. You can see in the pic... the LED bulb is completely "submerged" inside the wad of hot glue.


Test wired it to my battery... and voila! A nice diffused glow! Success. I'll do this to a few of the bulbs in the "camera lens"


Wire connectors:
Bought some quick-release wire-to-wire connectors for some parts of the electrical work. The fins are separable, so these are needed. I'm not really liking these types. But I couldn't find any better alternative. These were pretty prices too. Don't like pricey.

Monday, 12 March 2012

Hot Glue Sucks

Hot glue:

Never said it before, so I'll say it here. I really dislike hot glue. Not a whole lot of positives, but I can name quite a few negatives....

- takes time for the glue gun to warm up
- glue gun is awkward to use in tight spaces
- glue sticks always run out. all the time.
- MESSY!
- those spiderweb-like strands with each use. And it's endless!! You just keep pulling and pulling
- not really a strong bond.
- dries cloudy

Obstacle: Here, I robbed some hot glue in the area where I was to place the fan. But, it rolled over into the fan blades!!!! UGH!!! Glued them down. I had to go back in, cutting and re-melting the hot glue to rip the  fan unit out. Some more cutting and sanding got the blades free. Hot glue sucks.

Finally got the fan to work again! Wired up all the LEDs for the eyes too. Here, I'm testing out the switch for it too.

Wednesday, 7 March 2012

SUB-PROJECT: Spray booth

DISCLAIMER: This project involves electricity and spinning blades of death. Please don't attempt, if you're not 100% sure of what you're doing!! (Young or old!)

A mini project that came out of necessity. I am nearing the painting part of the helmet build. It's wet and cold outside these days. I don't like to wait for mother nature to accommodate my needs. So, I needed to find a way to paint indoors.

But, it gets messy and really smelly. I needed a spray booth. But, they're too expensive to buy. They range from $250 - $5000! Can't justify the price for the amount I need to use it. So, I'm building one myself!

It's a very simple build. Only requires a few elements:

- To be a box large enough for projects
- Needs a fan in the back
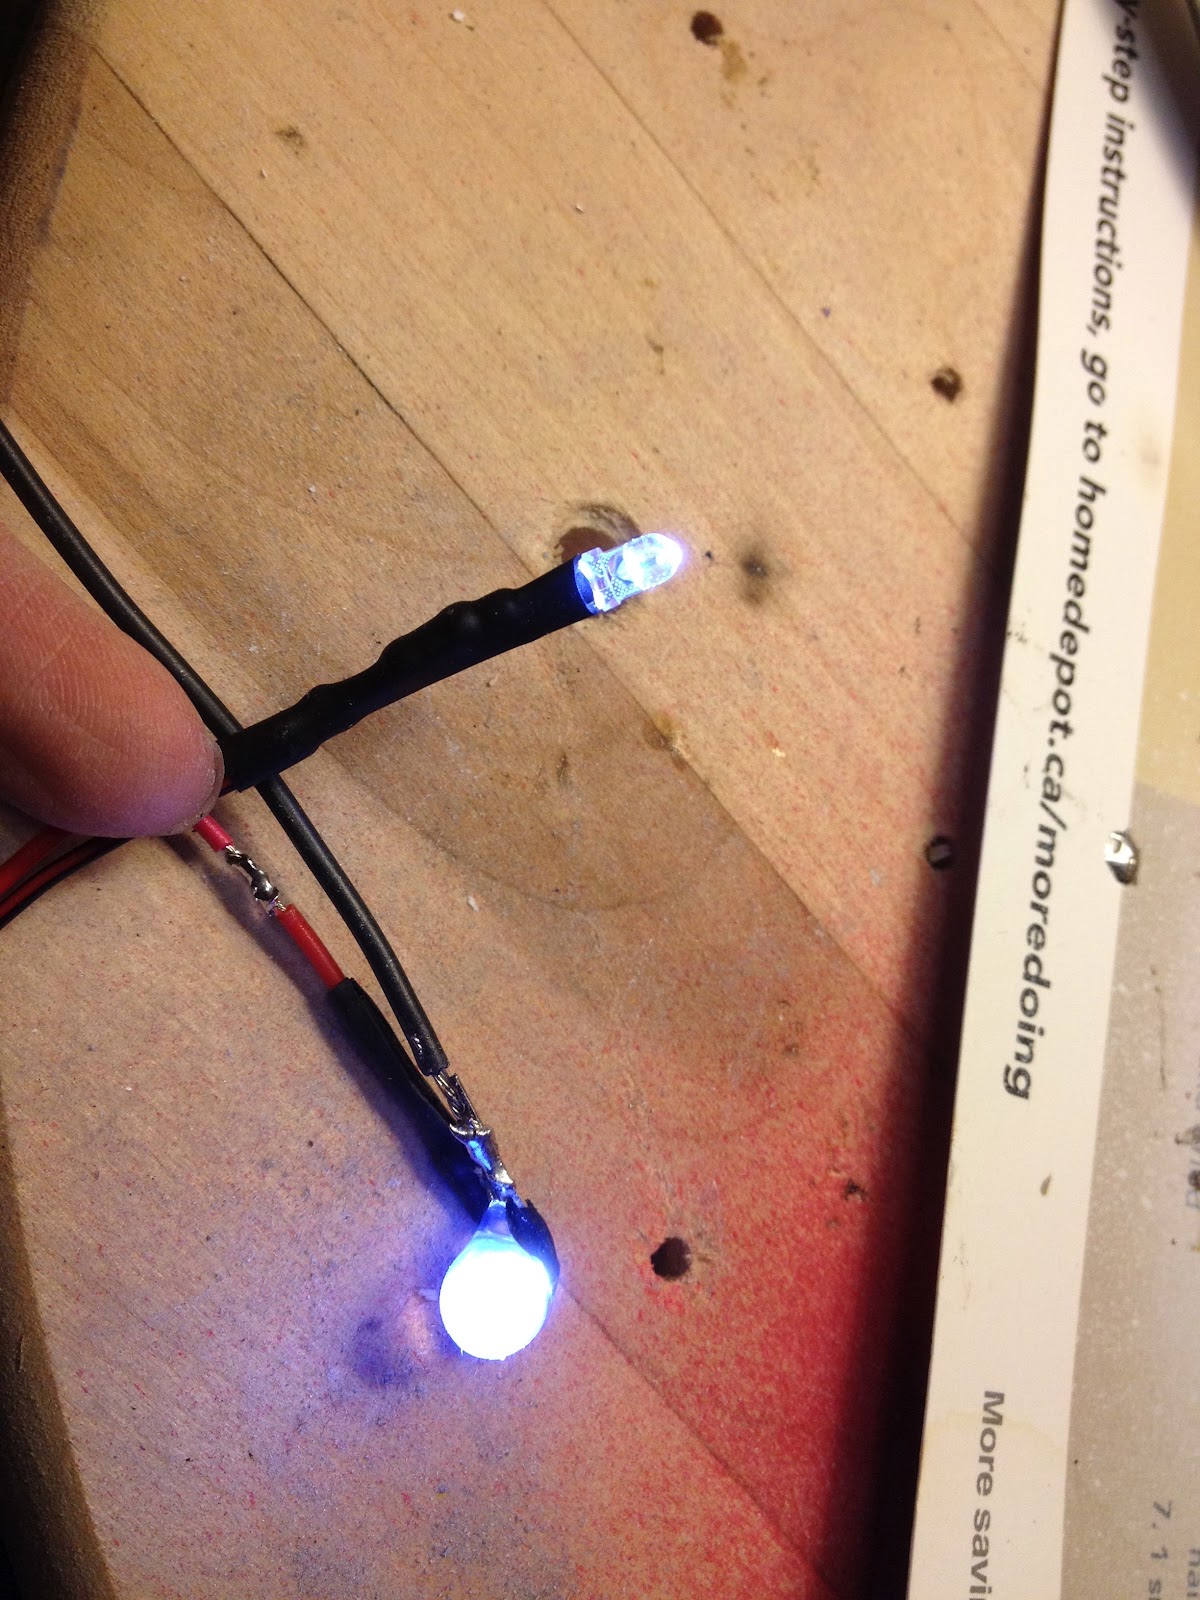
- Needs a light
- Needs piping to vent out the bad air
- Needs to be able to be plugged into typical AC outlet
- Standard home air filter
- Optional: A Turntable
- Optional: Switches for the fan and light

Budget: Nothing. Zero dollars. That's my goal!

How am I going to accomplish this wizardry?!? Craigslist!!!! Specifically, the free section of Craigslist.

I went looking for a washroom vent, but found something 1000x better. A complete stove top hood range! The range includes a working fan, light, switches, AND a box that already houses all of them!!! This one item saved me from 80% of the build right there. Love repurposing old items.

A little oily from the previous owner. But, a few good wipes of the Magic Erasure... it was like new! Really, I can't believe that sponge works so well!

Power cable:
Have a few old computer power cables around the house. Perfect for this project. Repurposing again!
I just cut the outer black wire wrap to expose the 3 coloured wires. They're industry standard colour-coded: Black = Negative, White = Positive, and Green = Ground.

This would be connected either with electrical tape or wire connectors

 Turntable:
I have an old lazy susan I use for sculpting. It can definitely share duties here. I had drilled random holes everywhere. 2 sizes. They're for sticks with alligator clips at the end to hold my pieces I need to spray.

Venting:
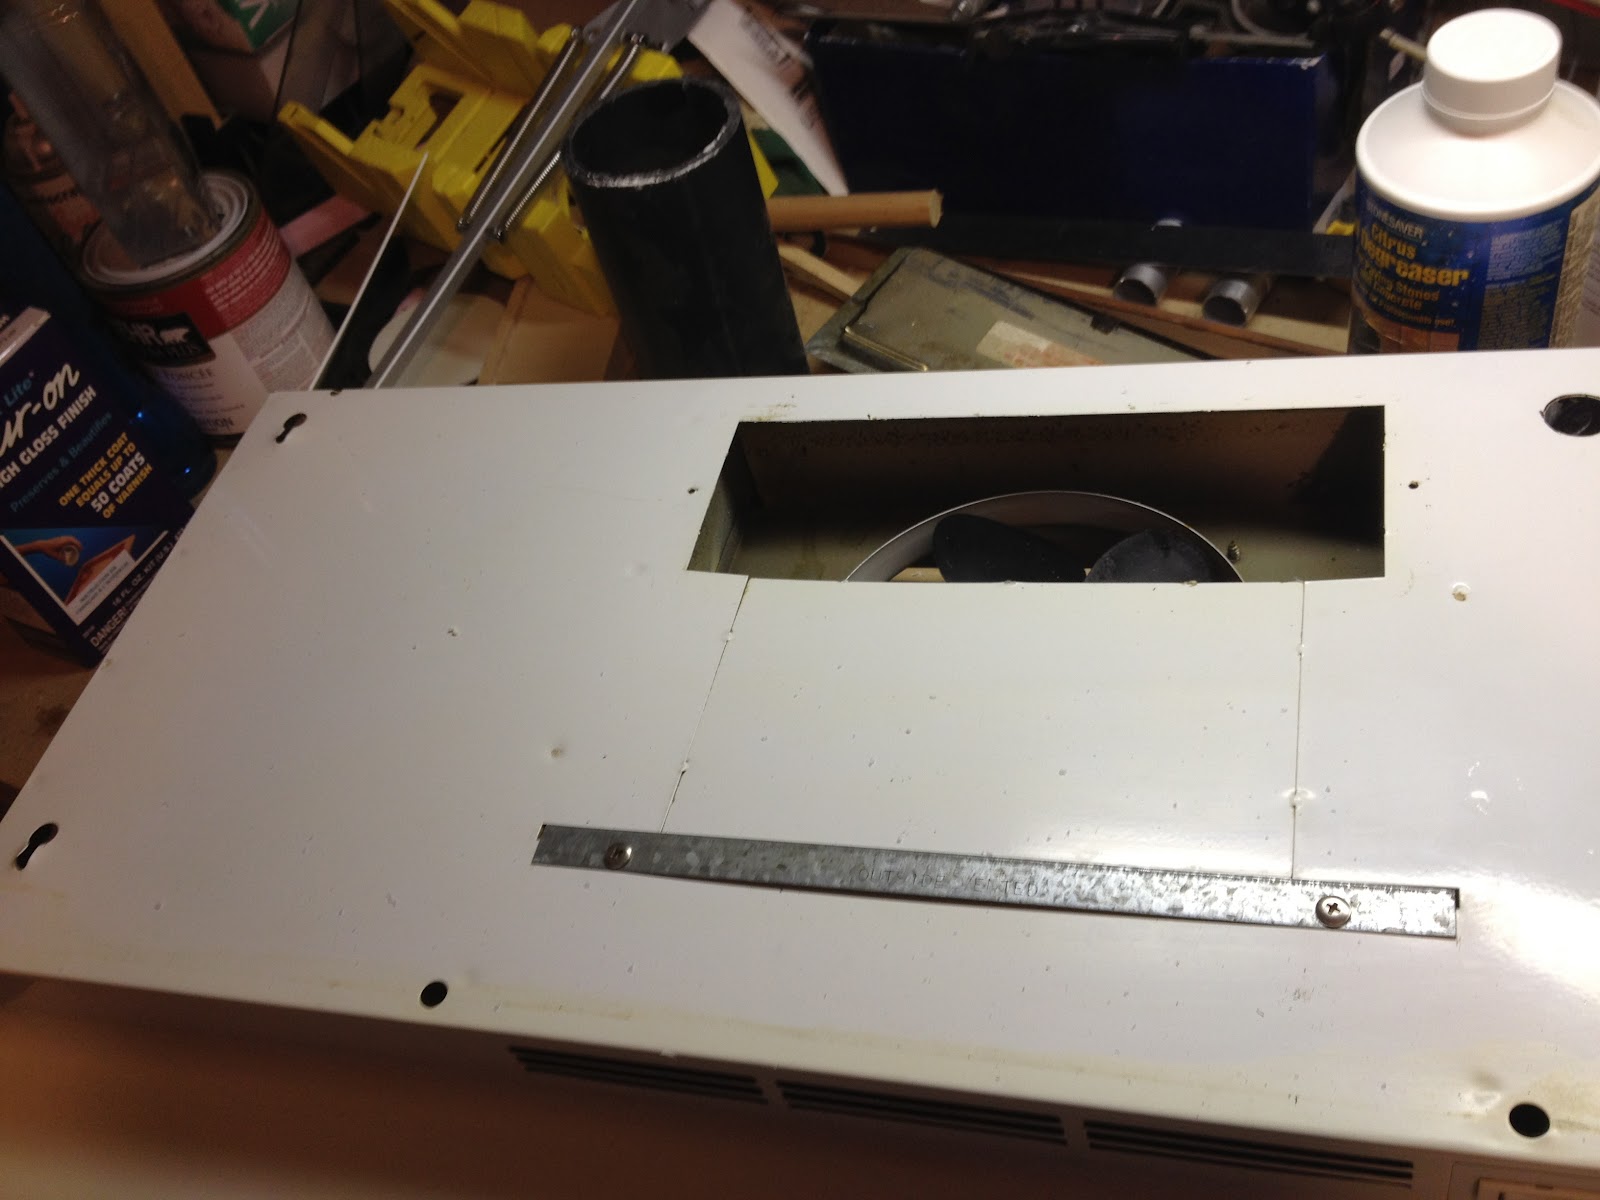
The back was really oily... like really thick caked on grease. Cleaned it up with some degreaser. 
Leaving a rectangular exhaust port behind the fan. My hose is round, so I need to make an adaptor.
 Plastic again! Love the stuff.
Line a good bead of silicone around the hole. Glue my adaptor right on.

Hose:

I cut a 1" piece of old PVC pipe and silicone it to the hole. This will serve as the adaptor where the hose will just attach to.

The hose is a vent hose (insulated here. Not necessary for this project). I got it for free basically. 25' worth at a local hardware store that was closing up shop.  (That day, I picked up $1100 worth of stuff for only $50!!!)


Finished! Time to test it. Get the band-aids ready. Heck, get the fire extinguisher, chain mail, and get 911 pre-dialed. Turn it on and step back.

It works! Has great suction. 2 speeds too! Even at the lower speed, it can draw all the paint particulates through... even with my filter in front of it. Here I just grabbed whatever I could find around the house to use as walls. I'll try to find some (free) scrap wood somewhere and build a proper box. Thinking of building the box that can hinge as well. So, the entire unit can fold up to a smaller footprint. For storage when not in use.

I need to figure out a better place to place the light as well. It really should be in front of the workspace rather than behind. Either that or just get another light. More light the better anyways.

There ya have it. A free spray booth! Now, if i can integrate a small belt sander in this as well!! hehe


Tuesday, 6 March 2012

Wiring Antennae

While I wait for the mold for the eyes to dry and the paint to dry on the rest of the pieces...

Gonna put in some lights into each of of the antennas. Right at the highest points. But, I don't want any of the wires visible. So, I break out the dremel tool again. and gouge out a tiny channel for the wires.

TIP: Holding down the working piece with a vice makes things go so much smoother.


A little spackle to fill in the gaps. Let dry. Sand. Paint.

Monday, 20 February 2012

Light Em Up

Electronics:

Time to dabble in the wiring. Not my forte, that's for sure. But, I know the basics... enough to get by on this project. Not going to do anything crazy. 


Back on the machine guns:
With the flashlight disassembled, I soldered a positive and negative wire to their respective points no the circuit.

Tested it out with the battery pack that came with the flashlight. You can see a rough schematic drawing of my circuitry of all the elements going in to the helmet. 4 switches that would control the lighting and fans. Power drawn from a small portable 12v battery.

Wish I did know more about electronics , or else I really would go nuts. (fog generator, strobing lights, neon lighting, motorized faceplate, pop-up panelling, robotic voice changer, etc. ... possibilities are endless!)

Thursday, 16 February 2012

More devils. In the details.

Machine Guns:

The machine guns were designed in Maya and eventually printed out from Pepakura. But, a quick glance at the insane work to make those out of paper... I said, "screw that!" I figured I can fabricate something from scratch much easier.

I had originally wanted to put actual video cameras into these spots. Then have these cameras hooked up to a pair of virtual glasses. That way I can see everything in front of me. Rather than the tiny eye holes in the face mask. Alas, that was a really expensive route. And my compromise was to just put LED lights in that location.


Picked up these cheapo LED flashlights from the dollar store! Clamped them down on my vise and sawed them in half with my trusty Dremel tool.

Now, it's the perfect size. Even has the placement of LEDs that makes it look like machine guns! Perfect. With 2 mounted on either side of the helmet, I'd get a great flood light in front of me. Perfect for night walks. If I had a dog, I'd TOTALLY walk it at night with the helmet on.

Dressing it up. Here I'm heating up a PVC pipe so I can wrap it around the "machine gun"


Voila. Randomly designed on the fly. Using whatever scraps I had in front of me.