Showing posts with label pepakura. Show all posts

Monday, 26 March 2012

Final Details

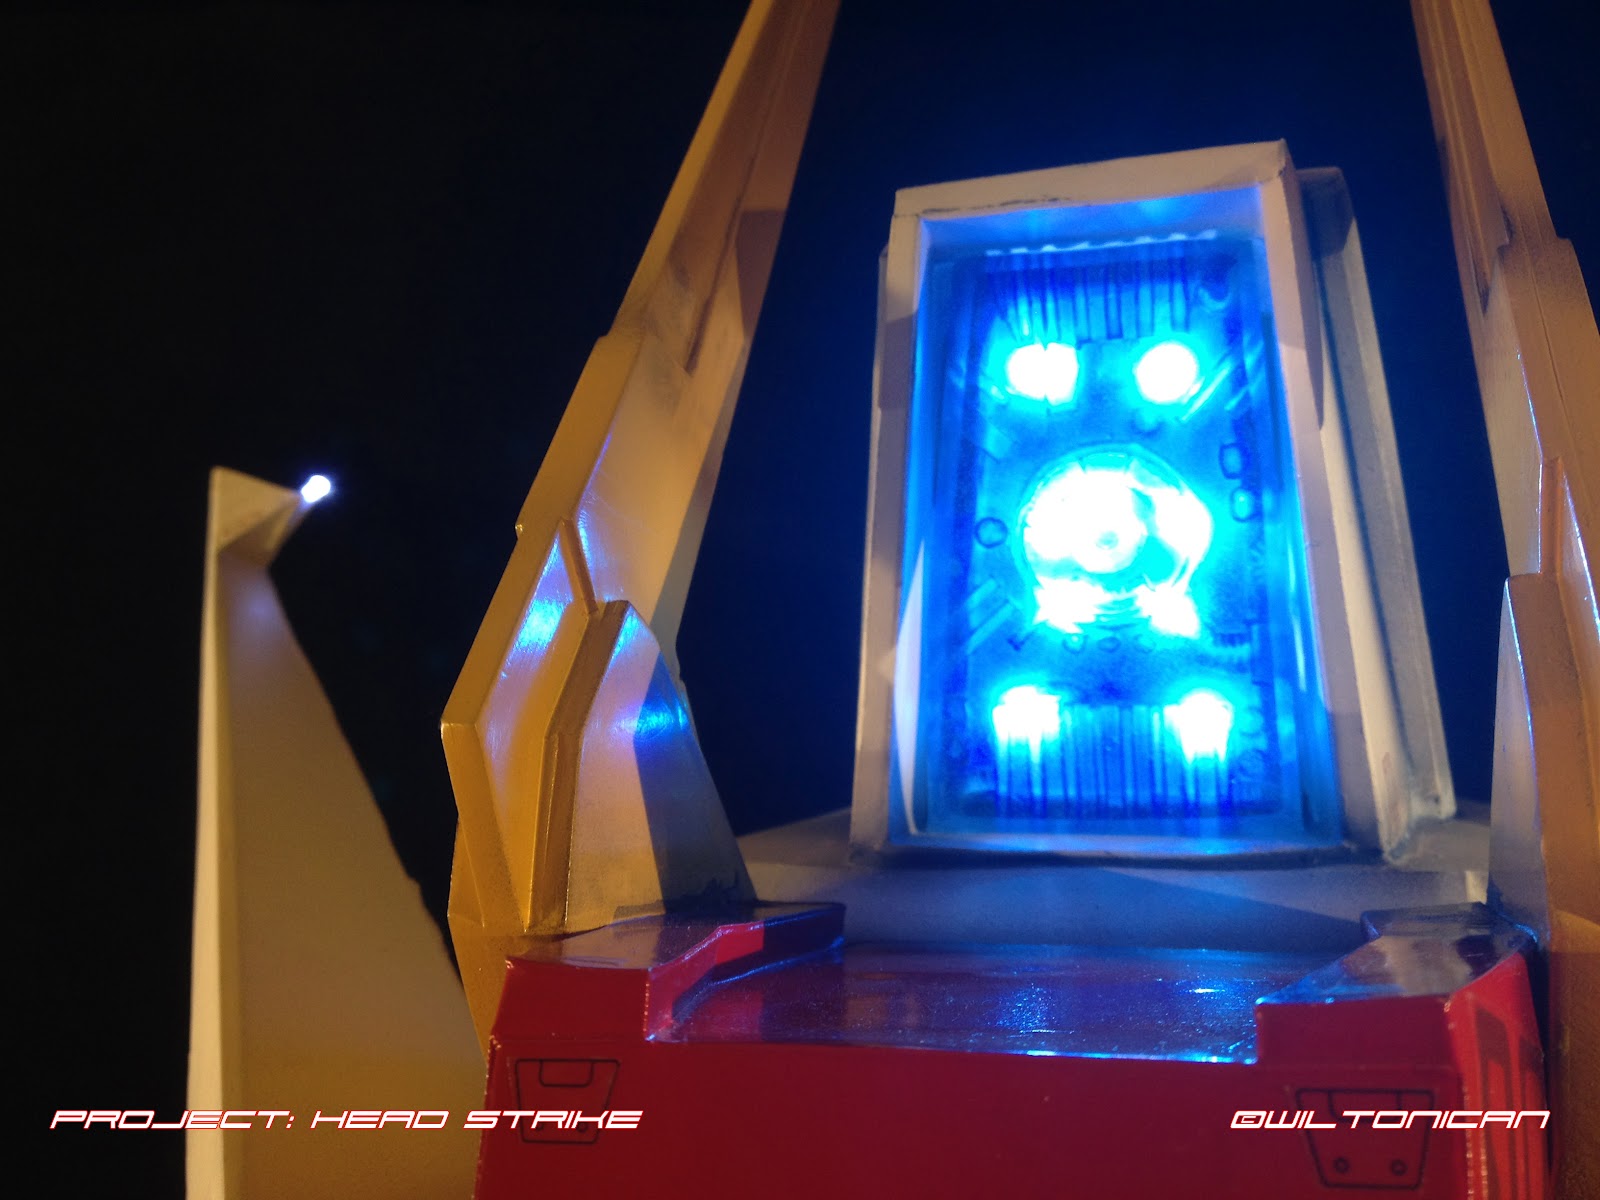
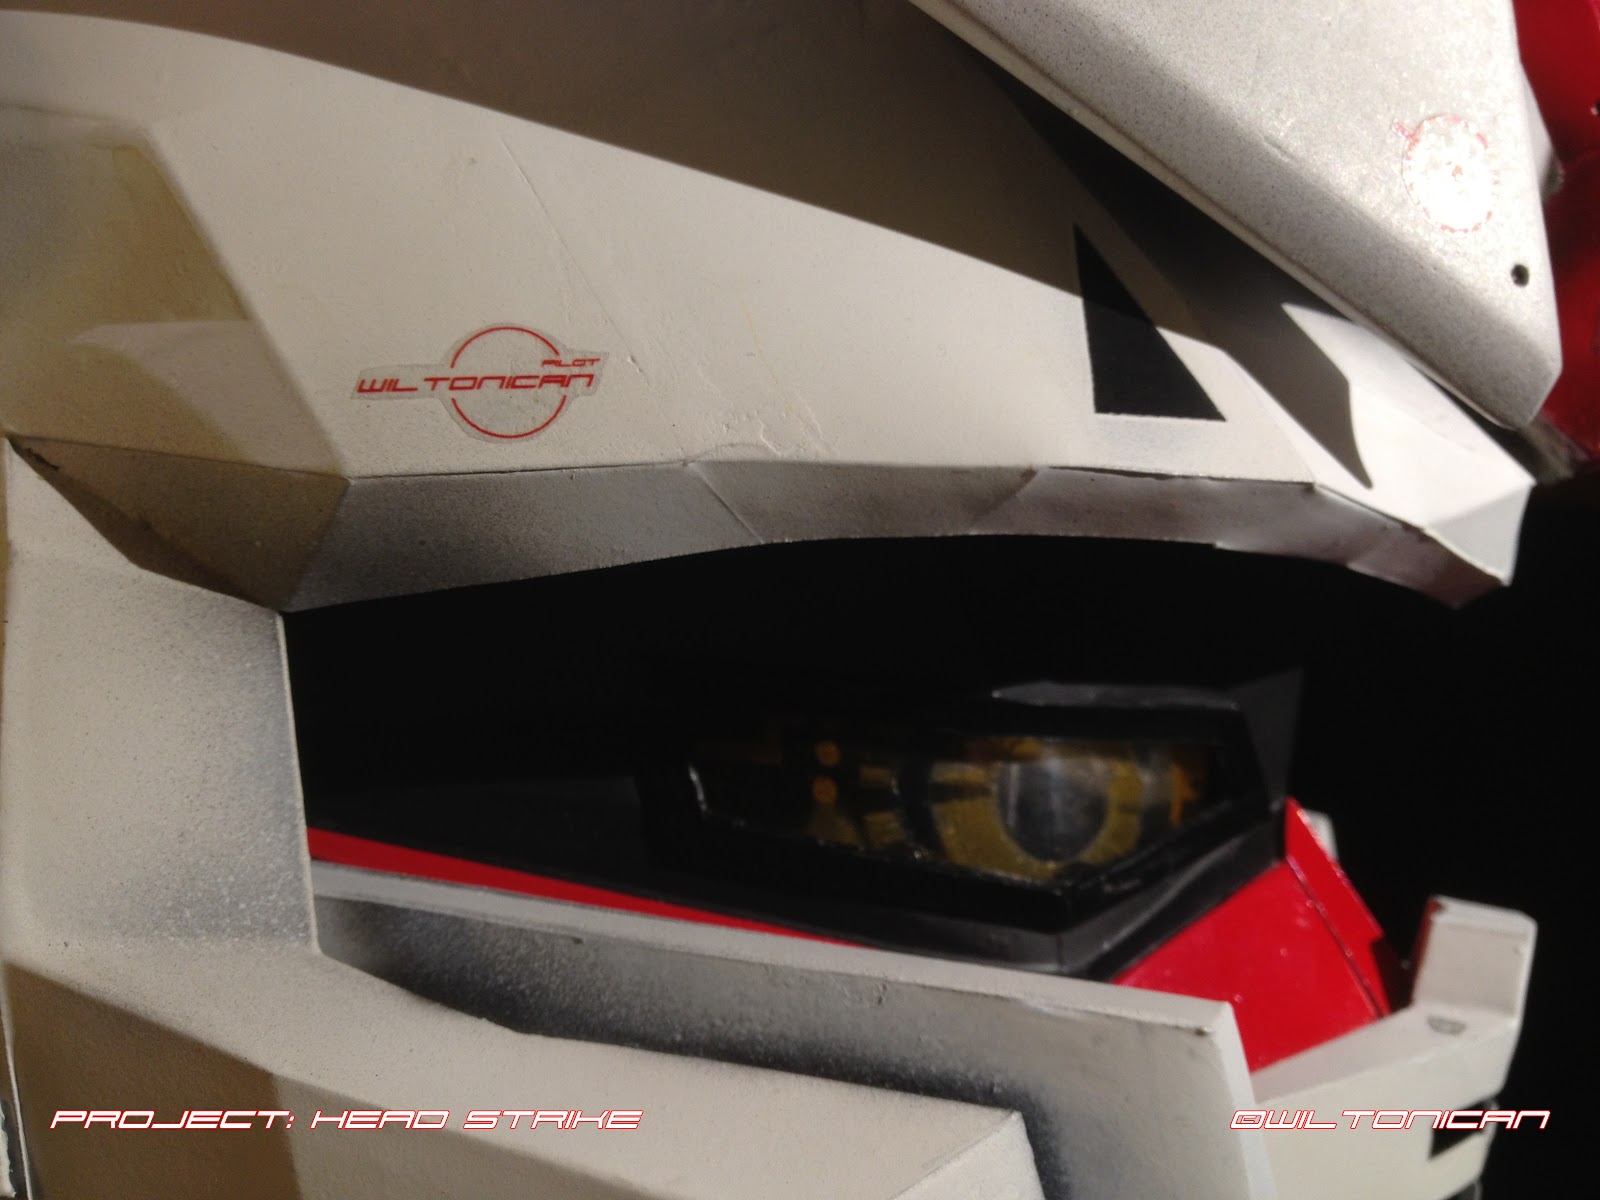
Here are some close-up shots of the helmet. Showing ALL the embarrassing blemishes that any supermodel would simply freak if it was ever shown on a magazine cover. I wasn't worried about them cause, frankly, no one's gonna see them... except you, here, online. When I'm wearing it, walking around... I'll be a blur.

Just for you guys, I've put in a few easter eggs in the decals. Can you spot them all?


Sunday, 25 March 2012

FINALE!


Finally finished! Pretty happy with the results. 

- Roughly 2.5 months in the making (I really did take my time with it)
- It's running on 2x 9v batteries. 
- 4 switches: 
          1) 2 fans 
          2) 17 LEDs in V-fins, Mohawk lens, exhaust, and a couple in the ears 
          3) machine guns 
          4) 6x LEDs in the eyes
- Retractable faceplate. For extra vision, talking, eating, etc.

I'll post details in the next post.


Tuesday, 28 February 2012

Back To The Drawing Board

Logos:

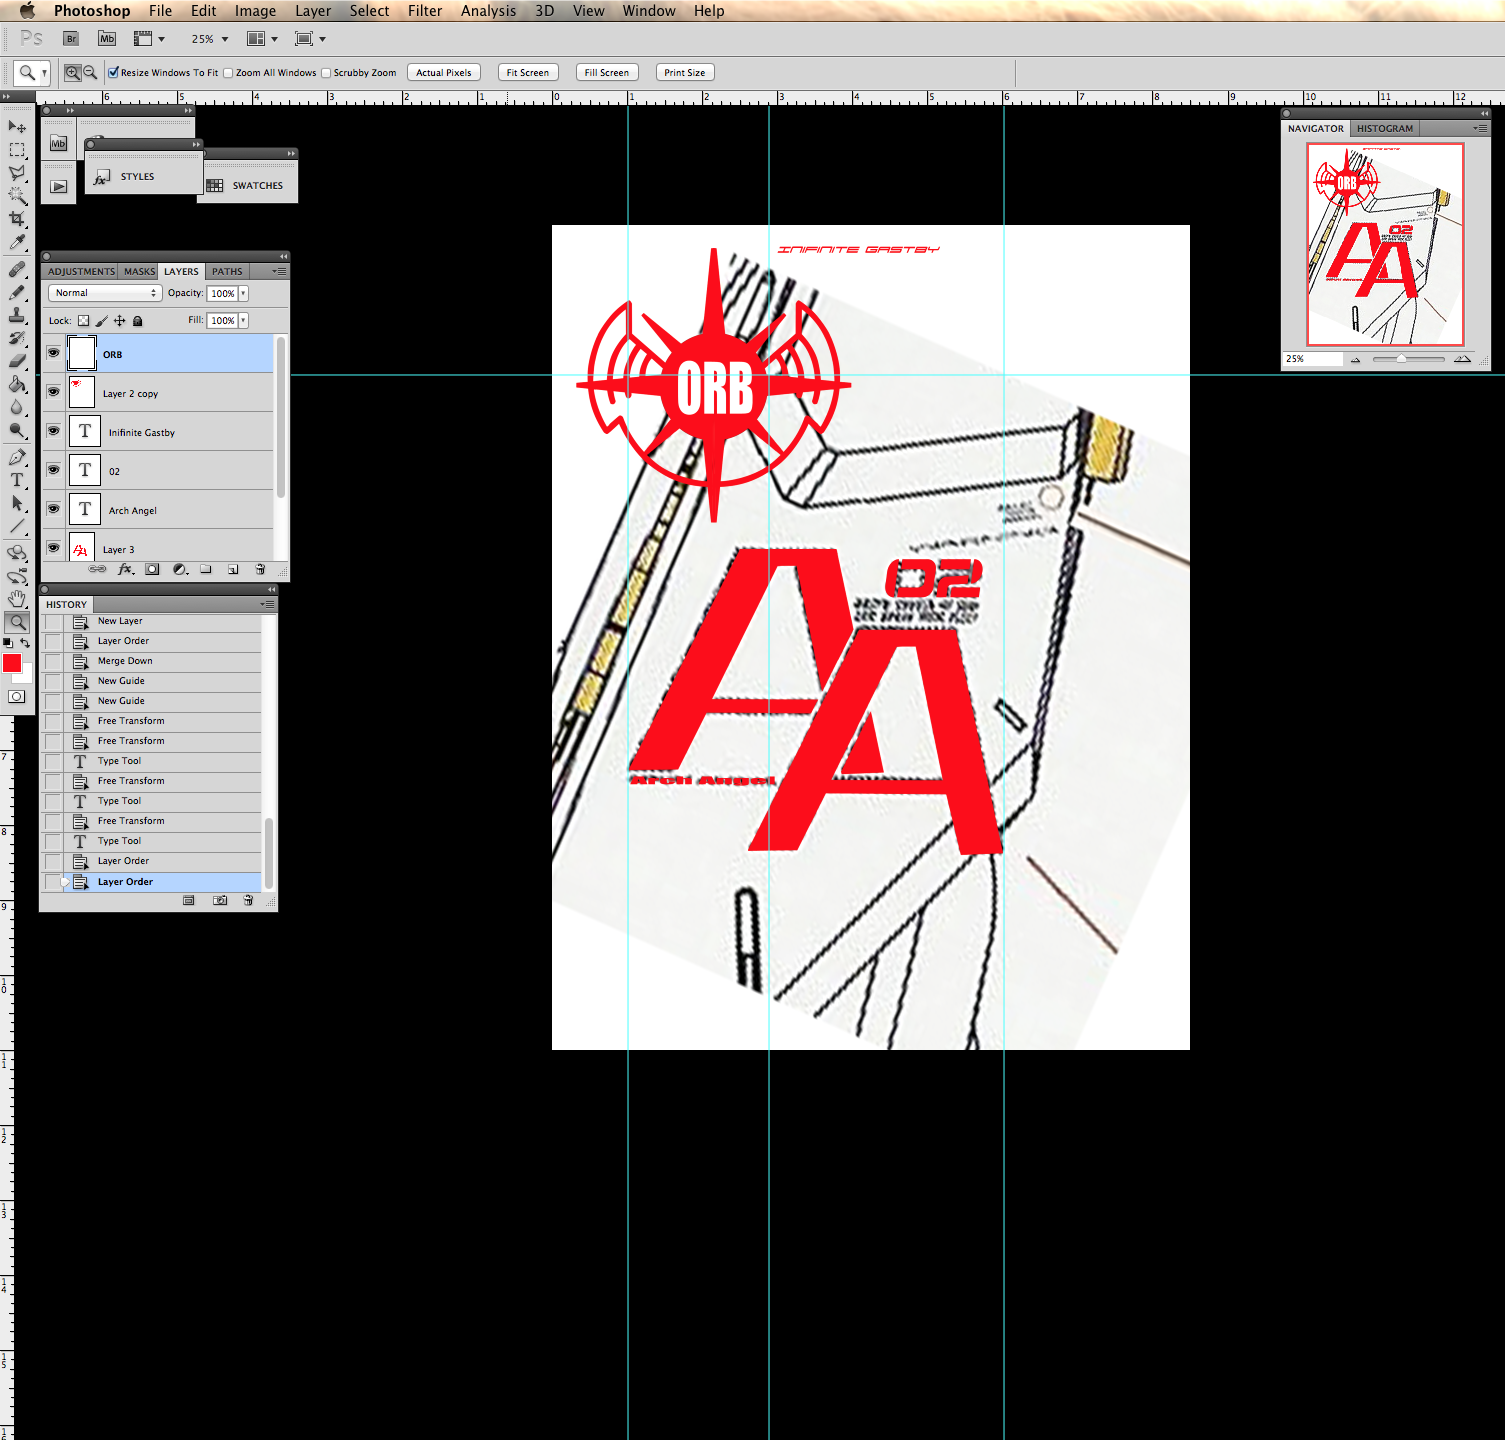
Since I'm stuck with a few obstacles to sort out right now, I decided it's a good time to step back and jump  on the computer and do a little designing again. Picking out a few good Gundam Strike Freedom logos and some randomly generic "Caution" icons to cover the costume.

Found a few images online, but they're too low res. And my costume is super large scale, chances of finding 'decals' to fit my scale are next to none. So, I'd have to recreate them all. Part of the fun!

A couple of work-in-progress logos.

Design: Shoulders, Arms, and Chest

And to continue the costume build past the helmet, here I start to see how the next stage would be. The shoulders, arms, and torso. 


I always said that if I can't get the proportions to work for my body, I wouldn't continue with the costume.  Do it right or don't do it at all. My goal from the beginning was always to make a "chibi" version of Gundam. Specifically, the FW Converge series of Gundams. (Pictured top right)

Roughing in the initial sketches over my body, I maybe able to get the shoulders and arms right. But, unfortunately, the torso isn't looking good. I just don't have a skinny waist to pull it off. So, it seems the costume will end there. Well, I still can get the chest finished.

I think that's good enough. It'll have all the elements I want in the costume. Building the legs would just restrict my movements anyways.

Sunday, 26 February 2012

All Primed Up

Primed:

All the major pieces are complete. And a few smaller details. The entire head was painted primer. Was super excited to get to this part. But, that excitement quickly turned into disappointment. Now that the entire head was one solid colour, ALL the detail errors is visible now! Had to fill in areas with putty. Some I'm still hoping I can fill in with paint later. (Hoping the paint is thick enough to do so)


Obstacle: There was a gunk of hot glue between the helmet and the "sideburn". Even after I cut out as much as I could, the mess was still clearly visible. A total eyesore! UGH!! Either I go back in and just pick at it with a knife or razor until it's all gone... or just figure out a way to just cover it up. I doubt the paint is thick enough to cover this one up. Solution: yet to be figured out.


Looking pretty good sitting there... from afar. BUT...


Obstacle: And this one is a HUGE one. I had to try it all on. With everything on. Wanted to see the weight and its distribution. And it's not good. Not good at all. The V-fins, while isn't that heavy in my hands independently, weighs significantly more when it's mounted on the forehead. This is because it's a good distance from my own head/neck. When in motion, this weight is even more noticeable. Even though the entire head with all the gizmos only weighs 4 lbs. it's pretty light. BUT, I'm in it for the comfort as well... remember, no compromises. I want this thing to be super light. As if I'm only wearing a hat. A hat that I can wear for an extended period of time. I could mold and cast the entire unit in foam. But, that's really REALLY expensive. Solution: yet to be figured out.


Tuesday, 7 February 2012

I can't breathe!

On the subject of ventilation, I was thinking where I should put my mini fans.
Since I cut out these side vents, I can place the fan units behind a screen inside the vents. Heck, I can even rig it so I showcase those running fans. 


Even though these fans run super silent, having them an inch away from my ear can still be annoying. If it's not the fans' noise, then it's the air being pushed through that I will hear.

...Or I can place them behind the vent holes/nostrils. This would give me direct flow of fresh air. I think this route is best. 


And to vent the hot air outward, I chose the most logical place. On the tail end of the "mohawk" piece. 


Sunday, 5 February 2012

Horns: part 4 (Assembly)

"Crown" or Base:

The Base is where the horns will be attached to. And the base itself attaches to the forehead of the helmet

Inside (and out of focus), you can see 2 black strips. These are metal plates. (Random junk I found around the house) These are glued down with superglue. Their purpose for which I may or may not use, is the contact points in which the magnets would attach themselves to the rest of the helmet. (the forehead)

 Ripped up a square of paper towel.

These are for "fillers" inside the "crown" and the "horns". It would fill the empty space inside, grabbing the wooden posts and sticking them onto the inside walls of the horns.

Backside of the entire assembly.

- Metal plates (shown in light brown)
- Paper towels (shown in green squiggly lines) - They fill the volume of space inside
- Wood with screws (shown in grey) - The paper towels are soaked with resin and would 'grab' onto the wooden dowels and nails. Just randomly wrapping around them. Making sure the towels also touch all sides of the walls.  Both unifying everything and giving it strength.

You can see the entry holes where I pour my resin into. Filling whatever space there is. This would give the proper solid feel to the entire assembly.


80% done. Ready for details and paint!

Saturday, 4 February 2012

Horns: part 3 (Assembly)

Horn Assembly:

"Horns" all cut and glued. Time to finish it off all the edges with a little modelling putty.
(Pic above: underside with detail)


All edges sanded smooth. I left the 'end caps' open. Reason being I needed to figure out how to anchor each horn onto its base. If I were to simply just glue the cap on... it would be fine, if it was a model that I let sit on the shelf. But, this helmet needs to endure a lot of motion. The thin bead of glue would never hold its weight of the horns, it would tear it off the base pretty fast.


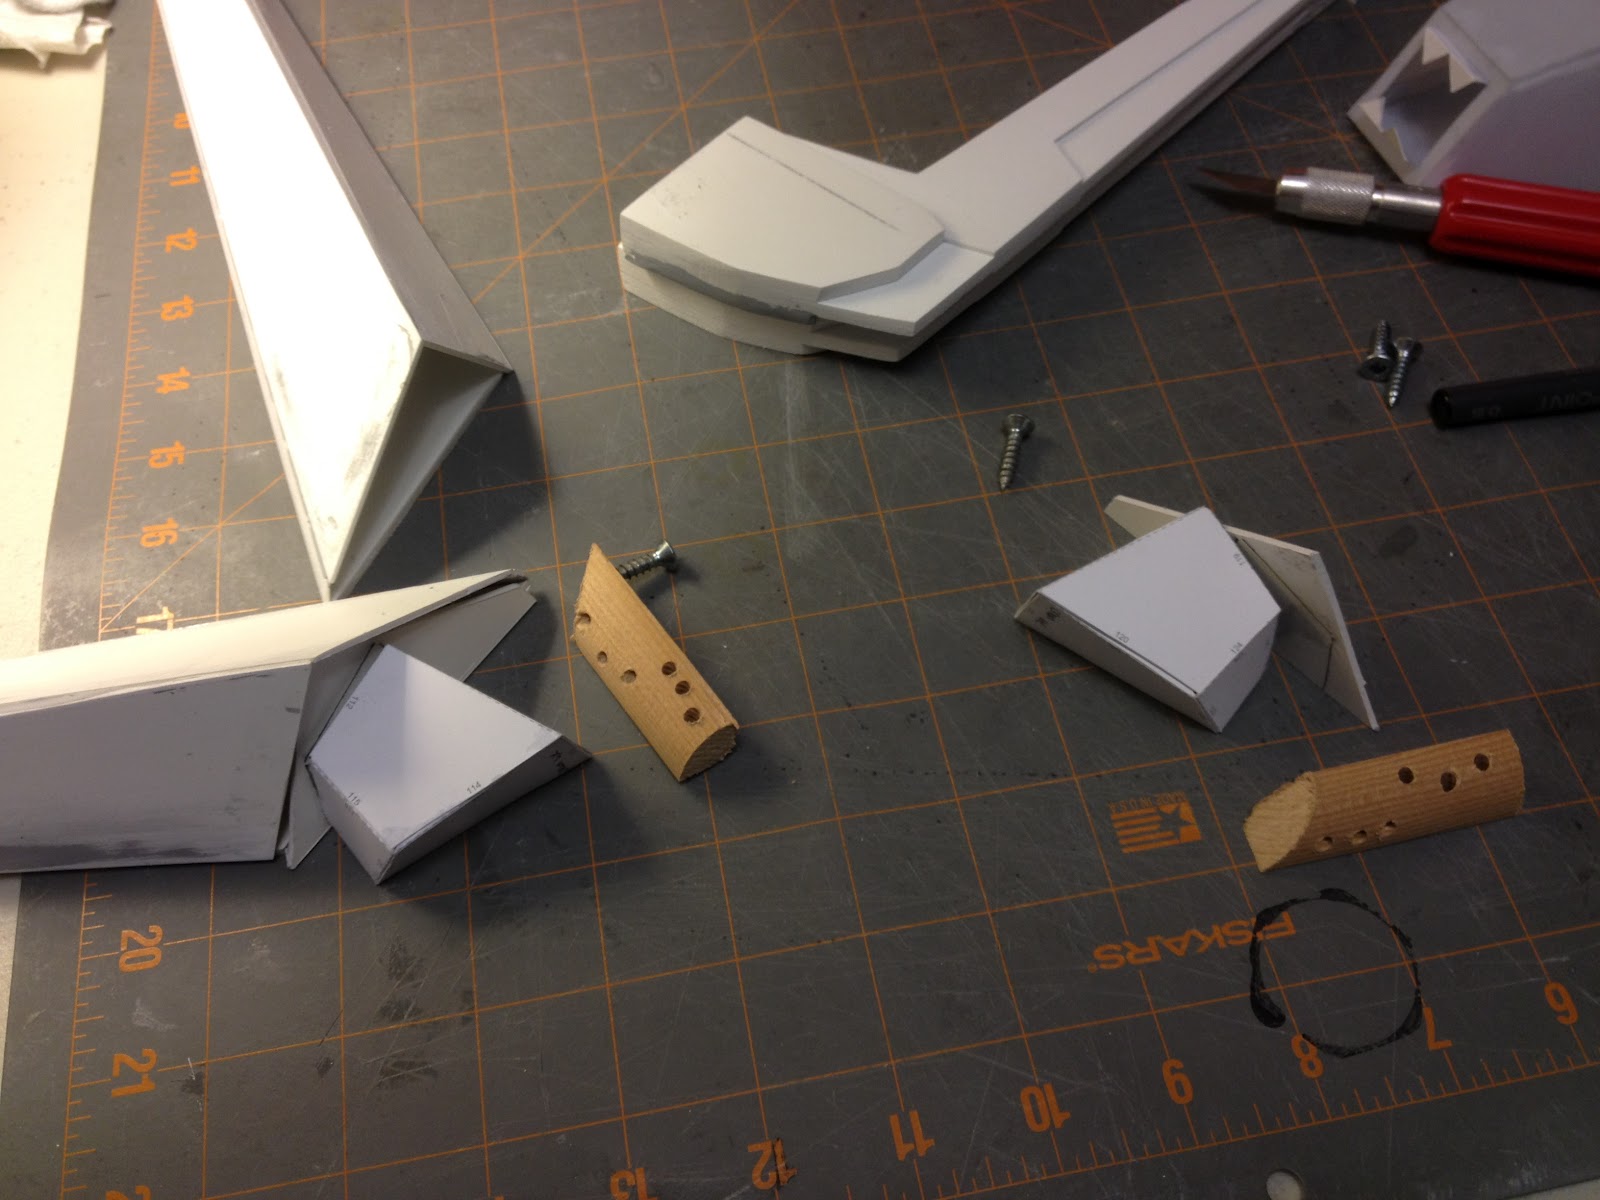
Looked around and found some scrap wood. This will give it a good anchor to the base. So, I plan on using resin to bind it all together. Drilling random holes into the wood to give the resin something to grab onto. A few screws would help this too. You can tell, I'm totally improvising now.


Totally forgot to mention where I got my inspiration from. A model of a Strike Freedom Gundam by an artist Min Bong-Gi. His work is simply awe inspiring.


My costume will be 80% from his design. And I'll throw in things here and there.

Friday, 3 February 2012

Horns: part 2

Horns:

From the paper template I printed out off of Pepakura, I cut more pieces from the plastic sheet. Gluing them together with plastic cement


The second pair of "horns" are basically glorified tetrahedrons. Throwing in a few details here and there. It'll be strong and lightweight.


Thursday, 2 February 2012

Horns

Horns:

I think for the next little bit, I'm going to focus on the "horns" or antennas or whatever-you-call-ems. They are the 4 long protrusions that come off the forehead. I had a concern where these long horns where I would bump into walls and doorways constantly and eventually break off. Totally see this happening because I have zero peripheral vision. Only looking out of 2 tiny holes directly in front of me.

So the solution would be to make them strong and maybe 'break-away-able'. So, if I do hit something, it simply comes off.. and I can put it back together again without any damage.

My solution for the strength part would be to use a different material. Metal would be too hard to fabricate with and it would be too heavy. The paper/resin would be too weak since it's hollow. Difficult to reinforce the insides. So, I'm going with plastic. I picked up a huge sheet of plastic at Industrial Paint and Plastics. (They sell all kinds of cool industrial building stuff. Same place where I picked up the measuring cups and resin kits)


(Small) Obstacle: I had to go back into Pepakura to print these shapes out on regular paper. Since I'm not going to use them in the same fashion as the rest of the build. I'm just using them as cutting templates. So, I left out the tabs and numbers too. Had to go back into Maya to adjust the model of the long horns. This way I can break them into 2 shapes that run arcross 2 pages. Couldn't fit the horn onto one single 8.5"x11" paper.


.080 gauge plastic

TIP: Make sure that blade is still sharp! You have to make a few SLOW accurate runs on each cut. Being extra careful not to swipe that blade across any of my fingers! Don't really need to cut all the way through, once it's past halfway.. you can just bend-break it off. Still has a clean edge. Sand if not.

Plastic Cement is what I used to sandwich them all together

Love modelling putty. Goes on easy. Cures fast. Sands smooth. 
(Picked up a couple tubes at the local hobby store)
Sanding the putty down smooth. Then sanded the entire piece. Same reason why I sand down all my Gundam models, to rid the plastic of its manufacturing oils. This will give the primer a good surface to paint on.

All edges sanded down smooth. It's got a great solid feel to them now. Not worried about banging them around.


Again.. with the mock fits. Liking it!

The solution for the 'break-away' horns.. so they don't actually BREAK. I think I'm going with rare-earth magnets. They're super strong and can easily hold the weight of each horn. (In the above picture) I've tested the magnets' strength. So far so good. If that isn't enough, I can always go with hook and loop (Velcro). Or maybe a combination of both. This is also a good idea for when it comes to storage.