The decal description:
1) Danger: Watch Your Limbs and Man/Woman washroom icons. Hey, pilots needs to go too!
2) Do Not Touch Boobies Without Specific Authority: Always Be Ninja-like
3) Danger: Hot Oil Not For Cooking
4) little grey marks under the machine gun... are tally/kill marks. (of ZAFT/FAITH kills)
5) QR code to this blog. Figured, I'd be tired to explaining my whole
process over and over again. So, I'll just direct them to the code. Let
them take a picture of it.. and peruse it on their own time. hehe
6) EFSF: Earth Federation Space Force
7) random stuff
8) just a close up shot of the camera lens
9) -Warning- Do not pull the envelope. Only push it.
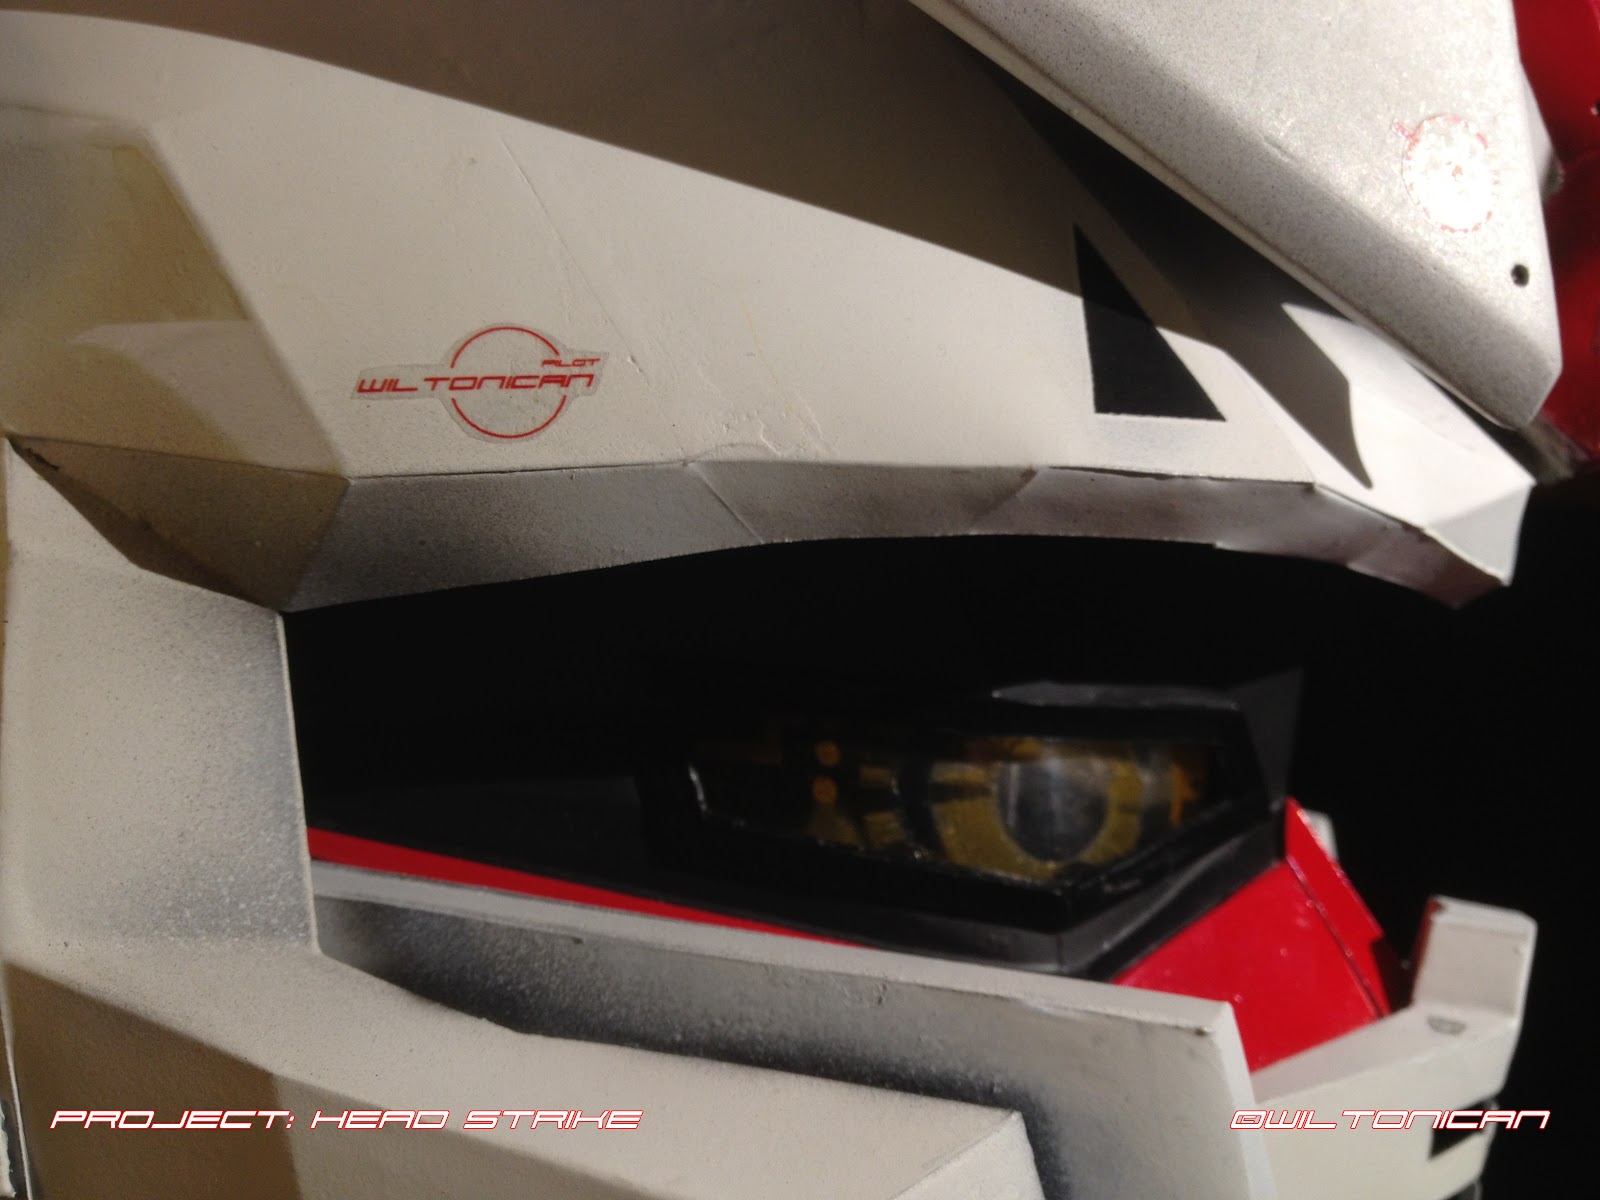
10) Decal for my eyes only. Since it's in the inside of the helmet. It's
to tell me what switch does what...in case I forget. Icons should be
self explanatory.
11) Right side, near exhaust: Danger: Hot oil. Not for cooking
12) Pilot: Wiltonican

Showing posts with label decals. Show all posts
Showing posts with label decals. Show all posts
Tuesday, 27 March 2012

Monday, 26 March 2012
Final Details
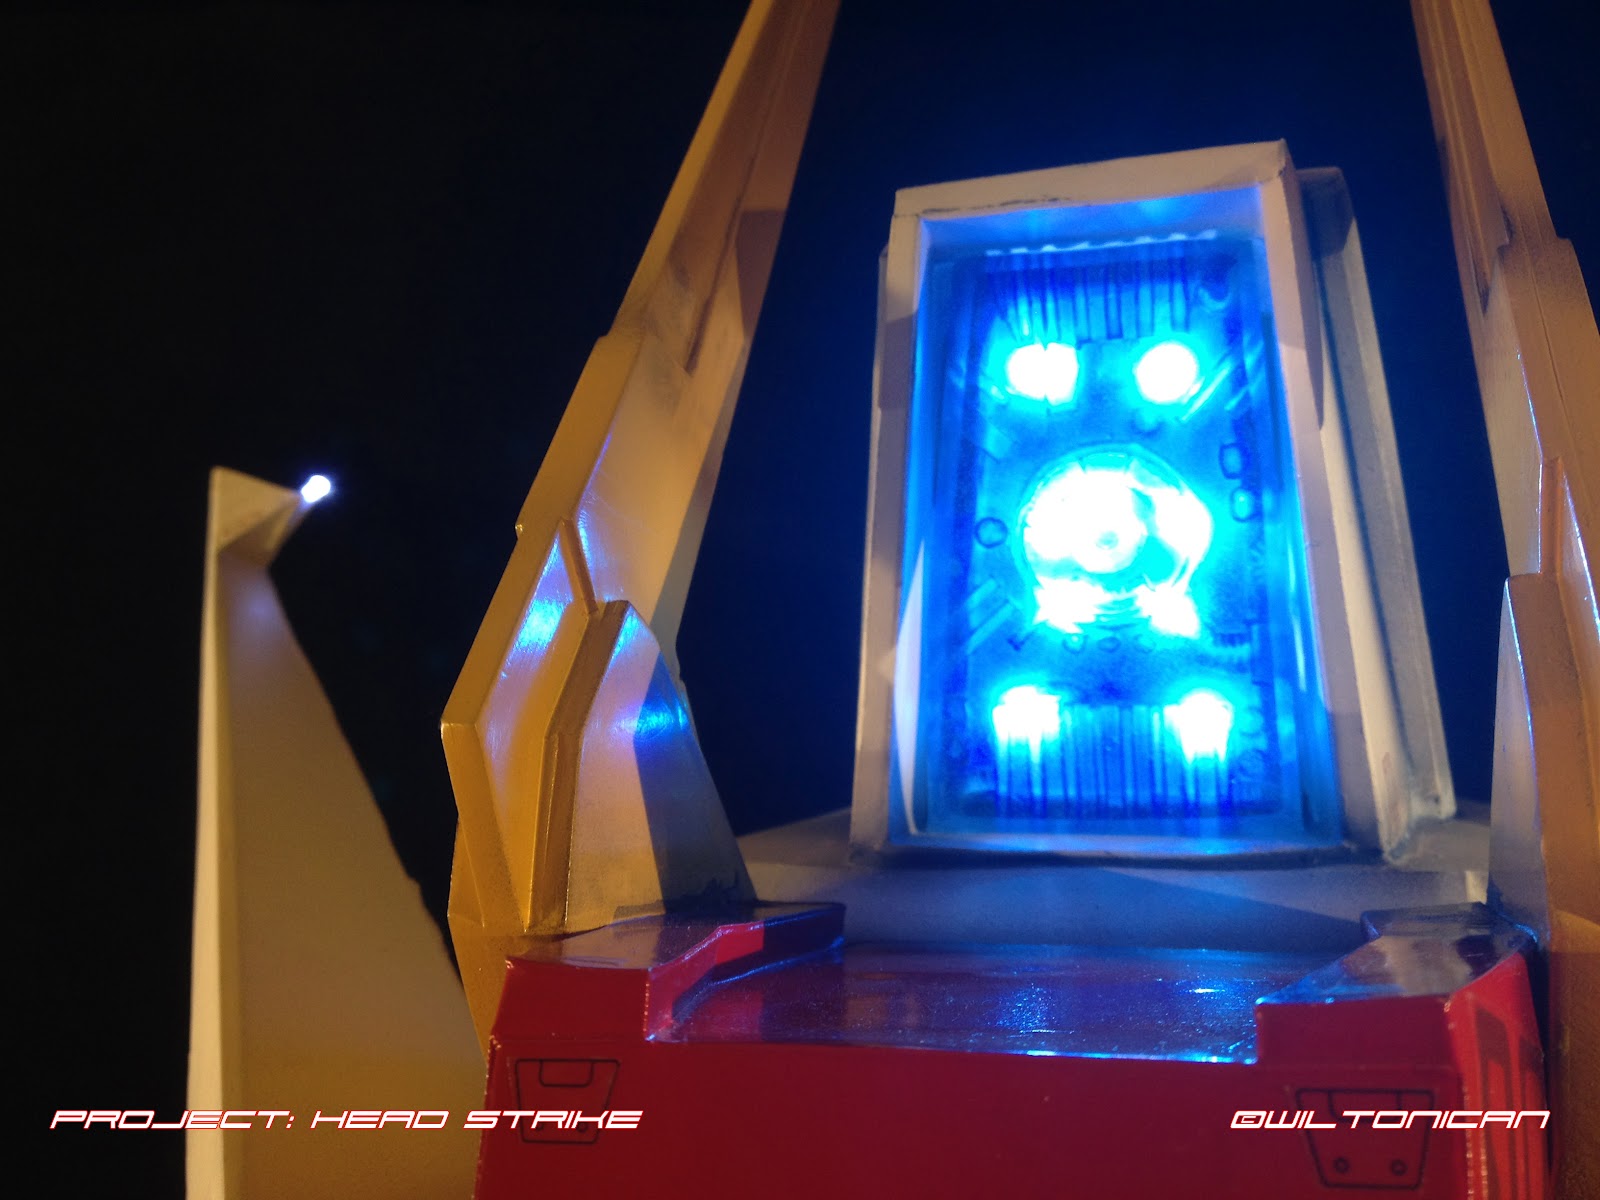
Here are some close-up shots of the helmet. Showing ALL the embarrassing blemishes that any supermodel would simply freak if it was ever shown on a magazine cover. I wasn't worried about them cause, frankly, no one's gonna see them... except you, here, online. When I'm wearing it, walking around... I'll be a blur.
Just for you guys, I've put in a few easter eggs in the decals. Can you spot them all?
Just for you guys, I've put in a few easter eggs in the decals. Can you spot them all?




Sunday, 25 March 2012
Details Painted
Final Details Painted:
It's the final stretch of the build!


Masking the inside of the face again. To paint it matte black so the remainder of the wires are "invisible" Also painted the LED side that's face me. (So the glare won't hit my eyes)


Friday, 9 March 2012
Mega sized Decals
Decals:
While waiting for things to dry. It really is boring to watch. Thought I'd finish off the final detailing, the decals. Random text, logos, and gibberish that would be littered all over the helmet. Gives it that military vehicle feel that all Gundams have.
Here's the draft on Photoshop:

and a trip to Kinko's to have them printed on transparency sticker paper.
 I spent a lot of time cramming as much as I could onto 2 letter sized papers. And it turned out it only costed me $2 a sheet! It's perfect. And it's super thin too, so I hope it will be able to bend over curved surfaces well. If not, I can always coax it with a heat gun! hehe
And went a little old school with the pencil/paper sketches.

While waiting for things to dry. It really is boring to watch. Thought I'd finish off the final detailing, the decals. Random text, logos, and gibberish that would be littered all over the helmet. Gives it that military vehicle feel that all Gundams have.
Here's the draft on Photoshop:


And went a little old school with the pencil/paper sketches.

Designing the torso. A little sneak peak at what I may work on after the helmet. Always thinking ahead!
Tuesday, 28 February 2012
Back To The Drawing Board
Logos:
Since I'm stuck with a few obstacles to sort out right now, I decided it's a good time to step back and jump on the computer and do a little designing again. Picking out a few good Gundam Strike Freedom logos and some randomly generic "Caution" icons to cover the costume.
Found a few images online, but they're too low res. And my costume is super large scale, chances of finding 'decals' to fit my scale are next to none. So, I'd have to recreate them all. Part of the fun!
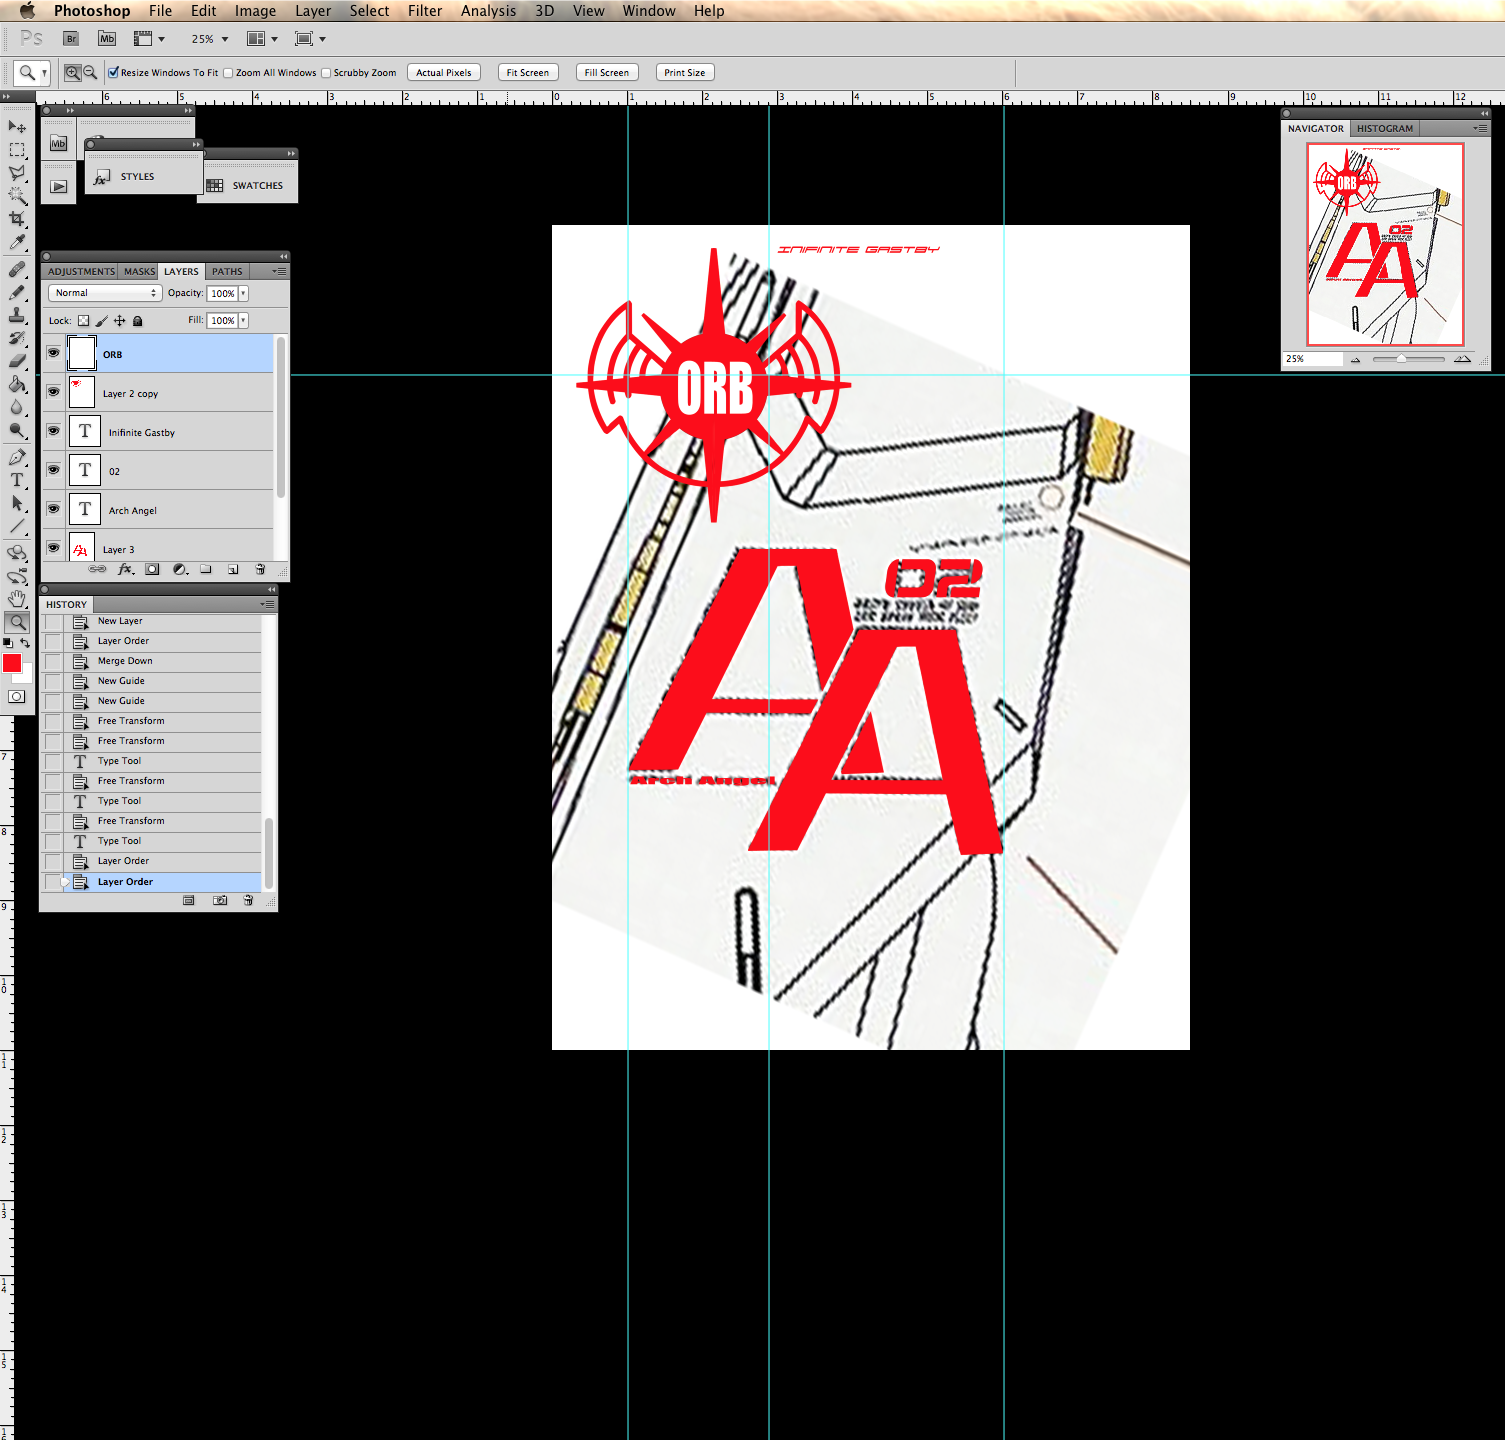
A couple of work-in-progress logos.
Design: Shoulders, Arms, and Chest
And to continue the costume build past the helmet, here I start to see how the next stage would be. The shoulders, arms, and torso.

I always said that if I can't get the proportions to work for my body, I wouldn't continue with the costume. Do it right or don't do it at all. My goal from the beginning was always to make a "chibi" version of Gundam. Specifically, the FW Converge series of Gundams. (Pictured top right)
Roughing in the initial sketches over my body, I maybe able to get the shoulders and arms right. But, unfortunately, the torso isn't looking good. I just don't have a skinny waist to pull it off. So, it seems the costume will end there. Well, I still can get the chest finished.
I think that's good enough. It'll have all the elements I want in the costume. Building the legs would just restrict my movements anyways.
Subscribe to:
Posts (Atom)