Showing posts with label maya. Show all posts

Tuesday, 28 February 2012

Back To The Drawing Board

Logos:

Since I'm stuck with a few obstacles to sort out right now, I decided it's a good time to step back and jump  on the computer and do a little designing again. Picking out a few good Gundam Strike Freedom logos and some randomly generic "Caution" icons to cover the costume.

Found a few images online, but they're too low res. And my costume is super large scale, chances of finding 'decals' to fit my scale are next to none. So, I'd have to recreate them all. Part of the fun!

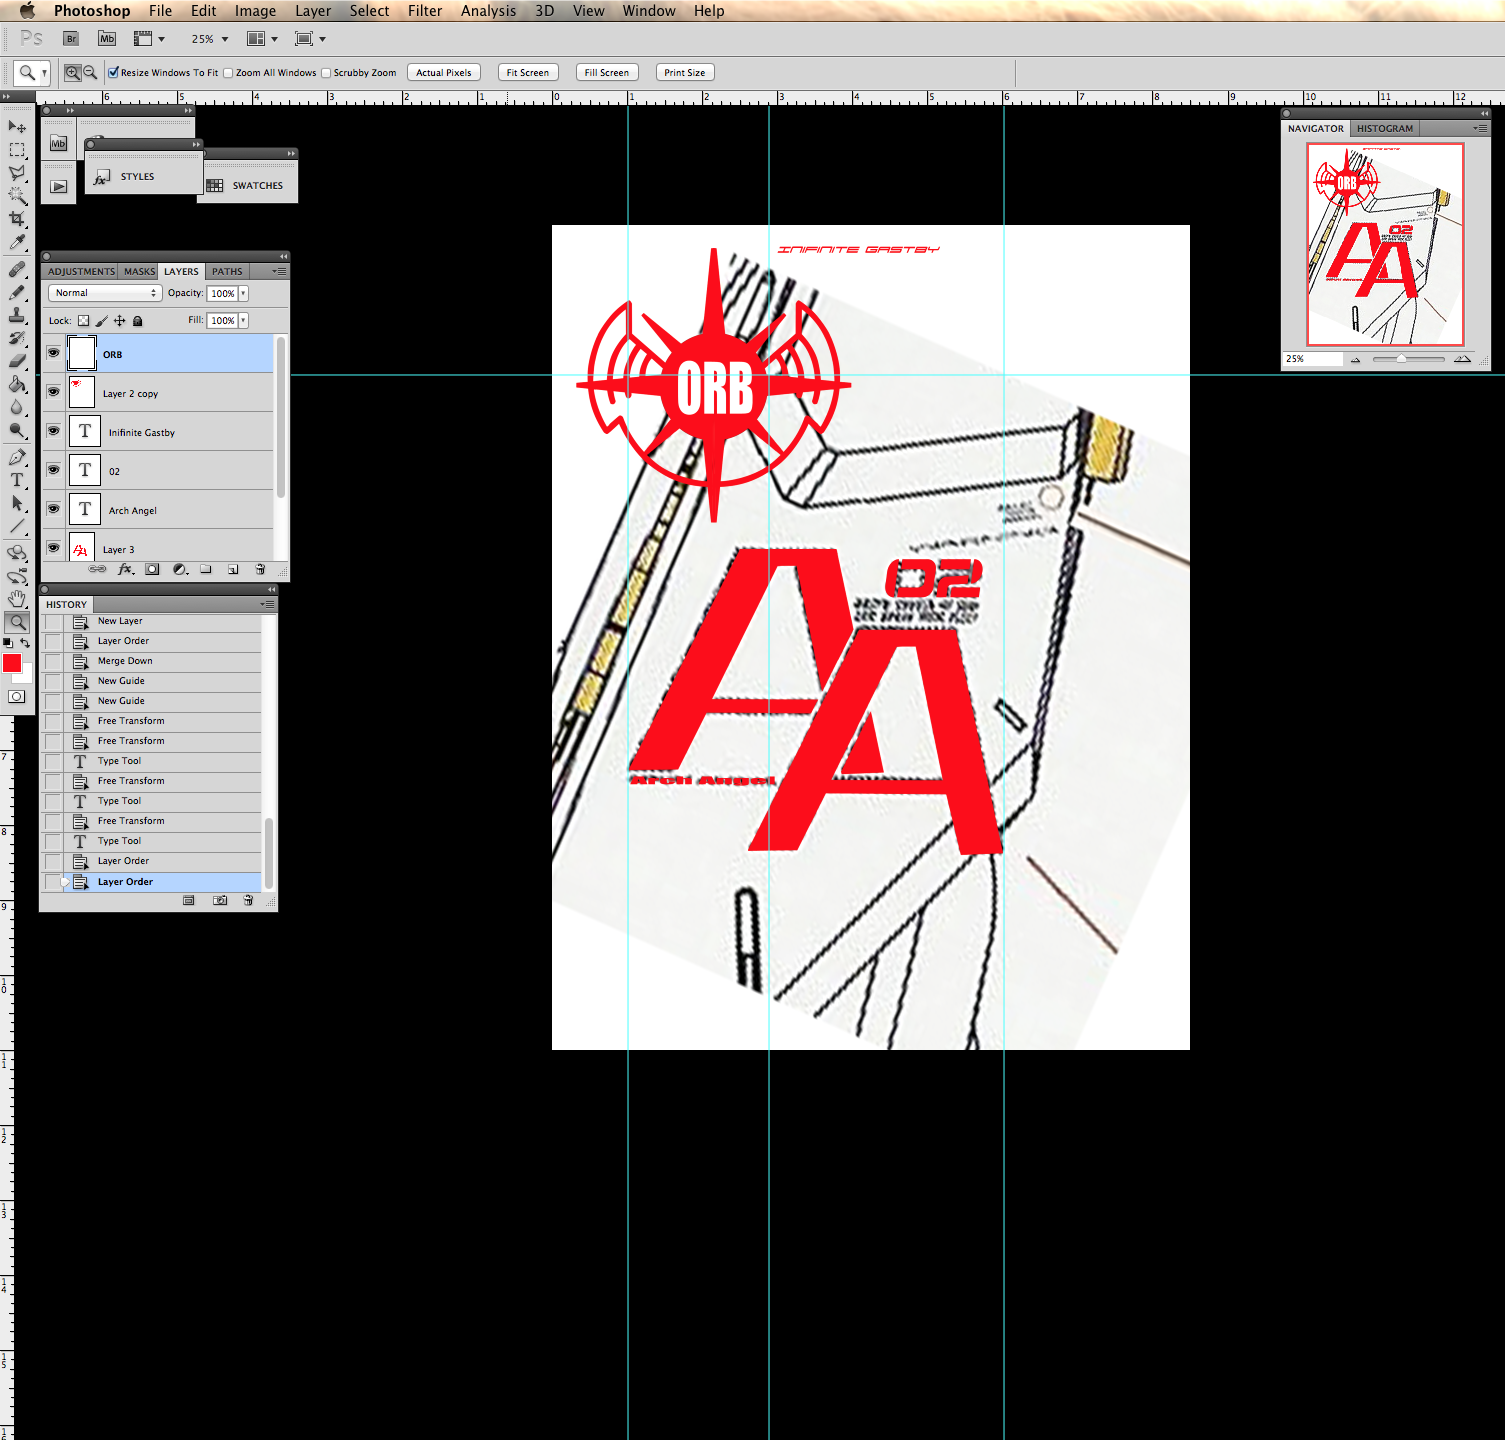
A couple of work-in-progress logos.

Design: Shoulders, Arms, and Chest

And to continue the costume build past the helmet, here I start to see how the next stage would be. The shoulders, arms, and torso. 


I always said that if I can't get the proportions to work for my body, I wouldn't continue with the costume.  Do it right or don't do it at all. My goal from the beginning was always to make a "chibi" version of Gundam. Specifically, the FW Converge series of Gundams. (Pictured top right)

Roughing in the initial sketches over my body, I maybe able to get the shoulders and arms right. But, unfortunately, the torso isn't looking good. I just don't have a skinny waist to pull it off. So, it seems the costume will end there. Well, I still can get the chest finished.

I think that's good enough. It'll have all the elements I want in the costume. Building the legs would just restrict my movements anyways.

Tuesday, 7 February 2012

I can't breathe!

On the subject of ventilation, I was thinking where I should put my mini fans.
Since I cut out these side vents, I can place the fan units behind a screen inside the vents. Heck, I can even rig it so I showcase those running fans. 


Even though these fans run super silent, having them an inch away from my ear can still be annoying. If it's not the fans' noise, then it's the air being pushed through that I will hear.

...Or I can place them behind the vent holes/nostrils. This would give me direct flow of fresh air. I think this route is best. 


And to vent the hot air outward, I chose the most logical place. On the tail end of the "mohawk" piece. 


Thursday, 2 February 2012

Horns

Horns:

I think for the next little bit, I'm going to focus on the "horns" or antennas or whatever-you-call-ems. They are the 4 long protrusions that come off the forehead. I had a concern where these long horns where I would bump into walls and doorways constantly and eventually break off. Totally see this happening because I have zero peripheral vision. Only looking out of 2 tiny holes directly in front of me.

So the solution would be to make them strong and maybe 'break-away-able'. So, if I do hit something, it simply comes off.. and I can put it back together again without any damage.

My solution for the strength part would be to use a different material. Metal would be too hard to fabricate with and it would be too heavy. The paper/resin would be too weak since it's hollow. Difficult to reinforce the insides. So, I'm going with plastic. I picked up a huge sheet of plastic at Industrial Paint and Plastics. (They sell all kinds of cool industrial building stuff. Same place where I picked up the measuring cups and resin kits)


(Small) Obstacle: I had to go back into Pepakura to print these shapes out on regular paper. Since I'm not going to use them in the same fashion as the rest of the build. I'm just using them as cutting templates. So, I left out the tabs and numbers too. Had to go back into Maya to adjust the model of the long horns. This way I can break them into 2 shapes that run arcross 2 pages. Couldn't fit the horn onto one single 8.5"x11" paper.


.080 gauge plastic

TIP: Make sure that blade is still sharp! You have to make a few SLOW accurate runs on each cut. Being extra careful not to swipe that blade across any of my fingers! Don't really need to cut all the way through, once it's past halfway.. you can just bend-break it off. Still has a clean edge. Sand if not.

Plastic Cement is what I used to sandwich them all together

Love modelling putty. Goes on easy. Cures fast. Sands smooth. 
(Picked up a couple tubes at the local hobby store)
Sanding the putty down smooth. Then sanded the entire piece. Same reason why I sand down all my Gundam models, to rid the plastic of its manufacturing oils. This will give the primer a good surface to paint on.

All edges sanded down smooth. It's got a great solid feel to them now. Not worried about banging them around.


Again.. with the mock fits. Liking it!

The solution for the 'break-away' horns.. so they don't actually BREAK. I think I'm going with rare-earth magnets. They're super strong and can easily hold the weight of each horn. (In the above picture) I've tested the magnets' strength. So far so good. If that isn't enough, I can always go with hook and loop (Velcro). Or maybe a combination of both. This is also a good idea for when it comes to storage.

Tuesday, 17 January 2012

Software Build


The approach is to build this in computer first. Incorporate all the design elements. Give and take details away without wasting time (and material) in the real world. I used Maya. With help from a friend, armed with some great tips, I was able to build the head from scratch. Took me a few days to tweak it to final stages.

*TIP: Do not overbuild! Remember, the more polygons there is at this stage, the more cuts and folds you will have to deal with later.


My intentions with this Maya model afterwards was to be exported into Pepakura. (Pepakura is a software program for unfolding a 3d object into printable parts) Very easy to learn. It's a free downloadable program you can get from tamasoft.co.jp

I also had to learn how to model in Maya. (I hate modelling. No good at it) But, for this project, I'd go through the basics just to get my head done. Like I said before, this is a learning experience. I treat ALL my projects like this. If I don't know how to do it, just learn it. Resources are abundant. Especially these days with the internet. Never fear the roadblocks. Challenge them!

When building this model in Maya, I had to incorporate one key feature. The face must retract up into the helmet! I don't want to always be limited to the small eye holes in the mask. I can get more peripheral vision AND more air to breath when the face mask is in the up position. Well, that's the idea anyways.  So, I made a 'bracket' that is attached to the face with a point to pivot. I'll explain this with a pic later.

Once the Maya model is done. I broke it up into smaller pieces: "mohawk", "horns", "face", "sideburns", "helmet", and "goatee". This made it a bit more manageable in Pepakura. I can then focus and treat each piece as smaller projects. I exported each piece as an OBJ format so Pepakura can read.


Here is the entire head imported into Pepakura. Just for fun. Looking at the unfolded pages on the right.. you can see why I decided to break it down into smaller pieces.


Here is the face piece. And the "L" shape brackets are what I was referring to as the rig I made to allow the face to pivot and rotate up into the helmet. That might still sound confusing. Hopefully it'll be clearer when this gets made. hehe
You can see on the right side of the screen shows the face unfolded. Each of those rectangles represents a standard 8.5"x11" sheet of paper. This face will take 7 sheets of paper to make.


I had experience with Pepakura before as I had made 3 heads before (One was my halloween costume 2 years ago)


For the scaling in Pepakura. I used my mockup (from my previous post) and gave a rough guesstimate as to how big the head should be. I guessed 20" across (including the horns). With that number, I set in Pepakura (508mm = 20") Simply repeated the same process with all the other imported pieces.

*TIP: When unfolding in Pepakura. The default unfold just plain sucks. I find it super inefficient. I always redo all the fold/unfold/cuts/lines manually. Not only to fit them onto the pages better. (To save paper) But, more importantly to make sure there aren't any impossibly hard cut or fold lines. Trying to avoid those long thin folds. (Keep that in mind when building the model in Maya too)

Here's the "helmet" piece.

*TIP: Upon the import of the OBJs into Pepakura, one of the dialog boxes would ask you if you want to "flip". I'd choose flip. That way all the lines and numbers are printed on the INSIDE of the model. Leaving the outside nice and clean of visual clutter. I know it's not a big deal for this particular build, because I'm going to paint over it anyways.

Notice the faces is grey on the outside as opposed to the white on the inside. This is because I flipped the model.