Showing posts with label assembly. Show all posts
Wednesday, 29 August 2012
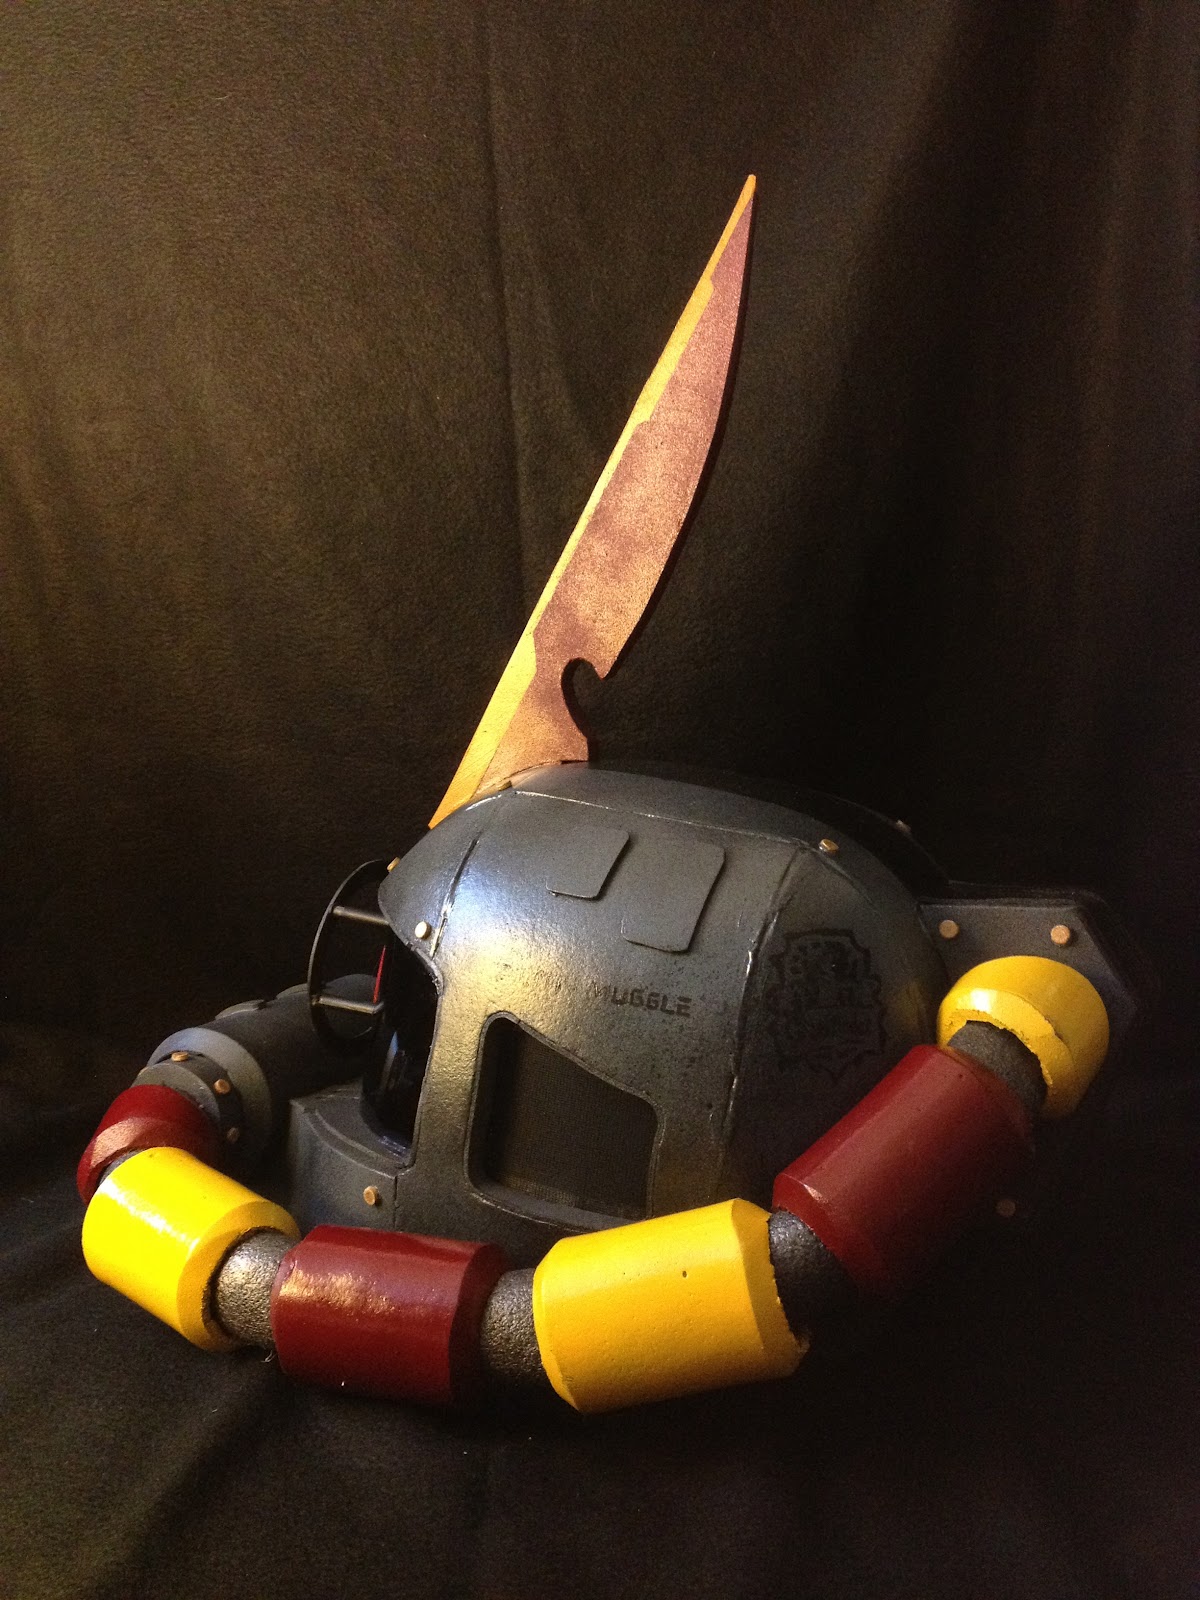
Project Zaku: Harry Potter
Wow.. I've been busy. I did get to finish off another Zaku for a friend. He wanted a themed one. It was a special request.. as I've known him for 30 years now... maybe more.
This one was fun!
Labels:
1:12 scale,
assembly,
chibi,
cosplay,
costume,
craft foam,
design,
figure,
foam,
for sale,
fundraiser,
gundam,
halloween,
harry potter,
head,
helmet,
hot glue,
minicell foam,
scale,
zaku
Monday, 26 March 2012
Final Details
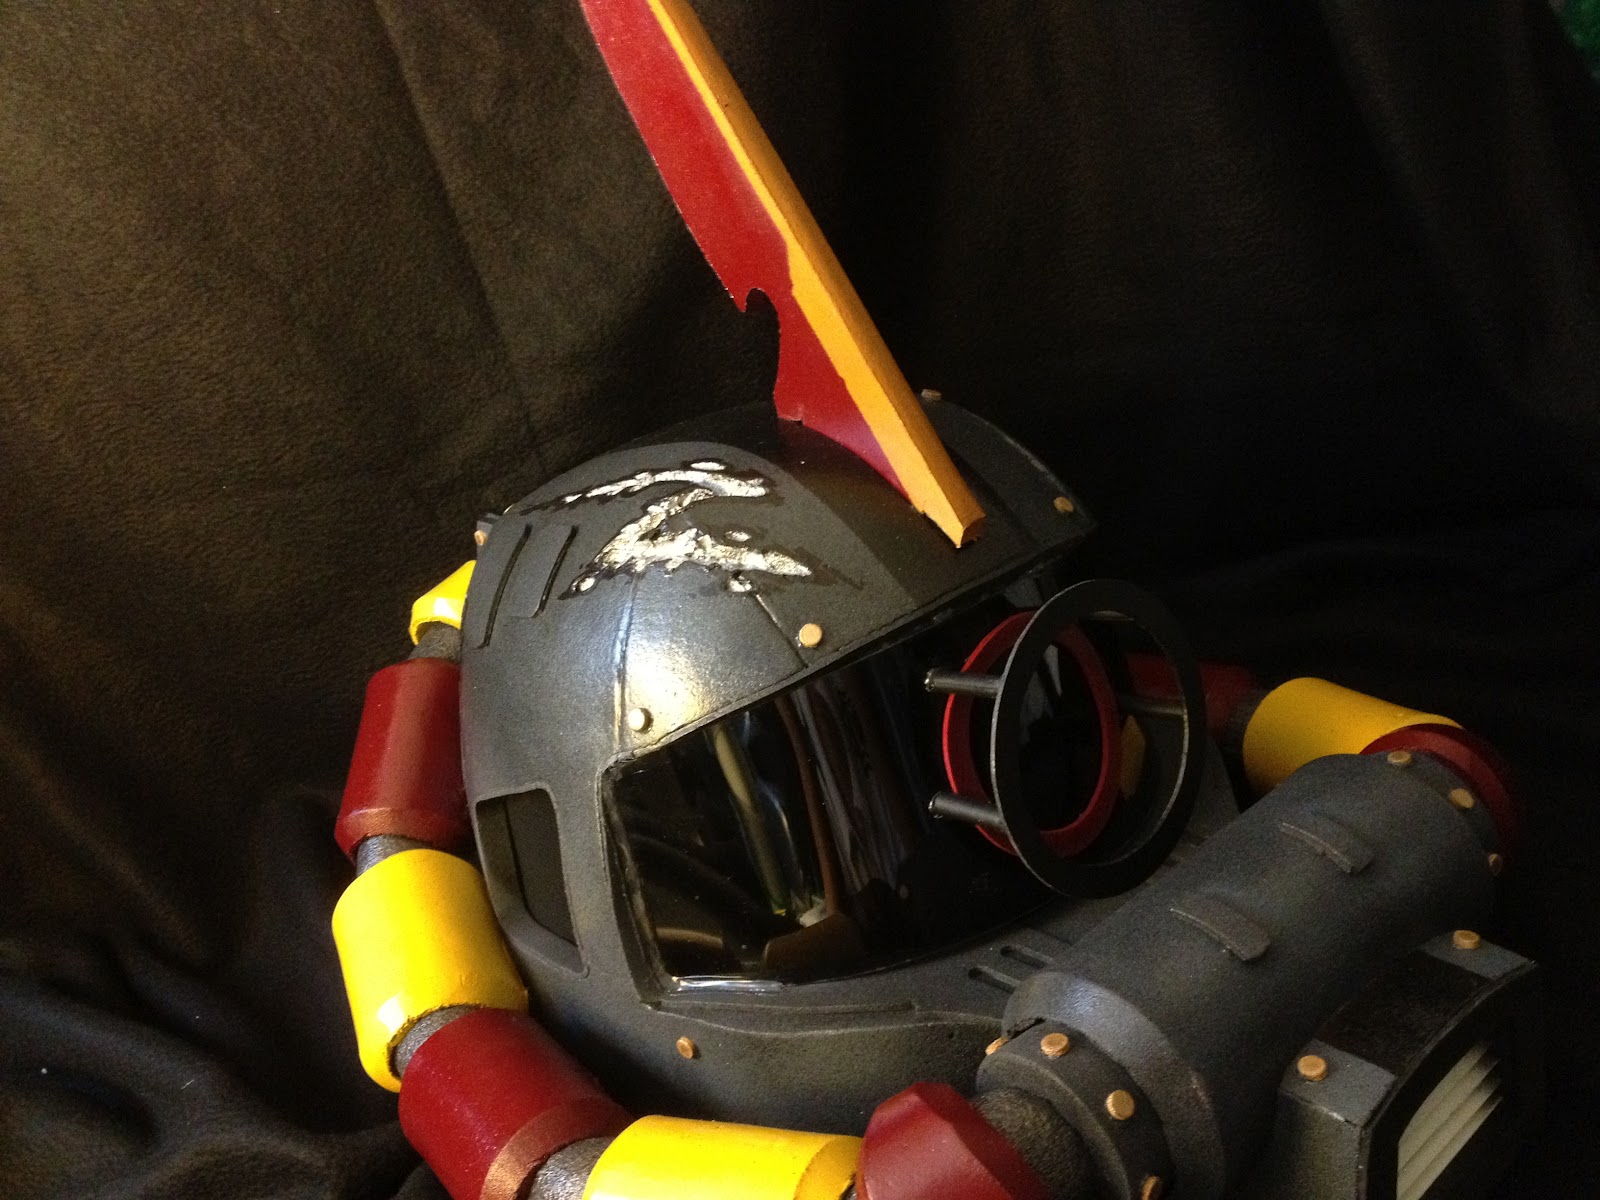
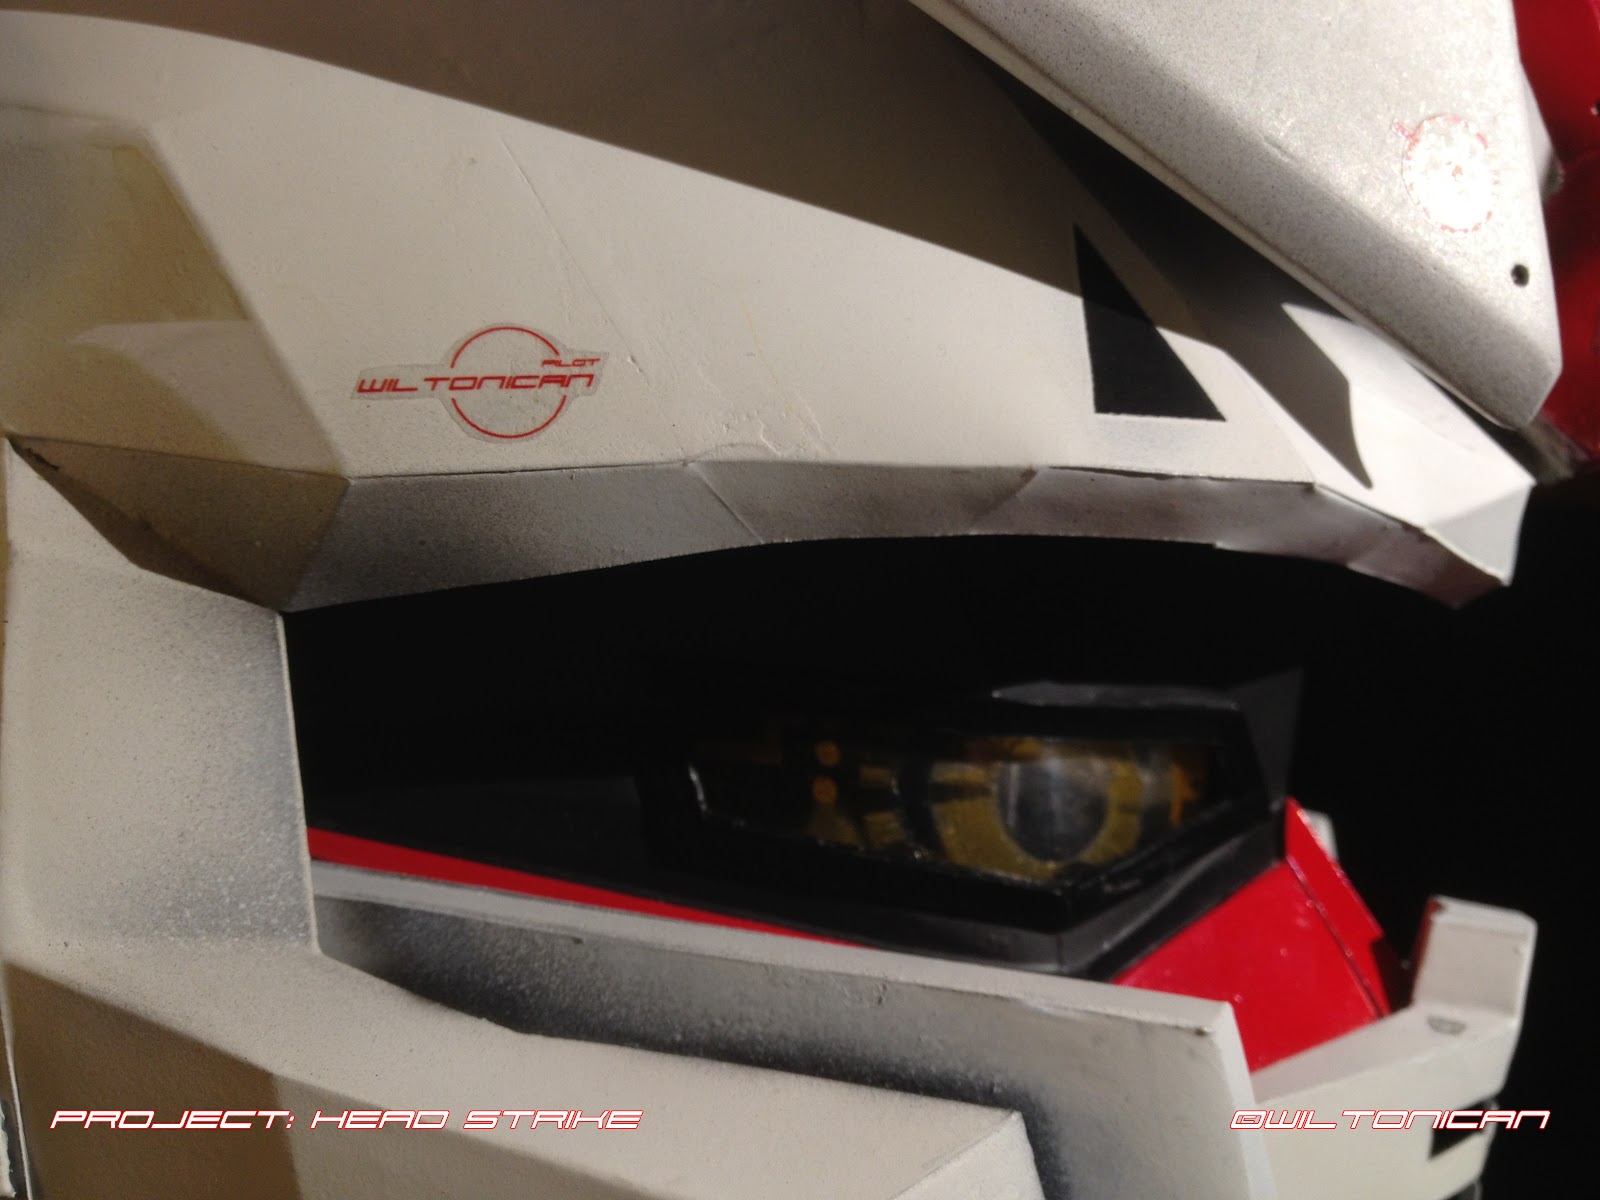
Here are some close-up shots of the helmet. Showing ALL the embarrassing blemishes that any supermodel would simply freak if it was ever shown on a magazine cover. I wasn't worried about them cause, frankly, no one's gonna see them... except you, here, online. When I'm wearing it, walking around... I'll be a blur.
Just for you guys, I've put in a few easter eggs in the decals. Can you spot them all?
Sunday, 25 March 2012
Details Painted
Final Details Painted:
It's the final stretch of the build!
Masking the inside of the face again. To paint it matte black so the remainder of the wires are "invisible" Also painted the LED side that's face me. (So the glare won't hit my eyes)
Friday, 16 March 2012
Random Progress
Polish:
The "camera lens" in the mohawk is a bit dull. So, I grabbed my bottle of 'fine scratch remover'. It was for polishing up tiny scratches on my rear plastic window on my convertible. Grabbed a towel and rubbed the face up with lots of elbow grease.
LED test:
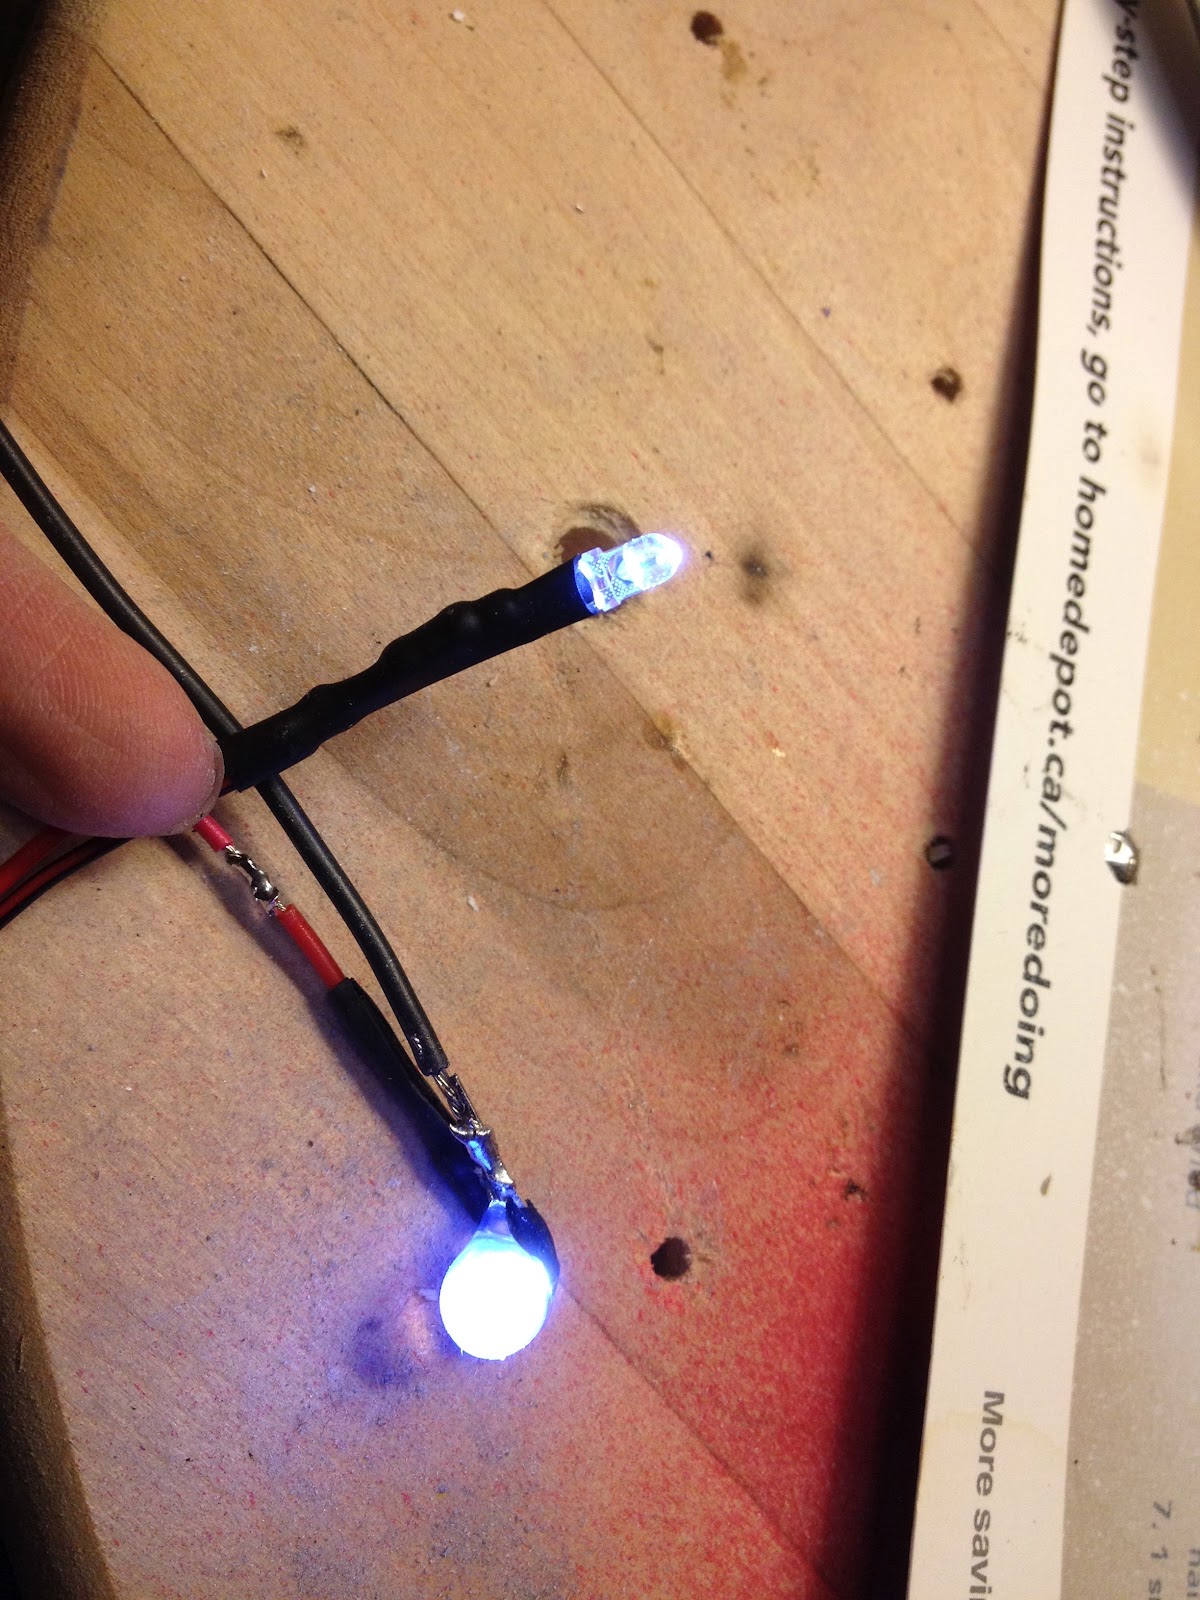
While I was wiring some of the LEDs, I noticed one of them had a bad flicker. So, I cut it out of the system. As decided to use it for experimenting. I wanted to see if I could diffuse the LED bulbs a bit. And I know hot glue dries cloudy. So, I put the two together....
I globbed some hot glue right ON the LED bulb. And let it dry. You can see in the pic... the LED bulb is completely "submerged" inside the wad of hot glue.
Test wired it to my battery... and voila! A nice diffused glow! Success. I'll do this to a few of the bulbs in the "camera lens"
Wire connectors:
Bought some quick-release wire-to-wire connectors for some parts of the electrical work. The fins are separable, so these are needed. I'm not really liking these types. But I couldn't find any better alternative. These were pretty prices too. Don't like pricey.
Saturday, 10 March 2012
Hook me up
Wiring:
Back on the electric work. Had to figure out how I wanted the switch to turn on/off. And how to wire all of the fans and millions of LEDs
Use my vice and alligator clip (held in place by a piece of placticine) to help me hold the wires so I can solder them together. Everything is multipurpose! hehe
Heat shrink wrapped the connections. Not necessary. I just want to do it right.
LEDs:
I had to sample test the LEDs in the mohawk lens. Needed to know how many I would need to make this thing look cool.
Maybe just a few more.. hehe
Man, there's so much more electrical work to be done:
- the fans
- the machine guns
- eyes
- V-fins (still waiting for more LEDs to come in the mail)
And all these needs to be hooked up with quick release connectors. For easy battery swap outs.
Sunday, 26 February 2012
All Primed Up
Primed:
All the major pieces are complete. And a few smaller details. The entire head was painted primer. Was super excited to get to this part. But, that excitement quickly turned into disappointment. Now that the entire head was one solid colour, ALL the detail errors is visible now! Had to fill in areas with putty. Some I'm still hoping I can fill in with paint later. (Hoping the paint is thick enough to do so)
Obstacle: There was a gunk of hot glue between the helmet and the "sideburn". Even after I cut out as much as I could, the mess was still clearly visible. A total eyesore! UGH!! Either I go back in and just pick at it with a knife or razor until it's all gone... or just figure out a way to just cover it up. I doubt the paint is thick enough to cover this one up. Solution: yet to be figured out.
Looking pretty good sitting there... from afar. BUT...
Obstacle: And this one is a HUGE one. I had to try it all on. With everything on. Wanted to see the weight and its distribution. And it's not good. Not good at all. The V-fins, while isn't that heavy in my hands independently, weighs significantly more when it's mounted on the forehead. This is because it's a good distance from my own head/neck. When in motion, this weight is even more noticeable. Even though the entire head with all the gizmos only weighs 4 lbs. it's pretty light. BUT, I'm in it for the comfort as well... remember, no compromises. I want this thing to be super light. As if I'm only wearing a hat. A hat that I can wear for an extended period of time. I could mold and cast the entire unit in foam. But, that's really REALLY expensive. Solution: yet to be figured out.
Thursday, 23 February 2012
Mohawk Lens
Molding/Casting:
There is a forehead camera on most every Gundam. It's in the area right above the V-fins.
The lit green box above the eyes.
Putting in video cameras and integrating a sort of CCTV system into the helmet proved to be too expensive, I'll just make something fancy in its place. I'll leave that option open when I win the lottery. Then again, if I win the lottery, I'll build a full scale working Gundam!
Building the mold out of plasticine. Designed it with random shapes so it looks anime-ish/mechanical.
Built up walls for the pour
Here's a quick video of me mixing up the resin...
Gave a couple days to dry and harden up good. 90% of all the tiny bubbles also rose up to the surface and popped. (I had initially coaxed some of the bubbles out of the corners/cracks with a pin) Take the mold off, scraping out the plasticine out with sculpting tools. Getting it out of every nook and cranny.
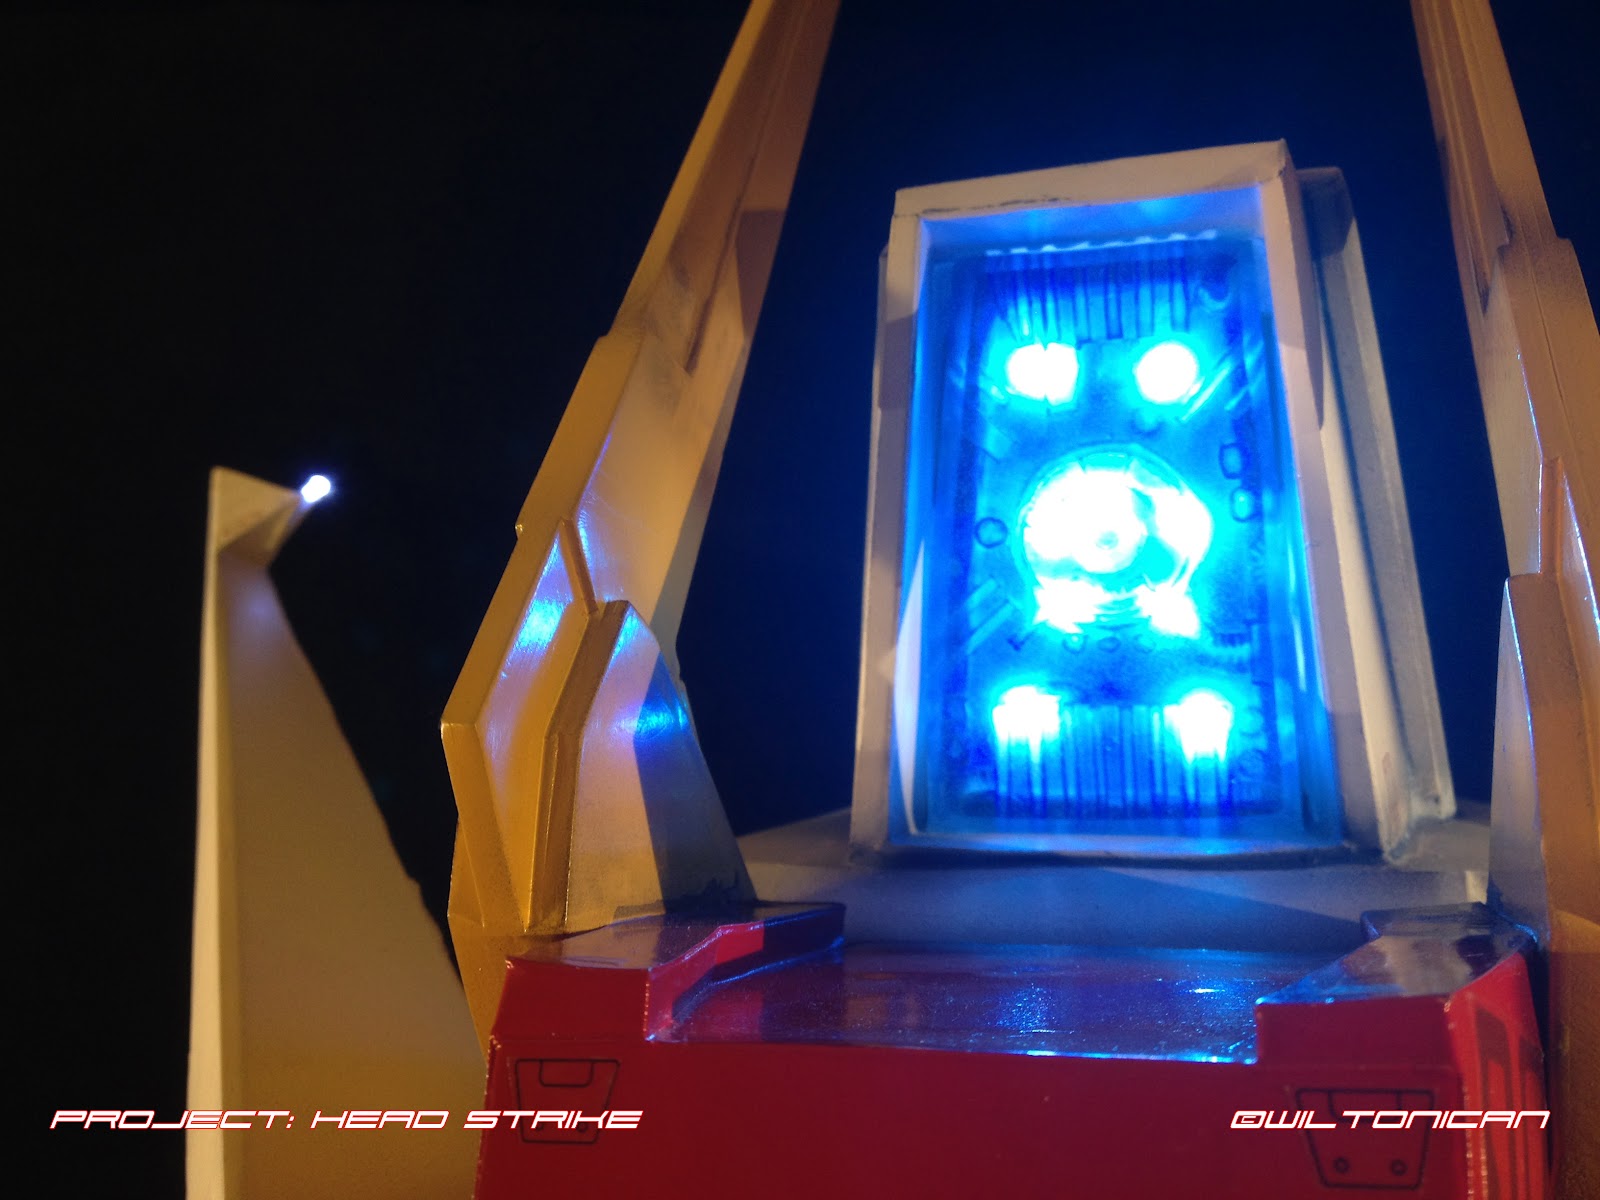
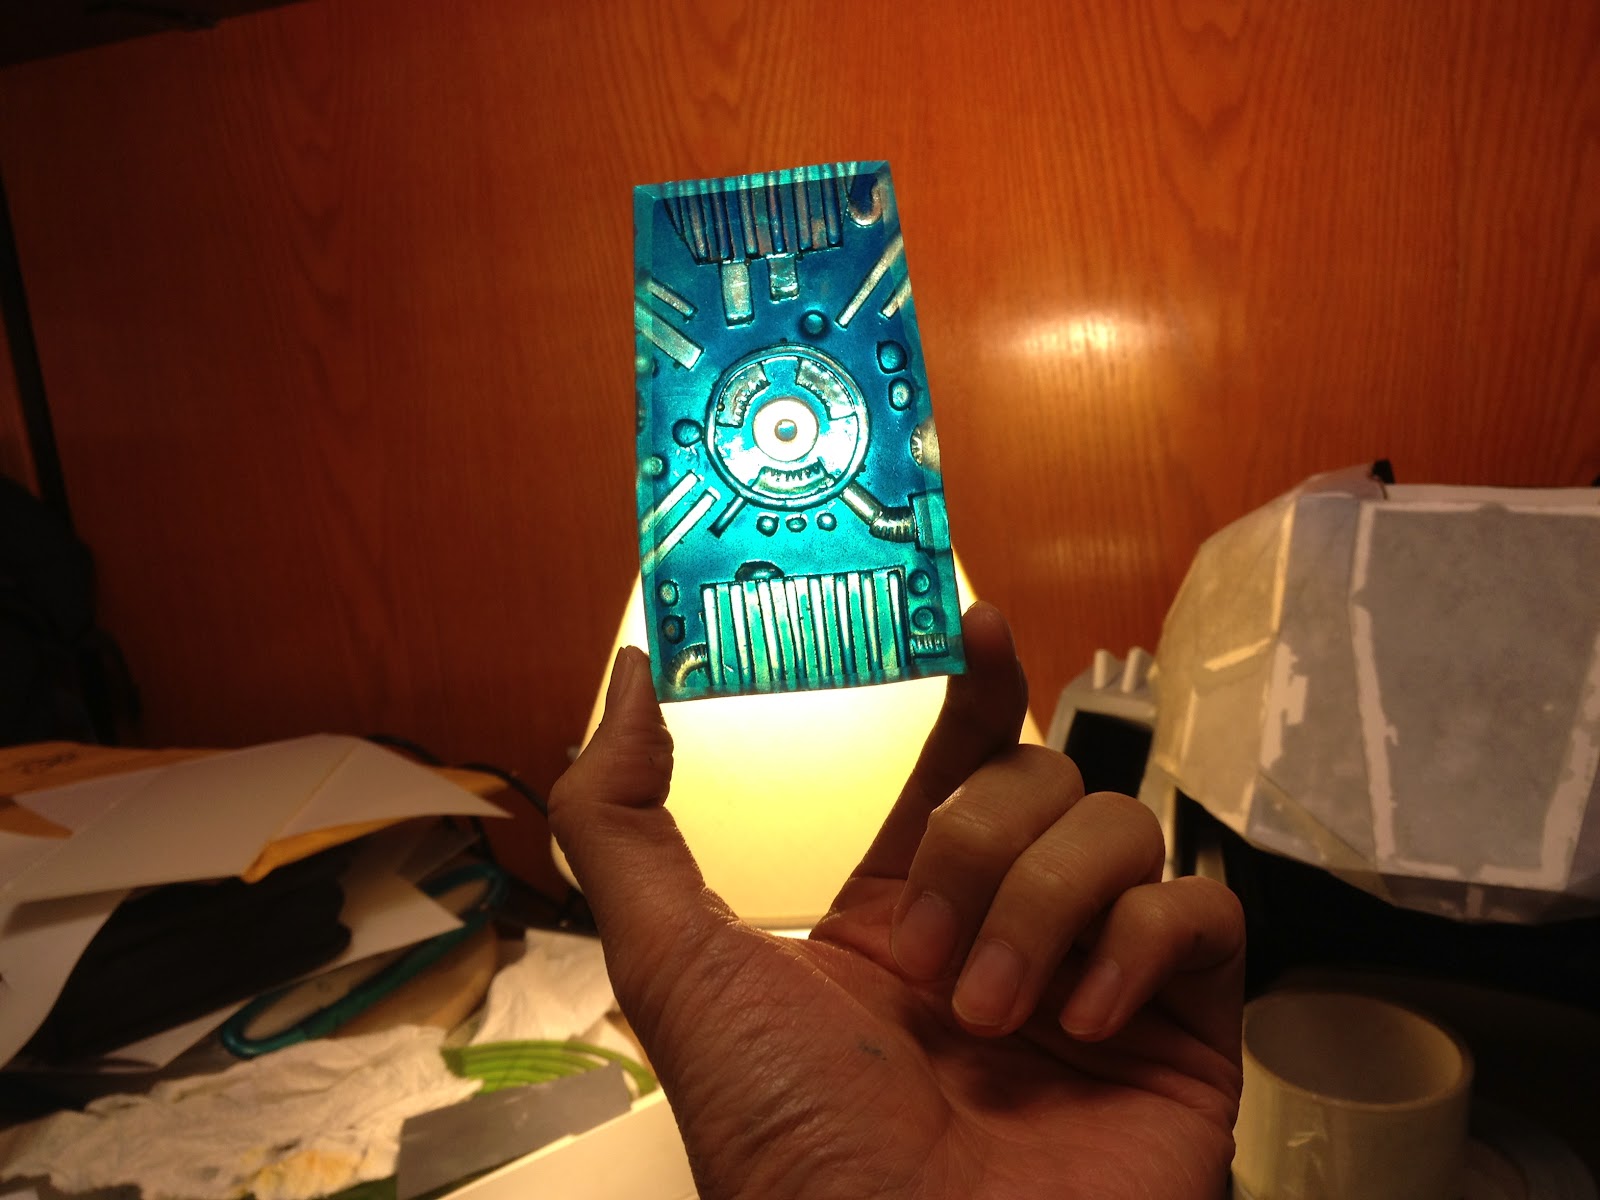
Tinted it clear blue. Planning on putting some LEDs behind it to shine through. The light should refract around the odd shapes I made. Showing all the detail.
Made a little box to mount the LEDs ... whenever they come in the mail.
The test fit. Lookin good.
Subscribe to:
Posts (Atom)