Showing posts with label crown. Show all posts
Friday, 16 March 2012
Random Progress
Polish:
The "camera lens" in the mohawk is a bit dull. So, I grabbed my bottle of 'fine scratch remover'. It was for polishing up tiny scratches on my rear plastic window on my convertible. Grabbed a towel and rubbed the face up with lots of elbow grease.
LED test:
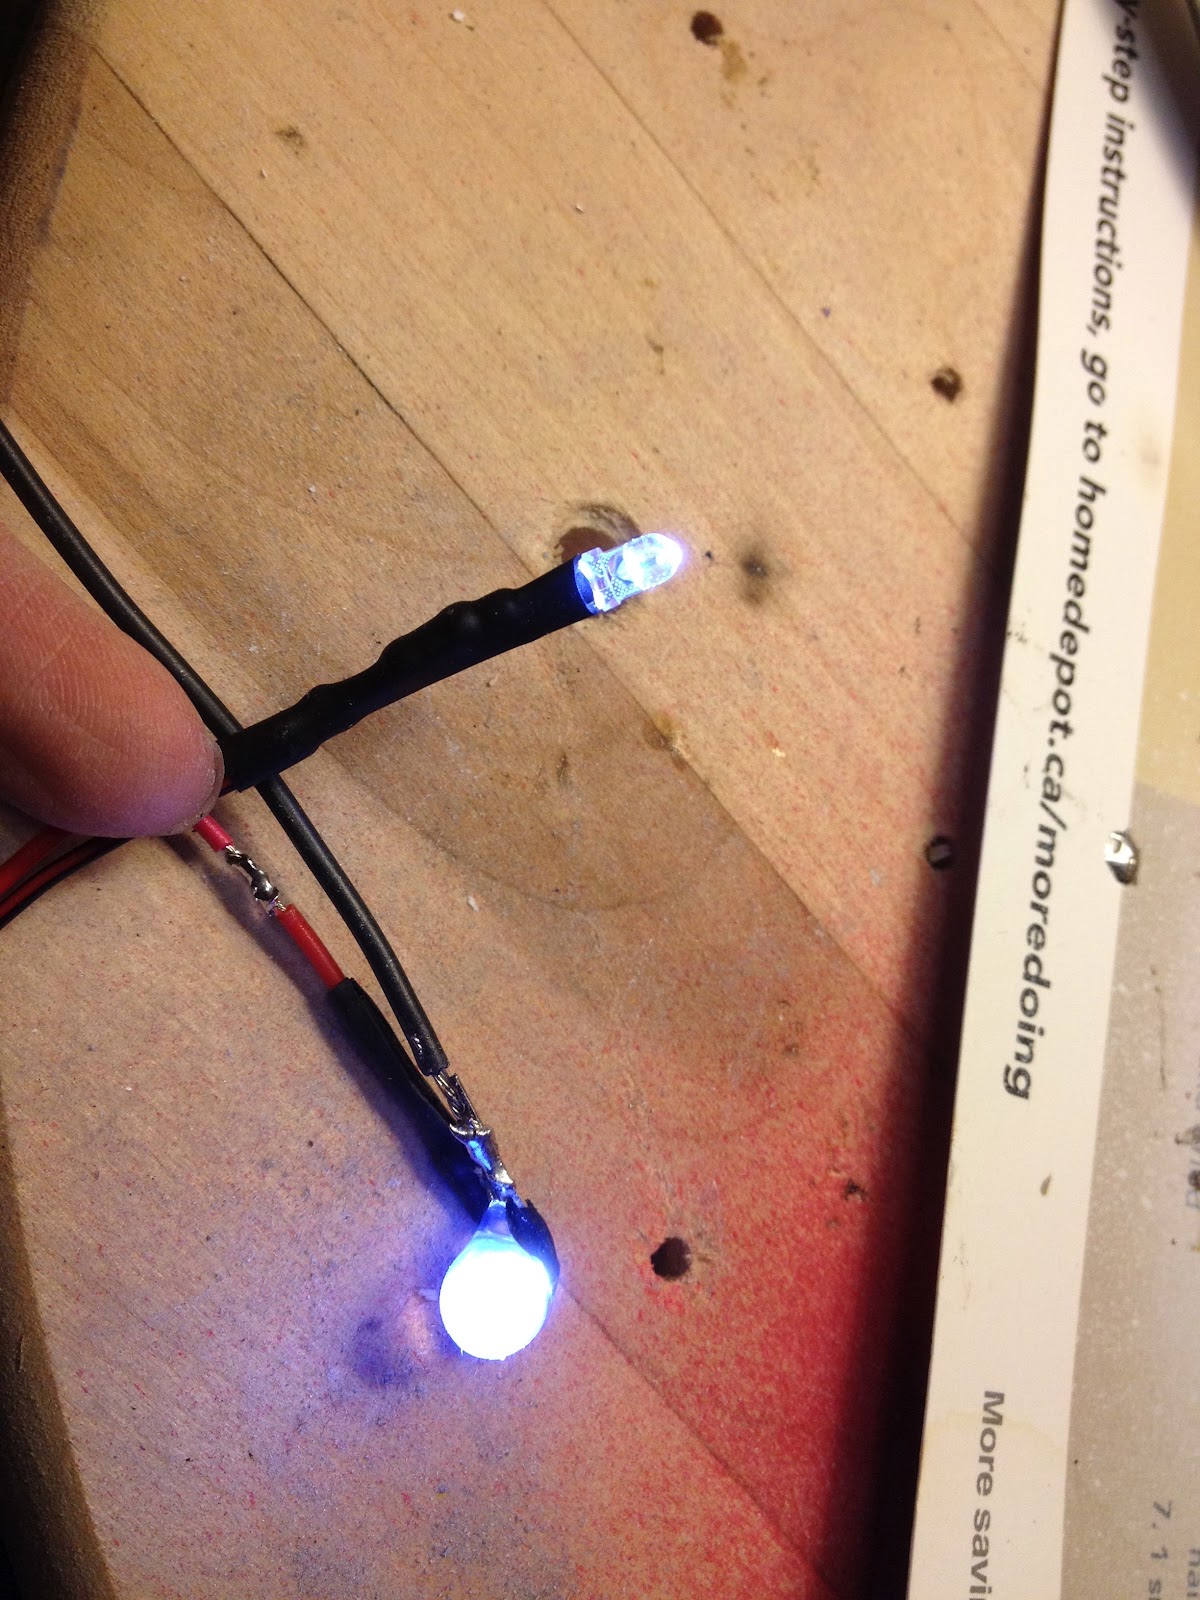
While I was wiring some of the LEDs, I noticed one of them had a bad flicker. So, I cut it out of the system. As decided to use it for experimenting. I wanted to see if I could diffuse the LED bulbs a bit. And I know hot glue dries cloudy. So, I put the two together....
I globbed some hot glue right ON the LED bulb. And let it dry. You can see in the pic... the LED bulb is completely "submerged" inside the wad of hot glue.
Test wired it to my battery... and voila! A nice diffused glow! Success. I'll do this to a few of the bulbs in the "camera lens"
Wire connectors:
Bought some quick-release wire-to-wire connectors for some parts of the electrical work. The fins are separable, so these are needed. I'm not really liking these types. But I couldn't find any better alternative. These were pretty prices too. Don't like pricey.
Wednesday, 14 March 2012
The One-Day V-Fin Diet
Weight reduction:
The v-fins were still heavy. Too heavy to have on comfortably. To alleviate possible neck strain, I'd have to reduce some weight on it. And since I know the resin inside is the major culprit, I'd have to gut it out from the backside. Time to break out the dremel tool again.
Don't want to take away TOO much material. Leaving some behind for structural integrity. Everything seems to be still solid, so, I'll clean her up a bit and close it up.
5-min epoxy to glue the new (plastic) plate over the hole
Contact cemented some Velcro strip to each side. Since the v-fin is still considered heavy, I'm not going to rely on the velcro's default adhesiveness. Didn't think it would be strong enough to not rip off. So, some contact cement will put it on permanently. Strong stuff. The plastic or helmet would rip off first before the velcro now!
Labels:
cosplay,
costume,
crown,
dremel tool,
epoxy putty,
freedom,
gundam,
halloween,
head,
helmet,
plastic,
strike,
V-fins,
velcro
Friday, 10 February 2012
Horns: part 5 (Final detailing)
Horns: final details put on:
Cover up hole.
A little piece of detail. Paper template first, then plastic again.
Glued and sanded! Ready primer!
Sunday, 5 February 2012
Horns: part 4 (Assembly)
"Crown" or Base:
The Base is where the horns will be attached to. And the base itself attaches to the forehead of the helmet
Inside (and out of focus), you can see 2 black strips. These are metal plates. (Random junk I found around the house) These are glued down with superglue. Their purpose for which I may or may not use, is the contact points in which the magnets would attach themselves to the rest of the helmet. (the forehead)
Ripped up a square of paper towel.
These are for "fillers" inside the "crown" and the "horns". It would fill the empty space inside, grabbing the wooden posts and sticking them onto the inside walls of the horns.
Backside of the entire assembly.
- Metal plates (shown in light brown)
- Paper towels (shown in green squiggly lines) - They fill the volume of space inside
- Wood with screws (shown in grey) - The paper towels are soaked with resin and would 'grab' onto the wooden dowels and nails. Just randomly wrapping around them. Making sure the towels also touch all sides of the walls. Both unifying everything and giving it strength.
You can see the entry holes where I pour my resin into. Filling whatever space there is. This would give the proper solid feel to the entire assembly.
80% done. Ready for details and paint!
Labels:
assembly,
base,
cosplay,
costume,
crown,
fabric,
face,
freedom,
gundam,
halloween,
helmet,
horns,
paper towels,
pepakura,
rare earth magnets,
resin,
superglue,
velcro,
wooden dowels
Saturday, 4 February 2012
Horns: part 3 (Assembly)
Horn Assembly:
"Horns" all cut and glued. Time to finish it off all the edges with a little modelling putty.
(Pic above: underside with detail)
All edges sanded smooth. I left the 'end caps' open. Reason being I needed to figure out how to anchor each horn onto its base. If I were to simply just glue the cap on... it would be fine, if it was a model that I let sit on the shelf. But, this helmet needs to endure a lot of motion. The thin bead of glue would never hold its weight of the horns, it would tear it off the base pretty fast.
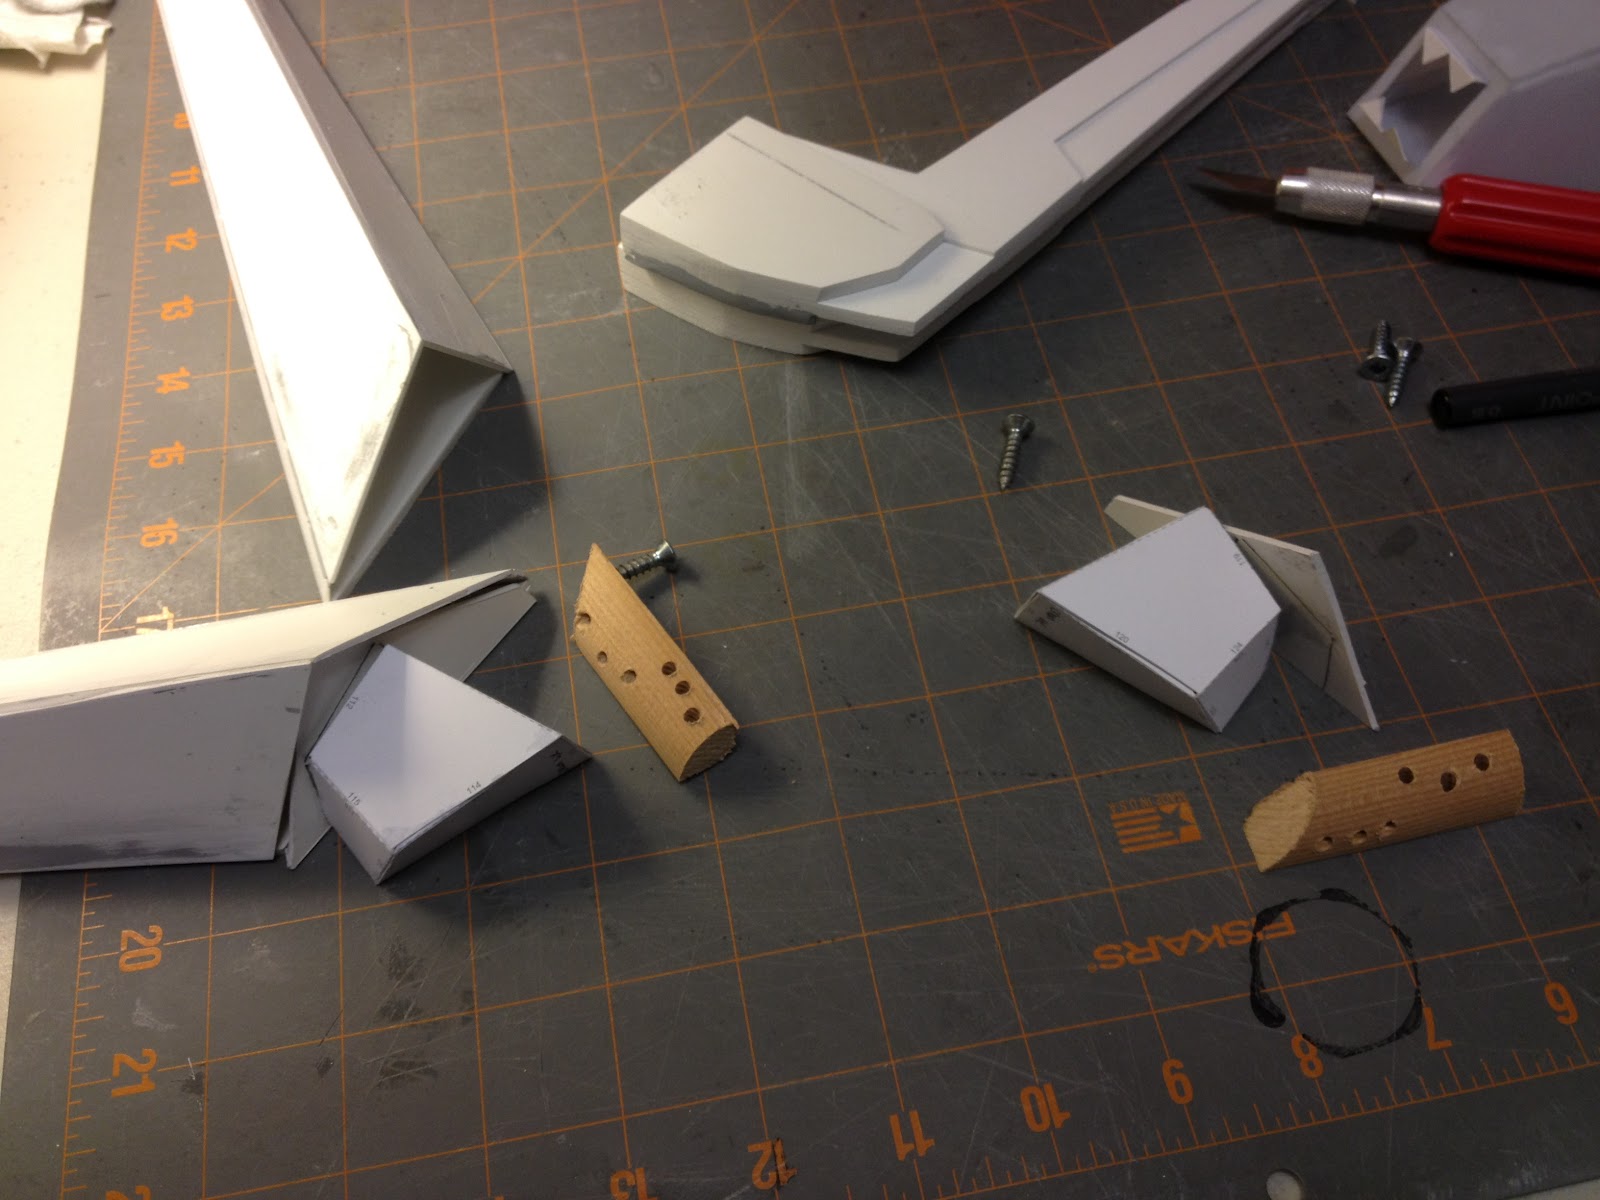
Looked around and found some scrap wood. This will give it a good anchor to the base. So, I plan on using resin to bind it all together. Drilling random holes into the wood to give the resin something to grab onto. A few screws would help this too. You can tell, I'm totally improvising now.
Totally forgot to mention where I got my inspiration from. A model of a Strike Freedom Gundam by an artist Min Bong-Gi. His work is simply awe inspiring.
Friday, 3 February 2012
Horns: part 2
Horns:
From the paper template I printed out off of Pepakura, I cut more pieces from the plastic sheet. Gluing them together with plastic cement
The second pair of "horns" are basically glorified tetrahedrons. Throwing in a few details here and there. It'll be strong and lightweight.
Subscribe to:
Posts (Atom)