Showing posts with label helmet. Show all posts

Wednesday, 29 August 2012

Project Zaku: Harry Potter


Wow.. I've been busy. I did get to finish off another Zaku for a friend. He wanted a themed one. It was a special request.. as I've known him for 30 years now... maybe more.

This one was fun!


Wednesday, 9 May 2012

Costume Zaku Helmet For Sale!!


I've been super busy lately. In full production mode. Even halted my daughter's Zaku build for this. But, it's for a good reason.

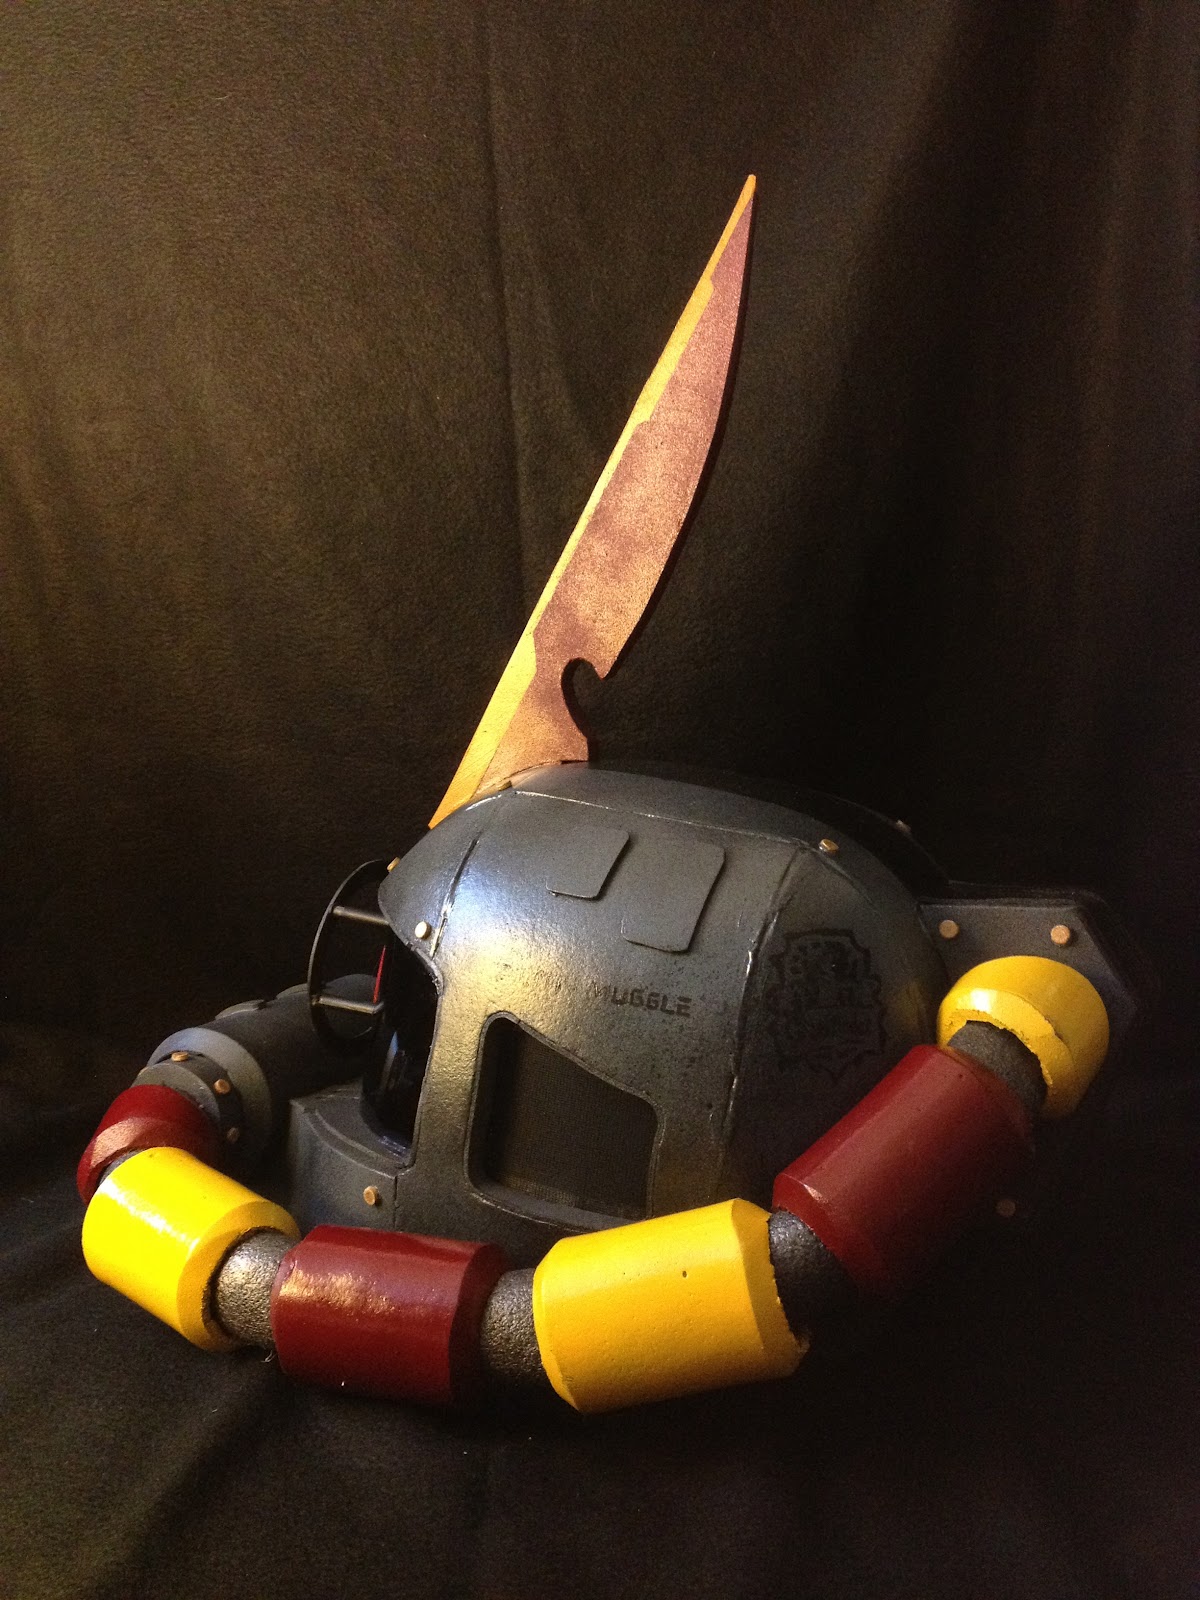
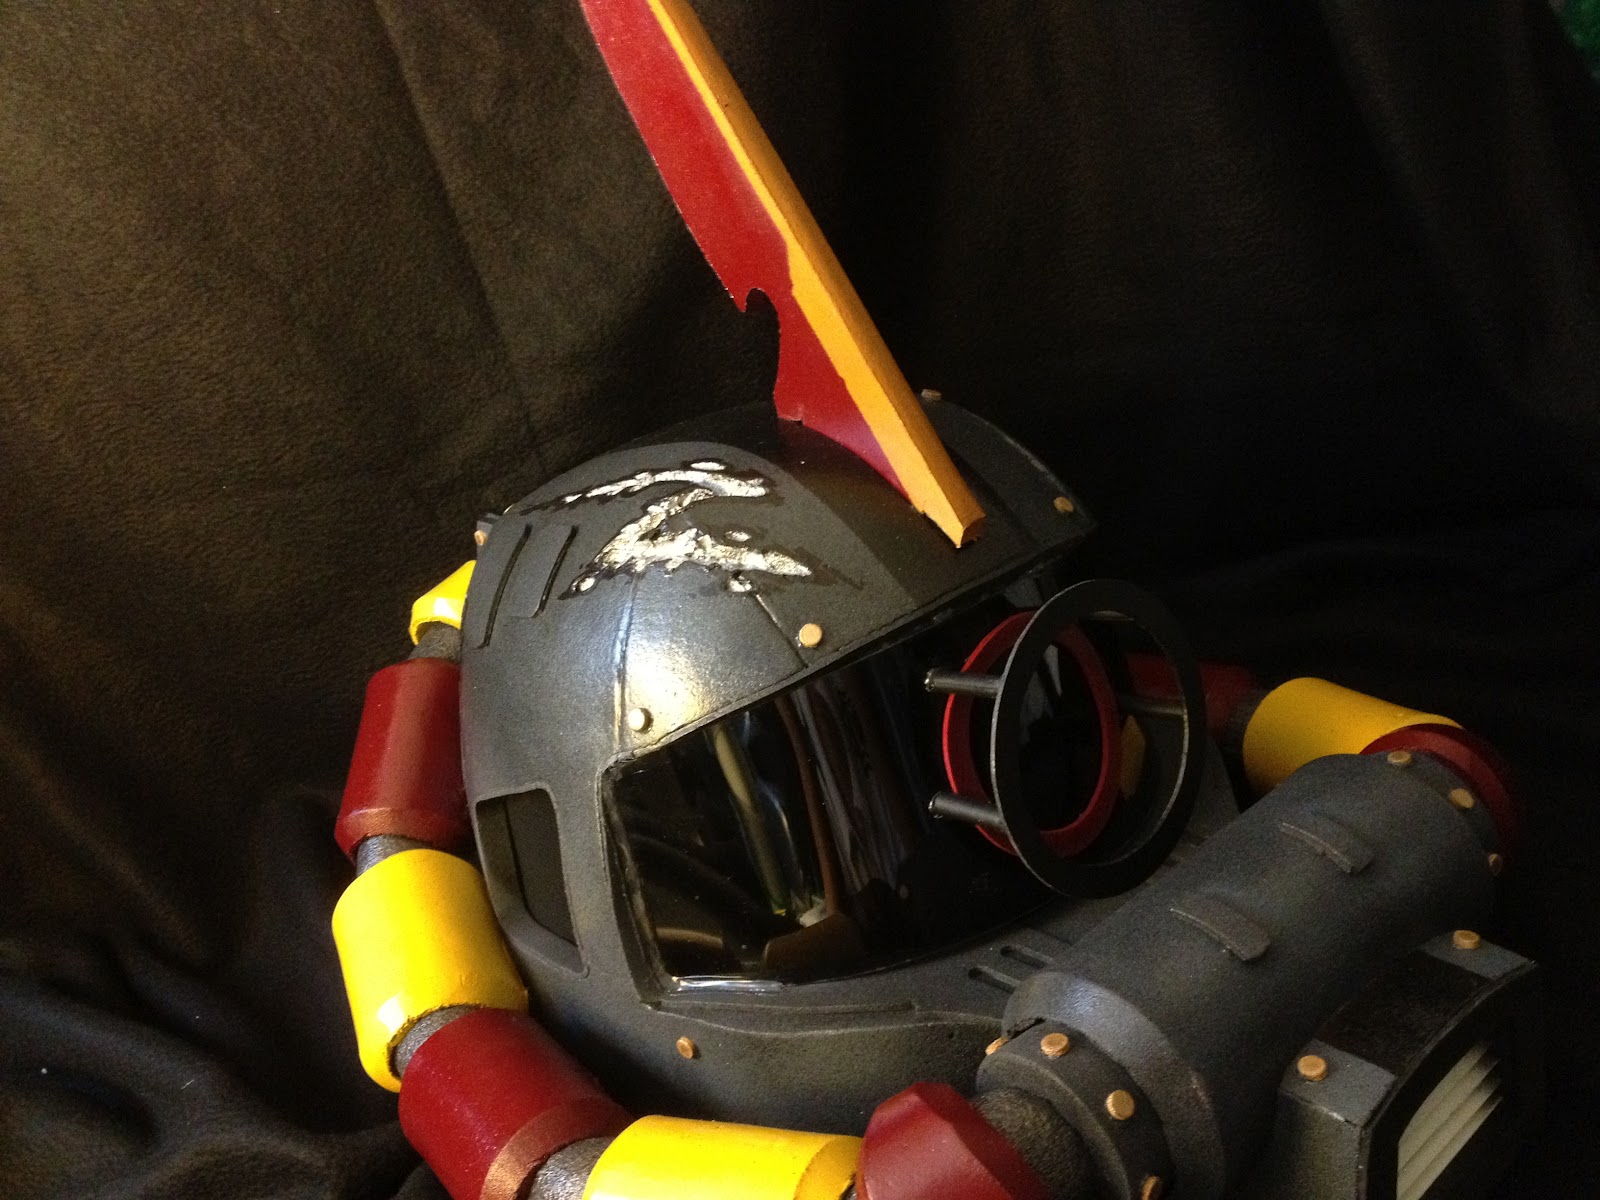
I'm building an army of Zaku helmets! And they're all for sale!!

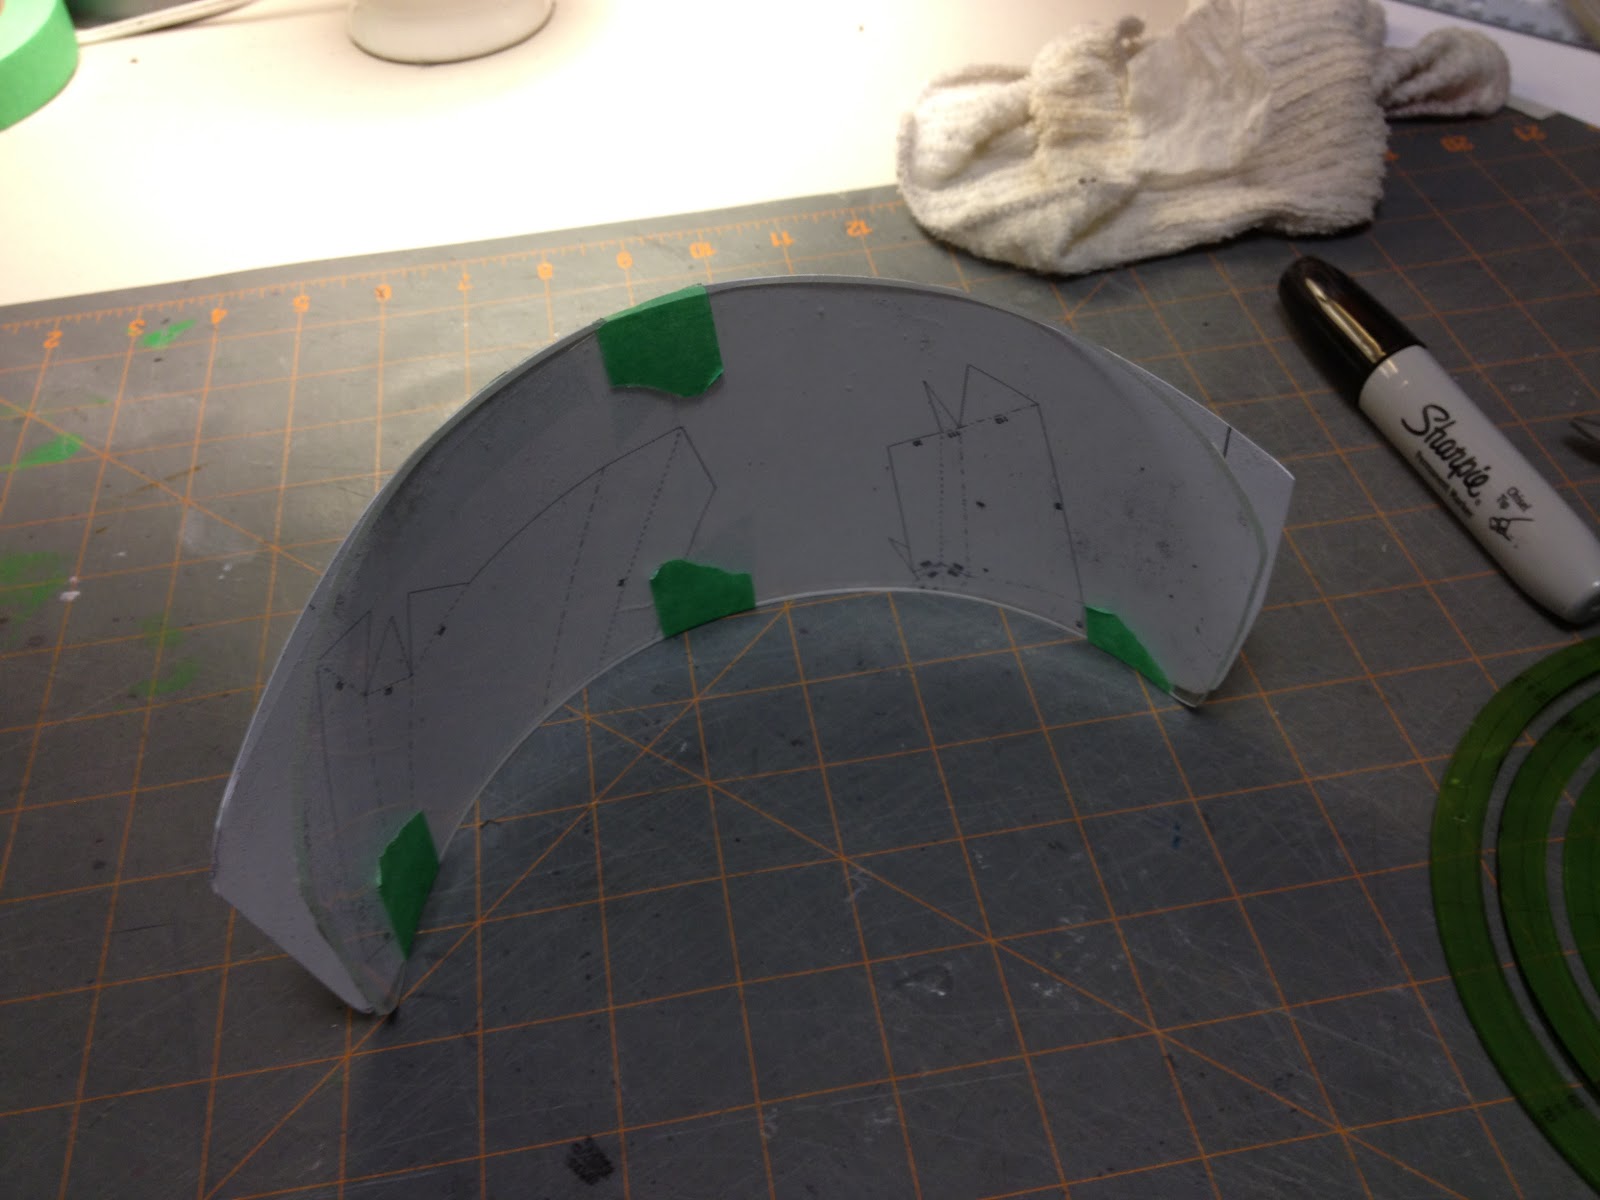
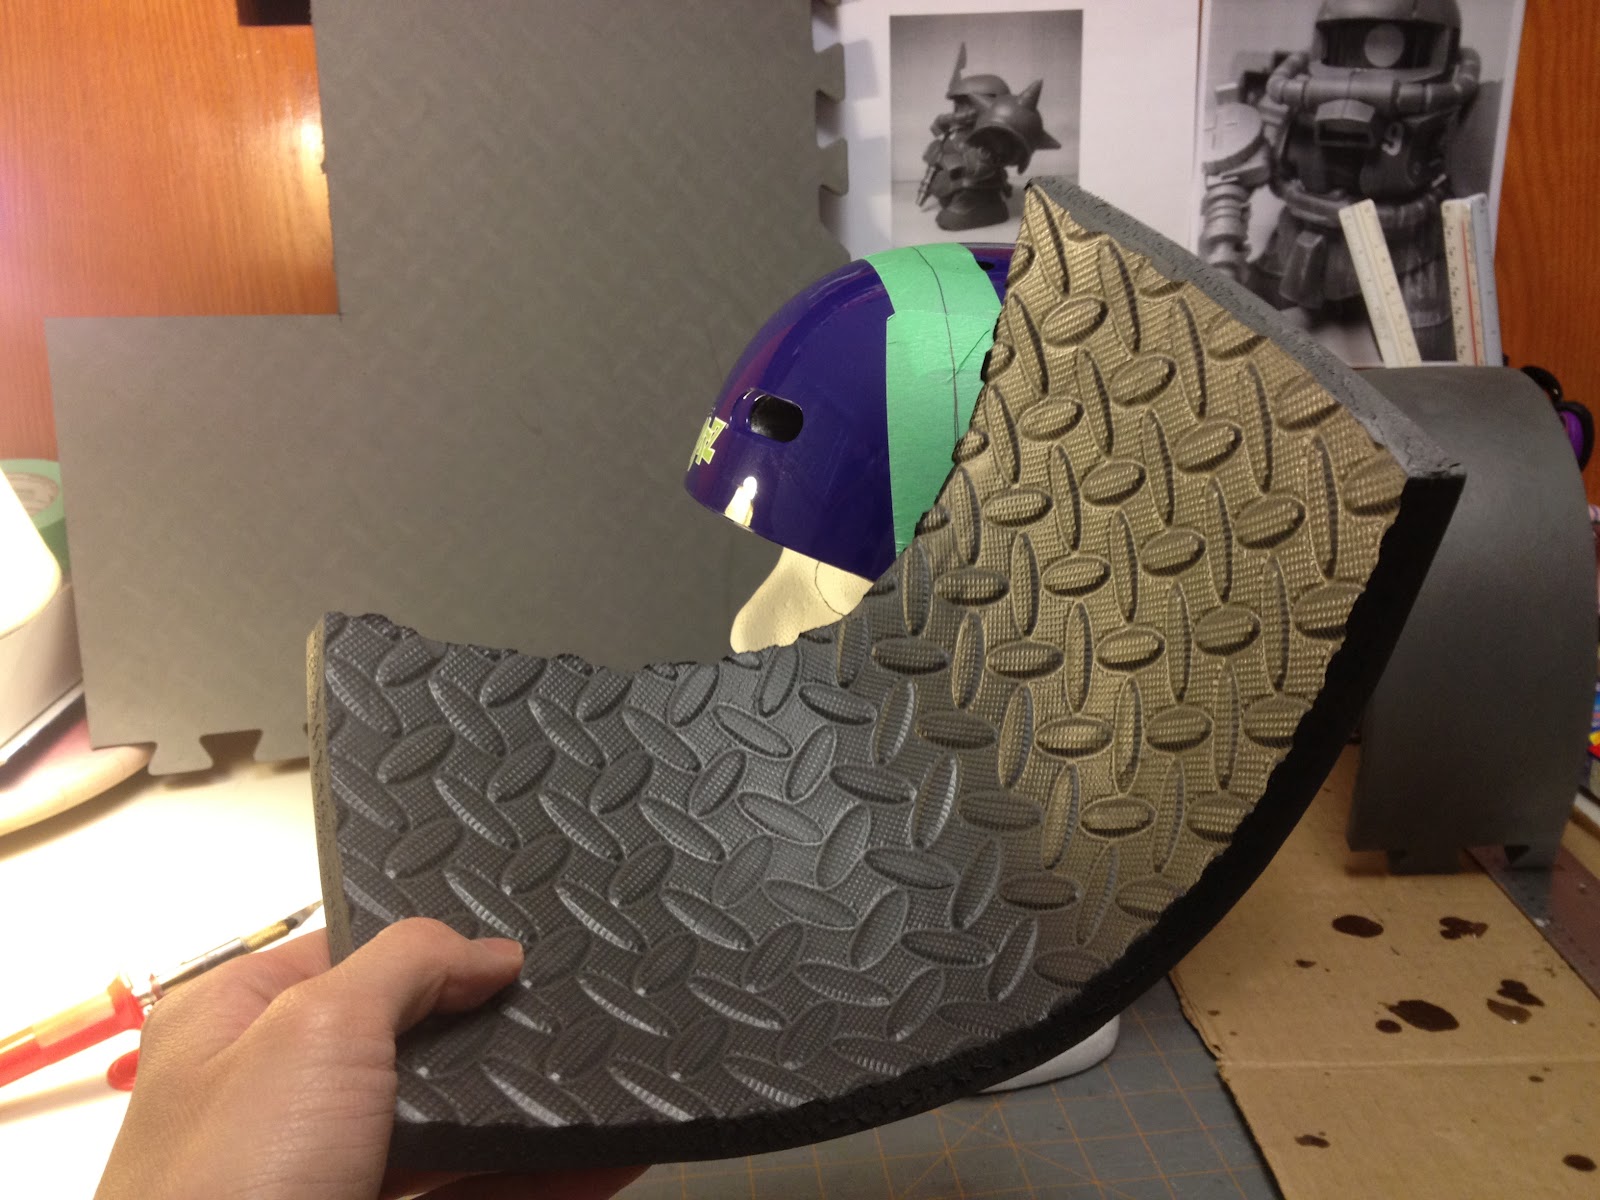
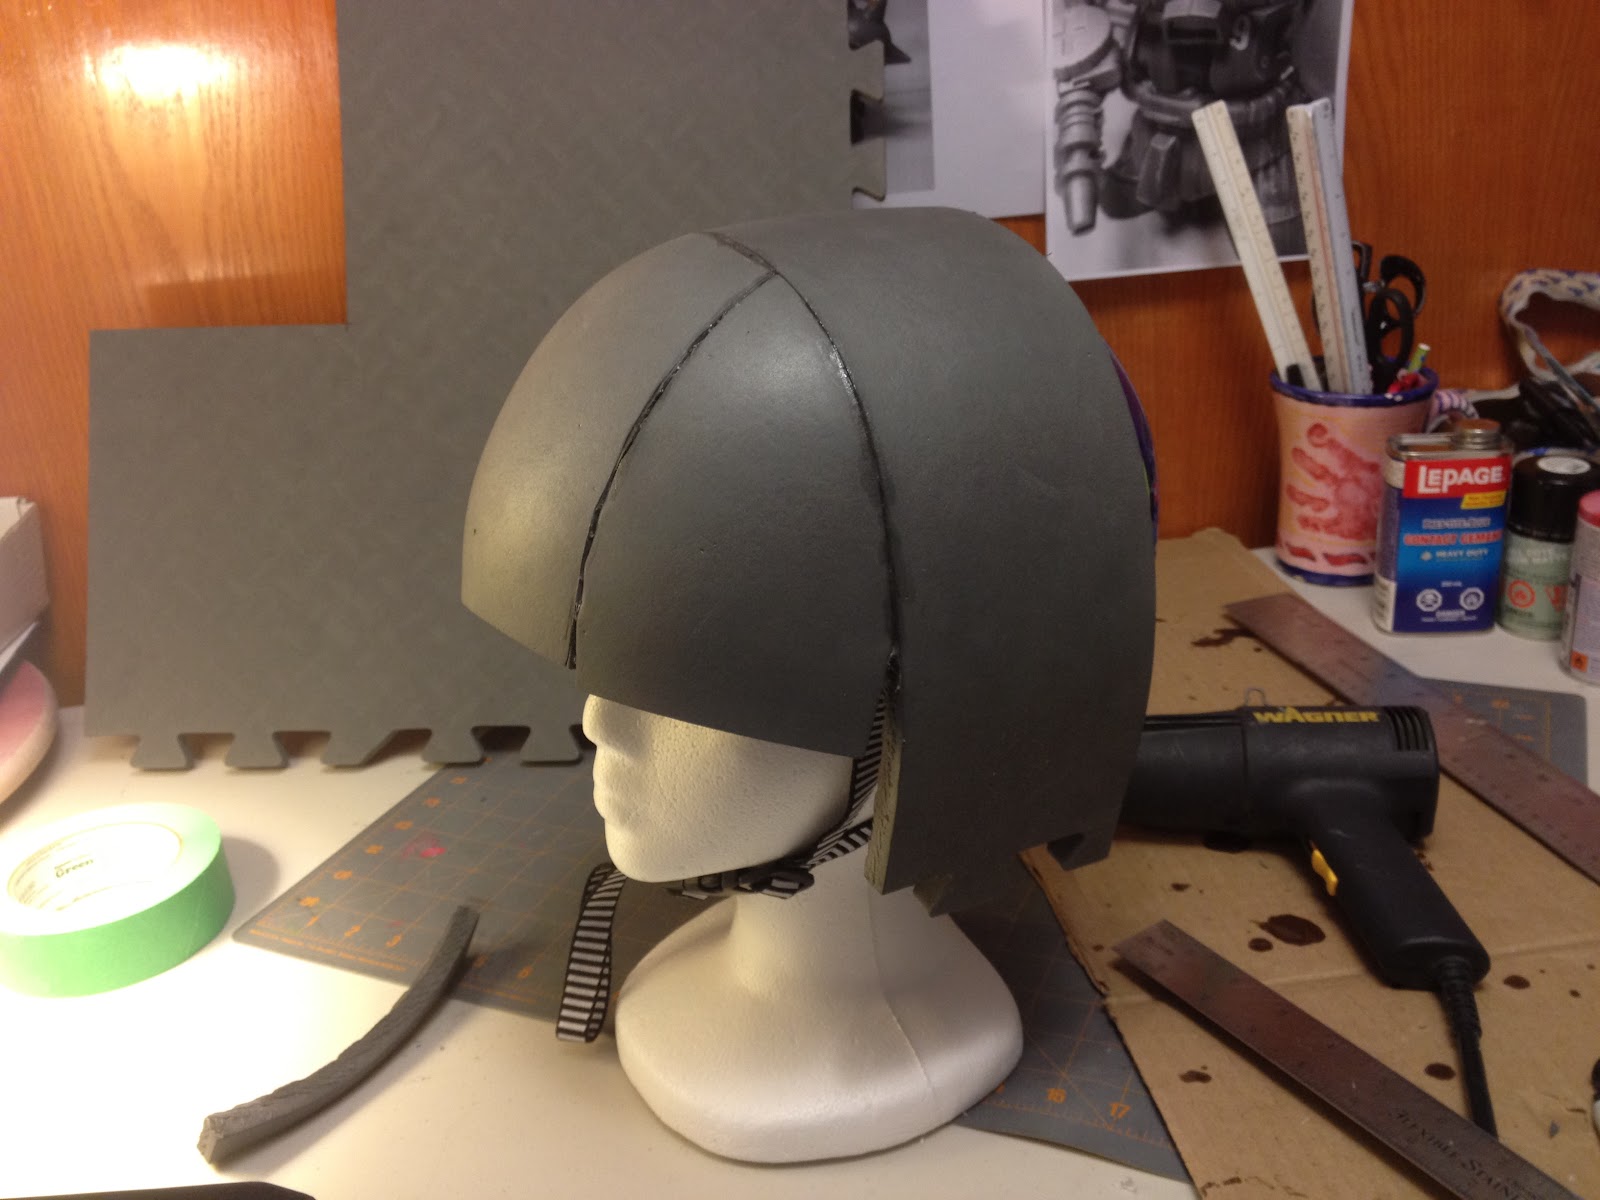
My daughter's school is in need of funding. (Whose school isn't, AMIRITE?!?) Well, I don't have any money to give them. Don't have a lot of time to give them either. Seeing as I'm a bad baker. Can't really make scarves. All I'm good at is crafts. And I can do them pretty fast. Why not make something I like? And since I'm already in production of a Zaku helmet. The process is fresh in my head. I can replicate the entire process pretty quickly. Mass producing them wouldn't be that much more effort and time.

So, PLEASE buy one (or two) now! This will make any guy/girl super awesome. (IF they aren't already) Seriously. Like seriously awesome. It will make a perfect birthday gift. And of course, it's the perfect halloween costume.

Features:
- all foam construction
- super lightweight
- durable
- no sharp edges (for kids)*
- great vision out of helmet
- limited edition
- included pads for different head sizes. Velcro'd on/off!
- yes, it does fit adults (Unless you have a freakishly large head. Then some modding will need to be done)
- colour of your choice (Gloss or Matte finish. No metallics)
- doubles as a thought screen helmet! Scrambles telepathic communication between aliens and humans! (at no extra cost)
- OPTIONAL: free of charge. Black, see-through cloth screen to cover mask.


SO, who wants one? It's for a good cause! I don't want my daughter to be a dummy. It'll pain me to watch her sit in the sandpit ALL year round with nothing else to do.

I'll be selling this first batch at a discounted price of $100CAD (plus shipping).  And I'll even let you pick your colour!

All the proceeds will go to my daughter's school!

Email me for details or questions: gundamumpg [at] gmail [dot] com

I suggest buying at least 5. Who doesn't want a Zaku army?!?


* This Char's salmon colored Zaku is already sold!  (Zeon flag not for sale)
** There are 2 green ones already painted. Looks pretty sweet!! I'll post pics in next post.

Wednesday, 18 April 2012

Zaku: Monoeye lens

Time is running out. I needed to make a decision on the mono-eye fabrication. Many options had gone through but none would look good or had too many safety compromises.

This one is the least that looked the best. Still kind of dangerous though. O well, I'll have to keep an eye on her then. (uh.. sorry)

Lexan plastic. Heating it up in my toaster oven. When it starts to droop in the window, I pull it out right away.


The best form I had around the house was this paint can. Whatever works!


Perfect diameter

To shape it further, I just took it to my belt sander. 


For the tint, I used some leftover auto tint.


Made a small accent ring out of craft foam. Hotglued it on. And voila!


Now, all i have left to do is:
- screens in the side windows
- hot glue the lens in
- custom cut some foam to fit my daughter's head
- maybe another final coat of top coat to seal things off a bit more for durability

Tuesday, 3 April 2012

Rear Box

Again, I have no idea what this box is for. All I know is that it connects both of the pipes on either side. Anyways..it's all decorations as far as I'm concerned.


I hollowed it out as much as I could. To keep the weight down as much as possible. (Learning from my own helmet) This is especially more important as this is for a 4 year old's head/neck.

Hmm.... I could put my battery in there if I choose to make electrical work on this.


Again, gotta hide those fugly jaggies...


Side Windows


Last year, I made a Hobbes costume (of Calvin and Hobbes) for my daughter for Halloween. It was pretty tight on her body. She got really claustrophobic in it. She never wore it for Trick-or-Treatin. [tear]


This year, I've learned my lesson... I'm making sure she can see out of it from ALL angles. There should be nothing blocking her peripheral vision. So, I'm cutting out some side windows. 


To cover up those jagged cut marks, I cut up a small strip of craft foam.


I wish I can have them tinted and roll up for some privacy!

Random Progress 1

 Tools:

1) Electric hot knife - great for cutting foam
2) X-acto mini saw
3) X-acto thin saw - great for cutting curves on foam


Muzzle placement:

using toothpicks to place the muzzle in 3D space. Trying to get the angle and distance correctly. Then to fabricate the piece to connect it to the rest of the helmet.


Visor Edge:

I'm using a piece of sewing thread to mark my line. This is for the upper edge of the visor opening.


There. That should be plenty of space for vision. It shouldn't be a problem anymore.


I didn't like the thinness of the walls. So, I doubled up. I really don't like the jaggies of the cuts. I'll have to cover them up later.

Monday, 2 April 2012

Shell Formation

This build will be fast. I won't be going through the CG and Pepakura process. I'm going to build it the old fashion way. By eye!

Here's the initial formation of the shell.

Cutting it into strips. Heat gun to warm up the foam so it's pliable. Shape it over the form. Holding it for a few seconds until it cools. Once the foam cools, it'll hold it's shape.


 Repeat with every shape on the helmet...


Taping it up to check fitment


Once ok, it's time to pull out my favourite[sarcastic] tool, the hot glue gun. Glue all pieces together. 


 My client/boss: