Showing posts with label chibi. Show all posts

Wednesday, 29 August 2012

Project Zaku: Harry Potter


Wow.. I've been busy. I did get to finish off another Zaku for a friend. He wanted a themed one. It was a special request.. as I've known him for 30 years now... maybe more.

This one was fun!


Tuesday, 3 April 2012

How to make Sausage Links

Pipe Links:

Back with my trusty Dremel tool. Love my Dremel. It came with a mini-router attachment. How cool is that!?! What this allows me to do here is 'router' a channel at a perfect 90 degree. It would be impossible to do this by hand. I could, but it'll take forever and it won't be as accurate. Here I have a  rig with a board and a couple clamps.

The steps:
- I make one channel across.
- Stop. 
- Move the board ~3/8" up. 
- Make another channel. 
- Repeat.


Reason I'm making all these channels is so that one side of the foam has less material. This is so I can roll the foam into tubes. I could use the heat gun again. But, it won't be heated up evenly and it'll bend unevenly. It would just be a mess. I think this was the best approach.  Hot glue the ends together.


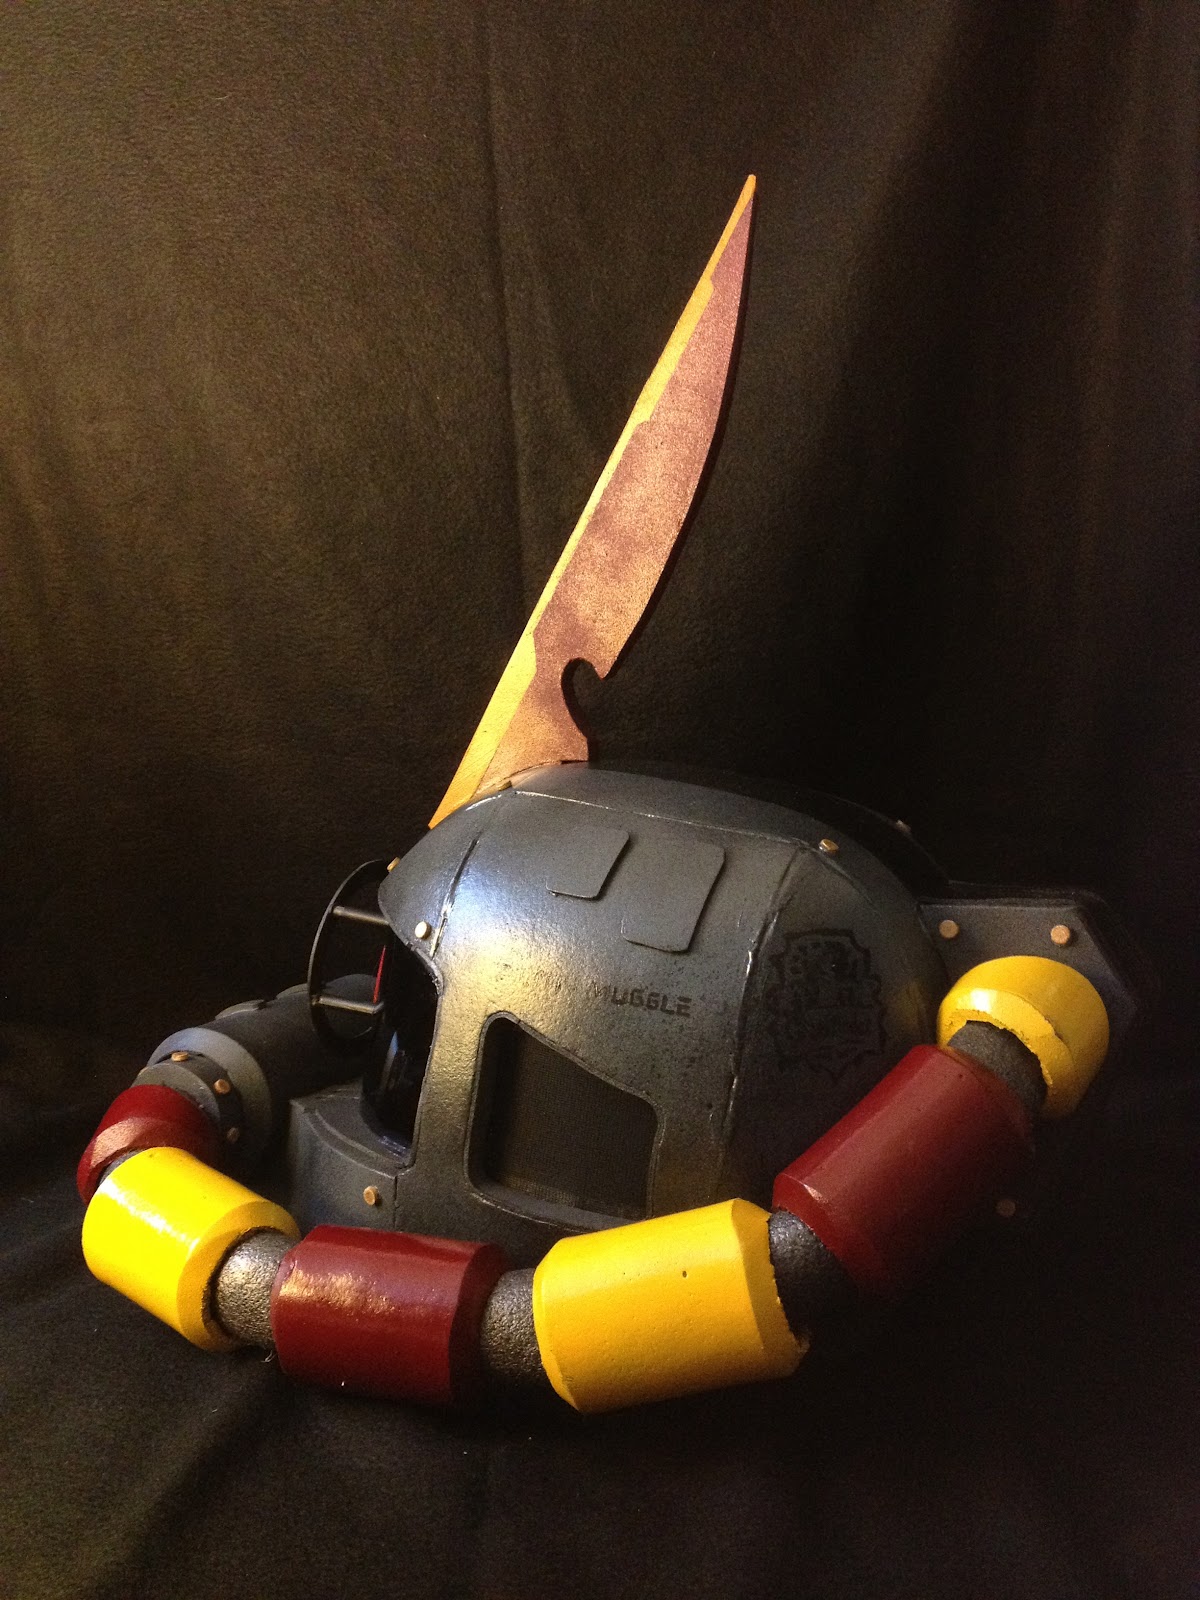
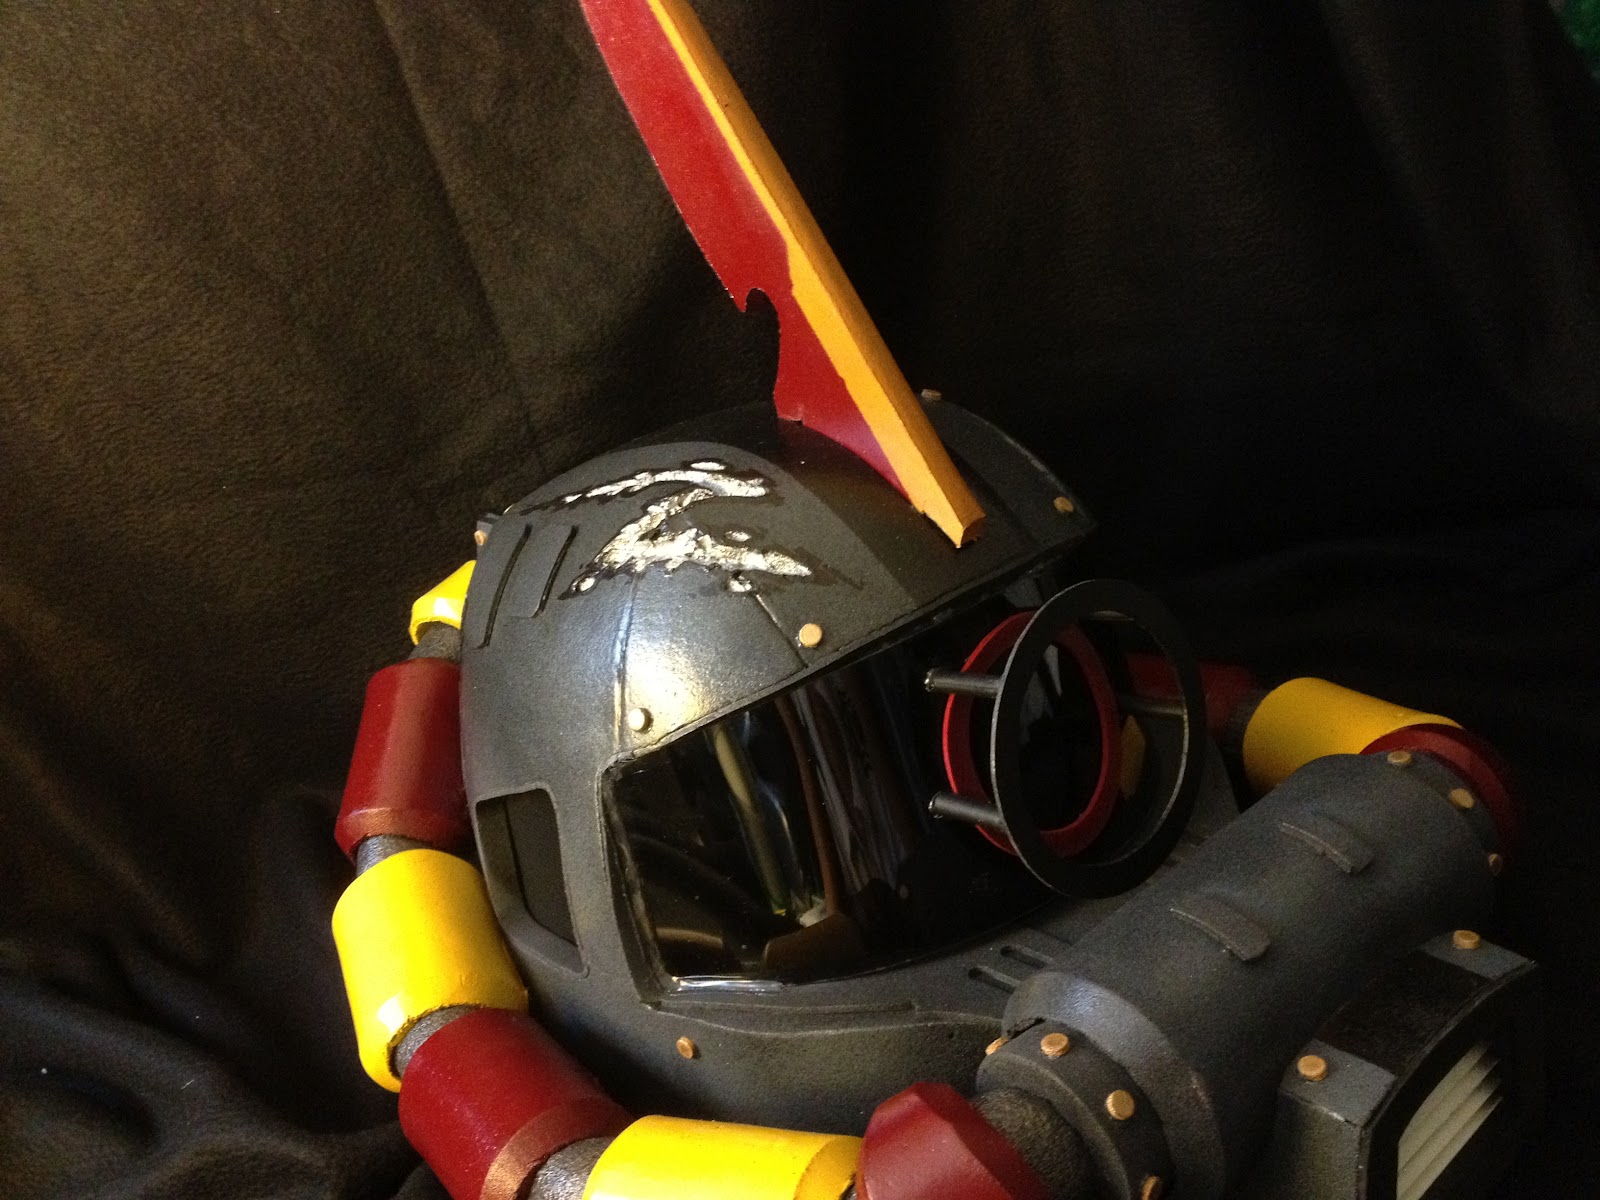
Made a bunch. Not really sure how many was needed.


Like the 'nostril canister', I beveled the ends on the belt sander.


The placement mockup. I think it'll work. Next, I have to figure out what to use for the inner pipe.


Random Progress 1

 Tools:

1) Electric hot knife - great for cutting foam
2) X-acto mini saw
3) X-acto thin saw - great for cutting curves on foam


Muzzle placement:

using toothpicks to place the muzzle in 3D space. Trying to get the angle and distance correctly. Then to fabricate the piece to connect it to the rest of the helmet.


Visor Edge:

I'm using a piece of sewing thread to mark my line. This is for the upper edge of the visor opening.


There. That should be plenty of space for vision. It shouldn't be a problem anymore.


I didn't like the thinness of the walls. So, I doubled up. I really don't like the jaggies of the cuts. I'll have to cover them up later.

Friday, 30 March 2012

Sad Gundam Is Sad

I'm sad. Sad that the helmet doesn't sit as comfortable as I'd hoped. The heavy V-fins drags things down a bit.


Threw the head, batteries and all, on a scale. 5.5lbs! Doesn't sound like much, but when most of that weight is 6 inches from your forehead. That weight doubles! At least it feels it. So, I have to consider further weight loss. I'll have to revisit the V-fins again. But, this will have to weight. I have other projects I want to tackle first.

Monday, 26 March 2012

Final Details

Here are some close-up shots of the helmet. Showing ALL the embarrassing blemishes that any supermodel would simply freak if it was ever shown on a magazine cover. I wasn't worried about them cause, frankly, no one's gonna see them... except you, here, online. When I'm wearing it, walking around... I'll be a blur.

Just for you guys, I've put in a few easter eggs in the decals. Can you spot them all?


Sunday, 25 March 2012

FINALE!


Finally finished! Pretty happy with the results. 

- Roughly 2.5 months in the making (I really did take my time with it)
- It's running on 2x 9v batteries. 
- 4 switches: 
          1) 2 fans 
          2) 17 LEDs in V-fins, Mohawk lens, exhaust, and a couple in the ears 
          3) machine guns 
          4) 6x LEDs in the eyes
- Retractable faceplate. For extra vision, talking, eating, etc.

I'll post details in the next post.