Showing posts with label screws. Show all posts

Sunday, 12 February 2012

Retractable face

Now that the 2 major pieces are assembled. I can tackle one of the biggest features on my costume. The retractable face. It looks like there is clearance. It'll be close. So, it's a green light for now. 
Time to move forward!

Obstacle: Well... I had a feeling about this one when I hung it to dry. The face dried too wide. Meaning the pivot points that I had made in Pepakura stage are too far apart and will not line up with the pivot points inside the helmet. Since I had reinforced it already, this thing will NOT bend. If I force it too hard, it will break. 


Sooooo.. out comes the Dremel tool. Equiped with a mini cutting disc. The pivots gets chopped. 


Now, I have make something in its place. Starting out with a block of hardwood.

Using Chicago screws to bolt the hinge joint together. The bracket is simple "All Round galvanized bracing" The holes are perfect size for the Chicago screws.


The wood is screwed into the helmet from the bottom.

Done. Works like a charm.

Here's a video of the face retracting.

And a close up video of the mechanism. Simple.


Saturday, 4 February 2012

Horns: part 3 (Assembly)

Horn Assembly:

"Horns" all cut and glued. Time to finish it off all the edges with a little modelling putty.
(Pic above: underside with detail)


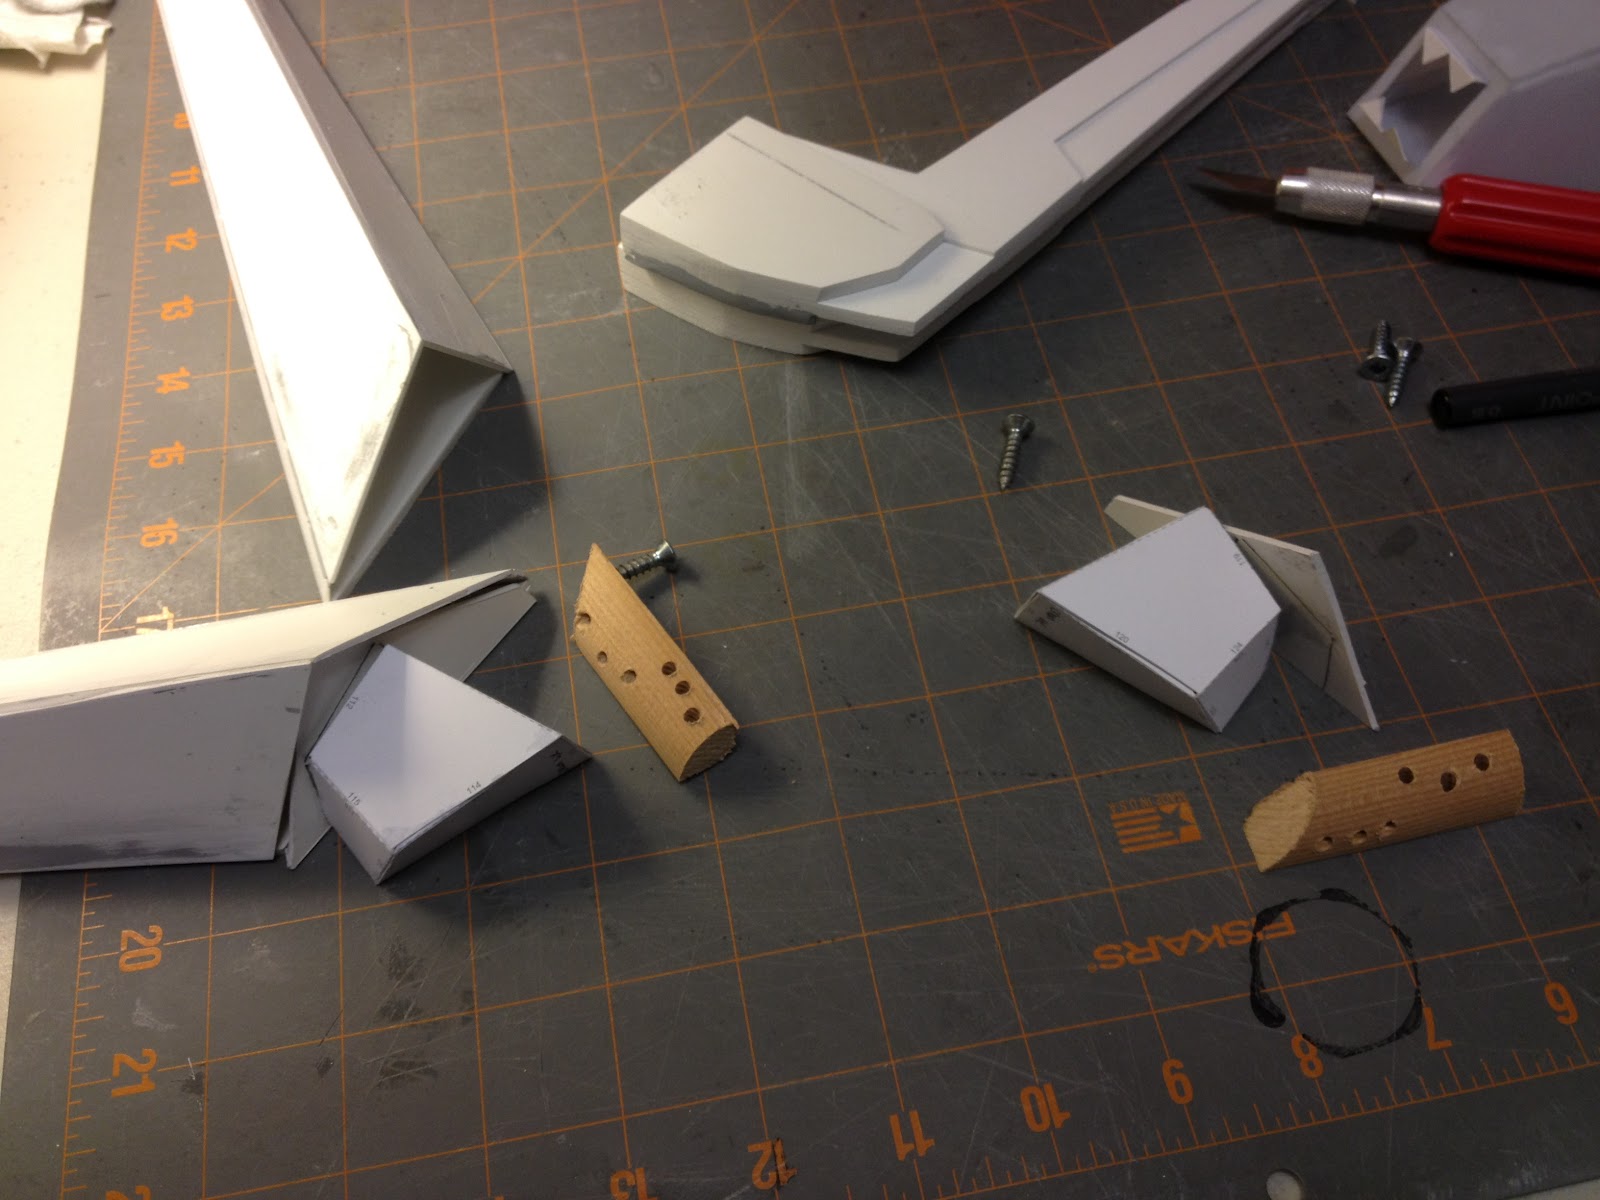
All edges sanded smooth. I left the 'end caps' open. Reason being I needed to figure out how to anchor each horn onto its base. If I were to simply just glue the cap on... it would be fine, if it was a model that I let sit on the shelf. But, this helmet needs to endure a lot of motion. The thin bead of glue would never hold its weight of the horns, it would tear it off the base pretty fast.


Looked around and found some scrap wood. This will give it a good anchor to the base. So, I plan on using resin to bind it all together. Drilling random holes into the wood to give the resin something to grab onto. A few screws would help this too. You can tell, I'm totally improvising now.


Totally forgot to mention where I got my inspiration from. A model of a Strike Freedom Gundam by an artist Min Bong-Gi. His work is simply awe inspiring.


My costume will be 80% from his design. And I'll throw in things here and there.